


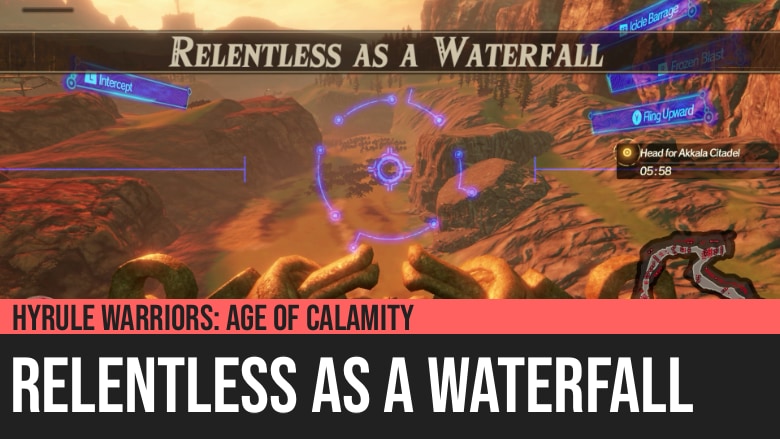
Hyrule Warriors: Age of Calamity - Relentless as a Waterfall
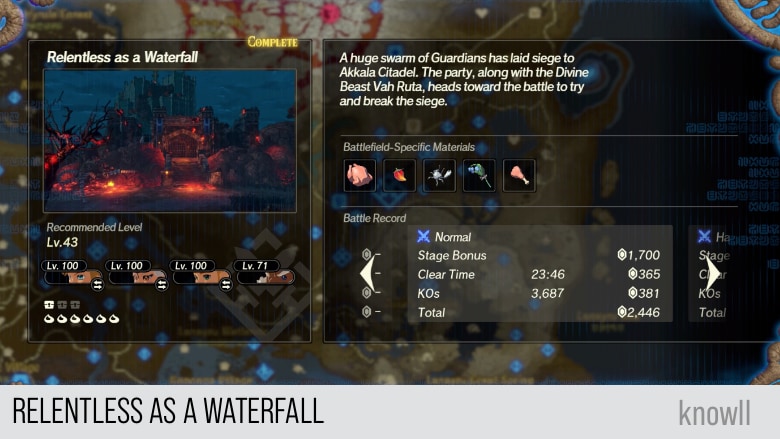
Hyrule Warriors: Age of Calamity - Relentless as a Waterfall is the first part of Chapter 6 of the game. A huge swarm of Guardians has laid siege to Akkala Citadel. The party, along with the Divine Beast Vah Ruta, heads toward the battle to try and break the siege.
This Chapter entry gives you the first Malice Guardian that you can fight in the game. Also, it introduces more variations of large elemental enemies like the Electric Hinox and the Fire Guardian.
Treasure Chests and Koroks
- 6 Koroks
- 3 Treasure Chests
Battlefield-Specific Materials
- Raw Whole Bird
- Spicy Pepper
- Bright-Eyed Crab
- Blue Nightshade
- Raw Bird Drumstick
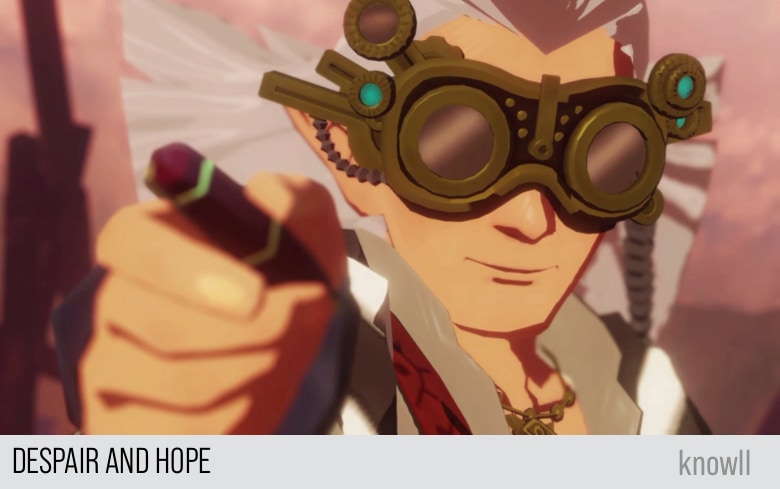
Despair and Hope
Wave after wave of Guardians and monsters threaten to break through Akkala Citadel's formidable defenses. Many among the defenders worry that defeat is unavoidable. Robbie, however, is certain that rescue will arrive in time.
Hylian Captain: We don't stand a chance of defeating them. And what's more -
Robbie: Our chances of rescue are slim to none? And it's likely the same for all of Hyrule, right?
Robbie: And yet, rule one of the researcher's code is to never give up. Personally... I get the feeling that... our chances are higher than you think.
Hylian Captain: Huh?
Hylian Soldier: Report! A Divine Beast, from the western waters!
Robbie: Hmm... See that? What did I tell you.
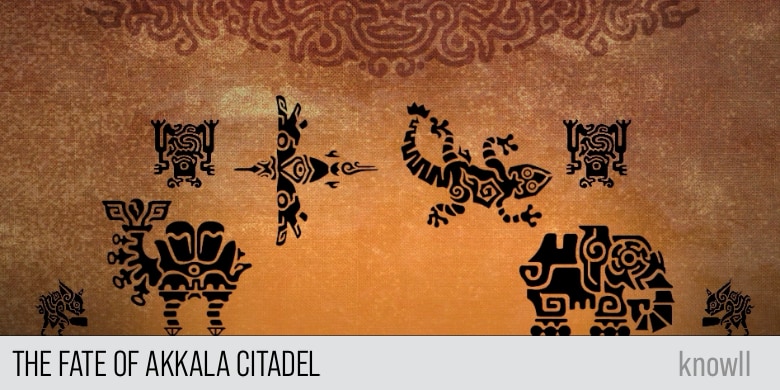
The Fate of Akkala Citadel
With the help of those who had traveled from beyond time, the fated party fought with all of their strength to fend off the unending waves of Guardians and monsters. Despite their efforts, Hyrule remained embroiled in a grueling battle...
The soldiers stationed within Hyrule Castle fled, seeking refuge in the east, in the impenetrable walls of Akkala Citadel. As Guardians swarmed the perimeter, they held out hope and waited for help to arrive.
Link and the others hurriedly made their way to the citadel. Meanwhile, having reclaimed Vah Ruta, Mipha and Sidon faced the enemy directly forging ahead to the tower.
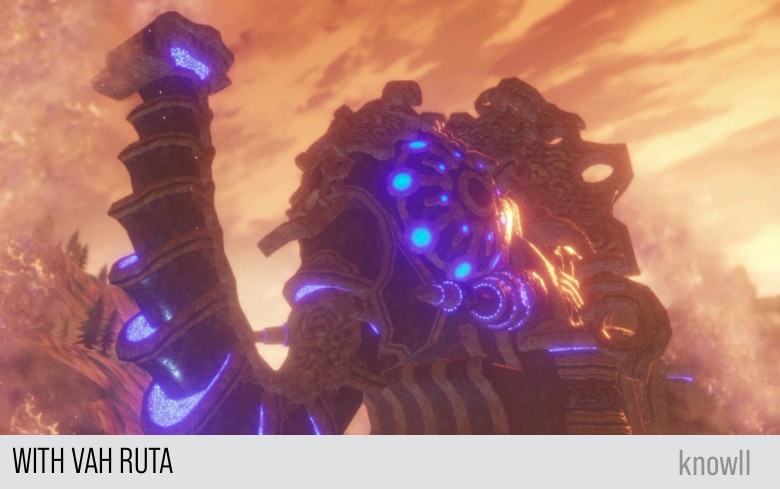
With Vah Ruta
Mipha and Sidon pilot the Divine Beast Vah Ruta toward Akkala Citadel. Upon arrival, they discover the Hyrulean army in dire need of help. The siblings team up and hurry to join the battle!
Sidon and Mipha: Here we go!
Objective: Head for Akkala Citadel
Your goal is to reach the Akkala Citadel at the end of the map within six minutes while maintaining Vah Ruta's health bar. There is no enemy number to aim for, just reach the destination within time.
We have covered in the entry Mipha, the Zora Princess how to effectively fight enemies with Vah Ruta. You can view our Vah Ruta Guide for more tips.
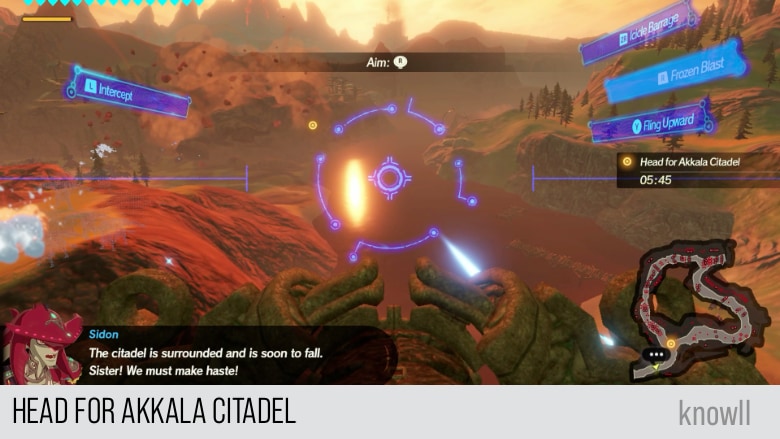
Mipha: Prepared, Sidon? We shall carve a path to Akkala Citadel!
Sidon: The citadel is surrounded and is soon to fall. Sister! We must make haste!
Mipha: Ah, the road forks here.
Sidon: The western road looks perilous, but it is our swiftest path to the citadel.
Sidon: The eastern path takes longer but has plenty of water, which would give us the advantage...
Follow one of the roads to reach Akkala Citadel!
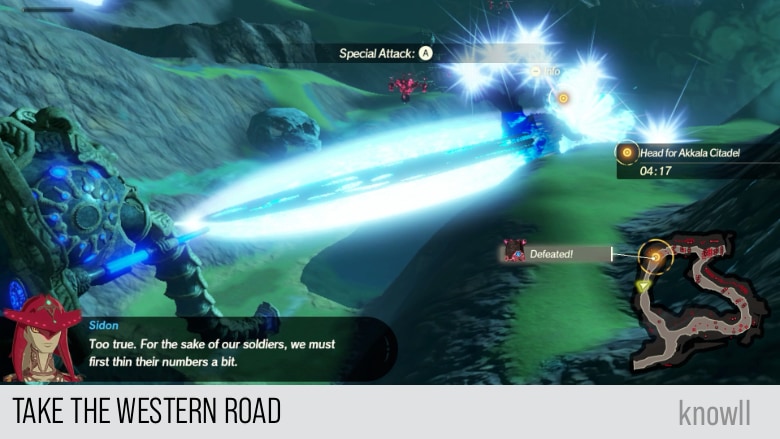
We suggest taking the western road, as it provides the swiftest path, though it is more dangerous.
With more monsters, you will have more fuel for your special attack, and you can use it more often, leading to faster clears. Also, just keep on moving, don't stop for small groups of enemies.
Mipha: Defeat is not an option. The very future of the kingdom depends on us.
Mipha: Monsters everywhere. Without Vah Ruta, we could not take one step forward.
Sidon: Too true. For the sake of our soldiers, we must first thin their numbers a bit.
Mipha: Hang in there, Vah Ruta. One more push!
For large enemy groups, Fling Upward is more effective than targetting them with Frozen Blast.
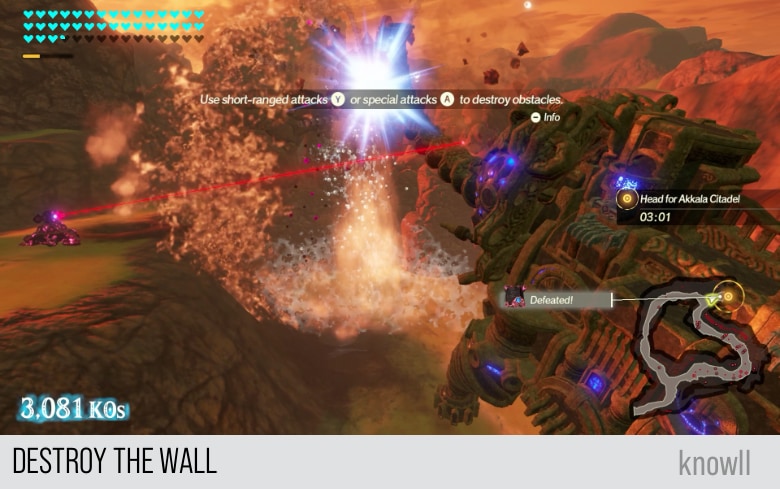
Mipha: Perhaps we chose the wrong path. There is no time for the long way around, however.
Sidon: Destroy the wall, dear sister! Our divine friend here should make quick work of it.
Mipha: Link and the others should be headed for Akkala Citadel too. We can all rendezvous there.
Sidon: There are still enemies within the citadel. Let's save our friends!
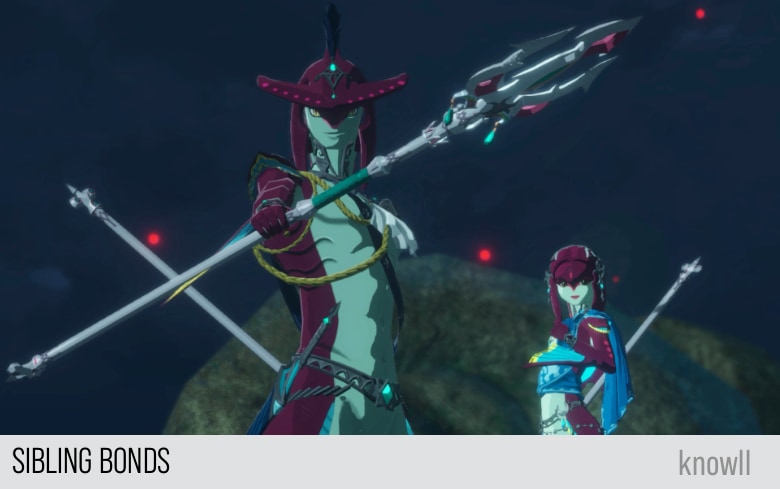
Sibling Bonds
Breaking through the enemy's siege of Akkala Citadel, Zelda and the others enter the walls and reinforce the defenders. Aboard Vah Ruta, Mipha and Sidon cover their advance, and in a brief moment, Mipha expresses happiness at the kind of Zora her brother has become.
Sidon: We shall cover the perimeter!
Mipha: And we'll join you as soon as we can!
The party below nods in agreement.
Sidon: Sister. We can do this.
Mipha: Right. Sidon, it's an honor to fight beside you. I'm so proud of the Zora you've become. Remember that.
Sidon: I will...
Mipha: Now it's time to focus on the fight ahead. You're ready for this, right?
Sidon: Of course, Sister!
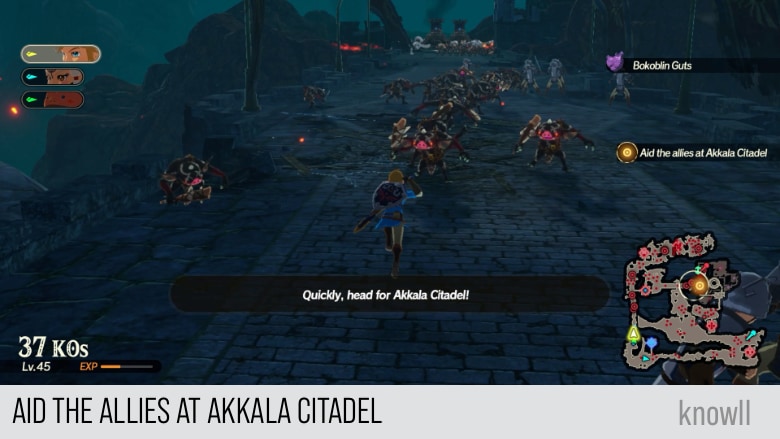
Objective: Aid the Allies at Akkala Citadel
You will be facing a lot of Guardians in this entry. We have covered their moveset and attacks in the entry Calamity Strikes. You can view our Enemies Guide for more tips on handling Guardians.
Zelda: Enemies! Even within the citadel! Everyone, we must hurry!
Sidon: Sister! Leave the northern Guardians to me. You and the others head for the citadel.
Quickly, head for Akkala Citadel!
Hylian Captain: I doubt we can hold out much longer...
Zelda: I refuse to abandon them. We will aid them.
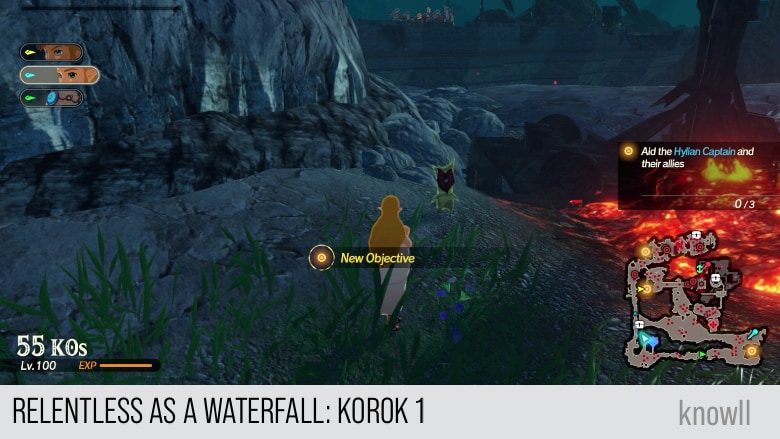
Objective: Aid the Hylian Captain and their Allies
There will be three outposts that you need to liberate to aid the captains. To save time, you might want to use team management and assign a hero per outpost.
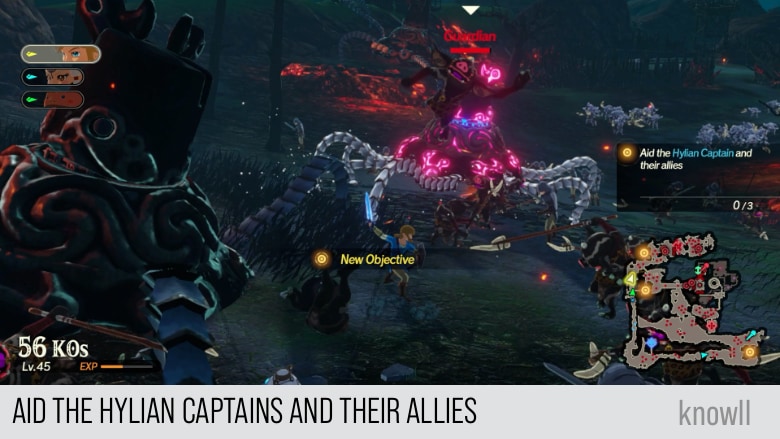
After capturing all the outposts, you can observe the advantage of having Mipha for healing injured captains.
The Hylian Captain is injured!
When you see the message below, ensure that there are no monsters attacking or blocking Mipha, so she can move.
Support Mipha's approach to the Hylian Captain!
Mipha: Hold on. I will treat your injuries.
Hylian Captain: Oh! My body's knitting itself back together!
The Hylian Captain has been restored to fighting shape!
Hylian Captain: Thank you! And please, if you could help my fellow soldiers in the citadel...
Now you can proceed with the earlier objective of reaching the target position. Once you approach the bridge leading to the citadel, a new objective will be given.
Zelda: Guardians in front of the citadel. Let's join forces and break through!
Objective: Defeat the Fire Guardian
As shared earlier, you can review the Guardian moveset in our Enemies Guide. You can also view there the difference between an elemental Guardian and a normal Guardian.
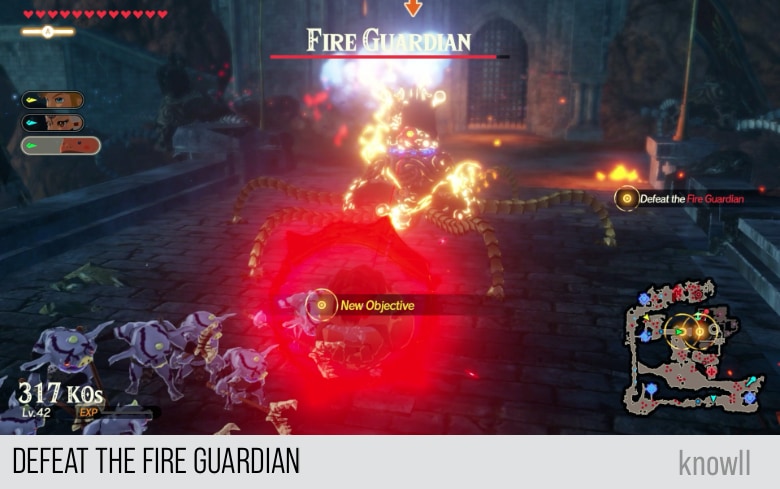
Once you have defeated the Fire Guardian, you can proceed in entering the citadel.
Zelda: All right, inside! Quickly
Objective: Aid the Hylian Captain
The captain's group is fighting a Silver Moblin and a group of Silver Bokoblins. Go ahead and help defeat the enemies.
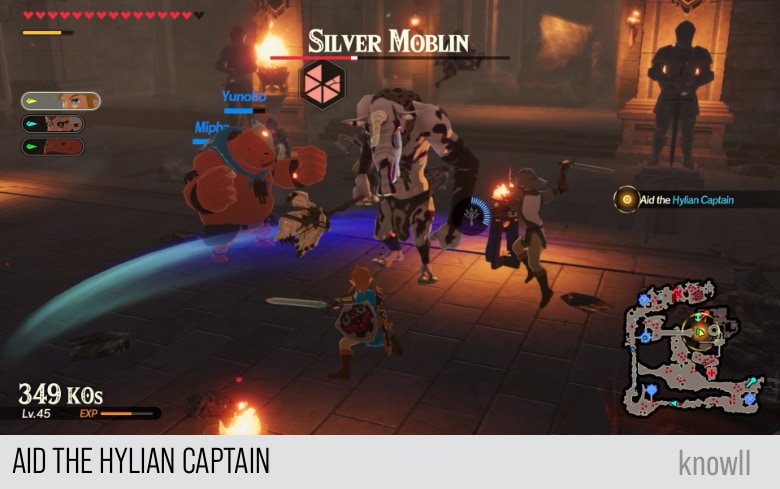
After capturing the outpost, you will be providing support to Mipha as she heals the injured soldiers protecting the citadel.
Mipha: Are you badly hurt? Here, I can heal you.
The Hylian Captain has been restored to fighting shape!
Hylian Captain: What a relief - we can move freely! We'll clear away that rubble for you.
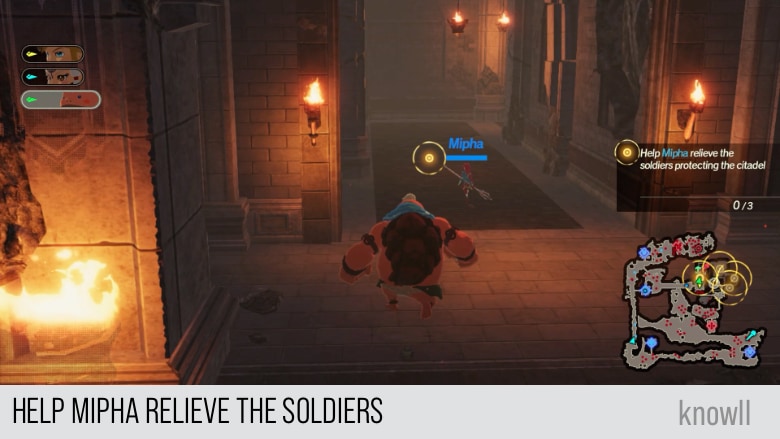
Mipha: Everyone, please protect the citadel entrance! I will venture in and do what I can.
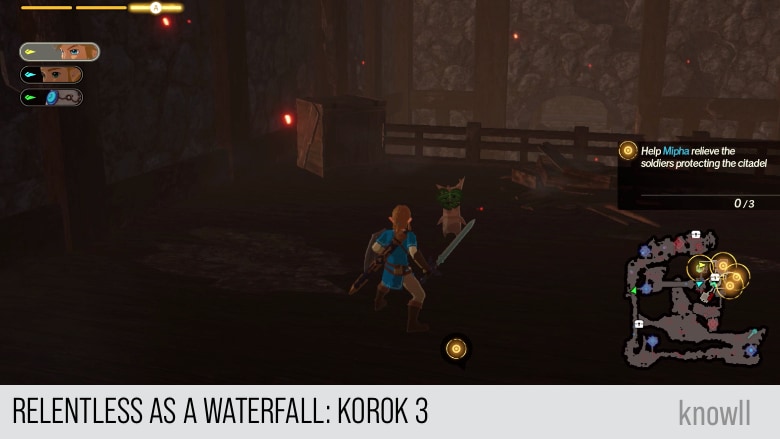
Objective: Help Mipha Relive the Soldiers Protecting the Citadel
For this objective, you will be playing the role of a bodyguard for Mipha and help capture the outposts that she enters.
There will be three in total. We suggest that you move ahead of her and just clear the enemies on every outpost.
Zelda: Mipha, with your healing power, you should be able to save everyone. I leave this to you.
Hylian Soldier: Report! The southern gate has been infiltrated!
The Silver Moblin has begun an assault on Akkala Citadel.
You might want to do team management and send your warriors to the locations being reported as under attack, so you can do fast-switching.
Keep an eye on the health of the Hylian Captain guarding the square!
If you are fast enough in clearing enemies, you do not really worry about such alerts. But for stress-free gameplay, you might want to switch to a hero and clear them as they occur.
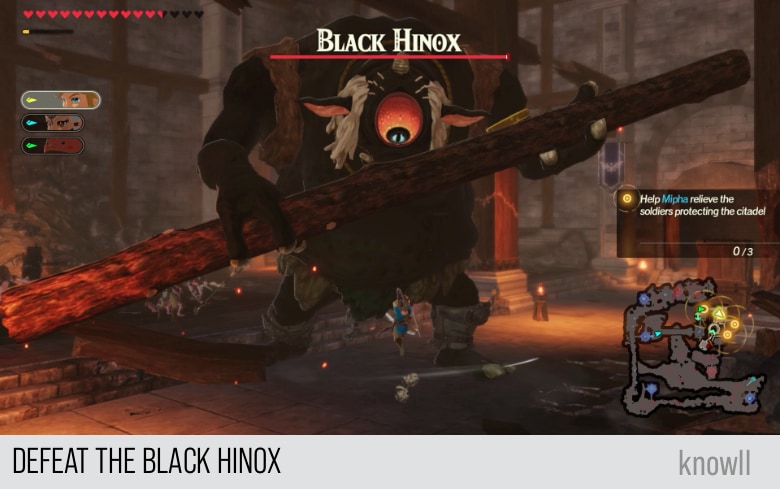
Fighting the Black Hinox
This Chapter entry introduces the first-ever Black Hinox you can face in the game. We have covered the moveset and attacks of a Blue Hinox in the entry When Courage Fails. You can view our Enemies Guide to see the details for a Black Hinox.
You will be facing a Black Hinox in one of the rooms. Go ahead and defeat it.
While helping clear the rooms of enemies for Mipha, you will observe occasional alerts from what's happening elsewhere in the citadel.
A horde of Guardians has appeared in the Parade Ground!
Sidon: I am not loving those numbers... I shall hold down the reinforcements! The remaining foes are yours!
After helping Mipha in defeating the enemies in target areas, you will get the next objective.
Mipha: Phew... All the soldiers are back on their feet. Now to find Robbie.
Objective: Aid Mipha's rescue of Robbie
Follow the target position on the map, and you will hear the voice of Robbie in one of the rooms.
Robbie: Oho, you've come to save me?! Hang on - opening the door!
You need to be near this door for it to open. It will take a few seconds, but it will open. It is as though Robbie was really walking in your direction, hence it does not open immediately.
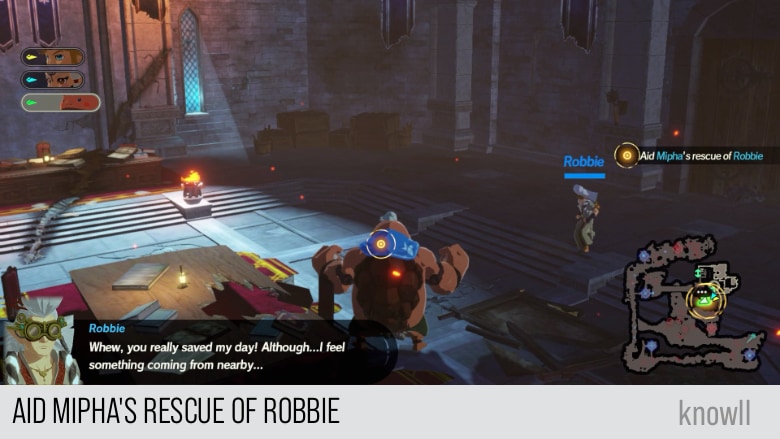
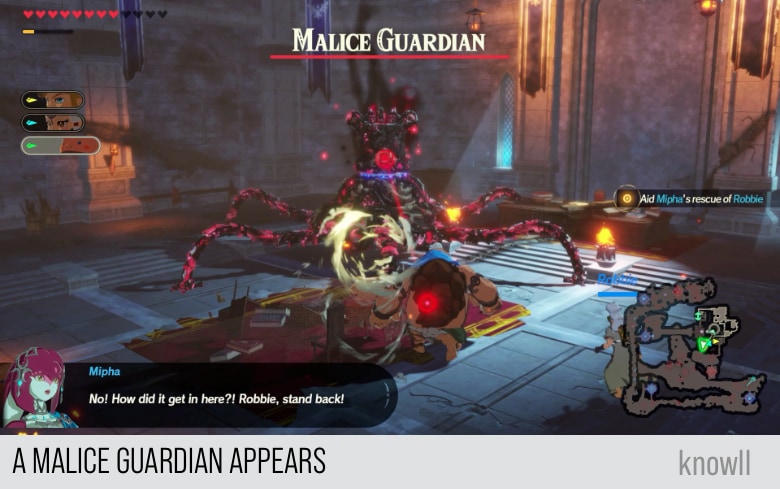
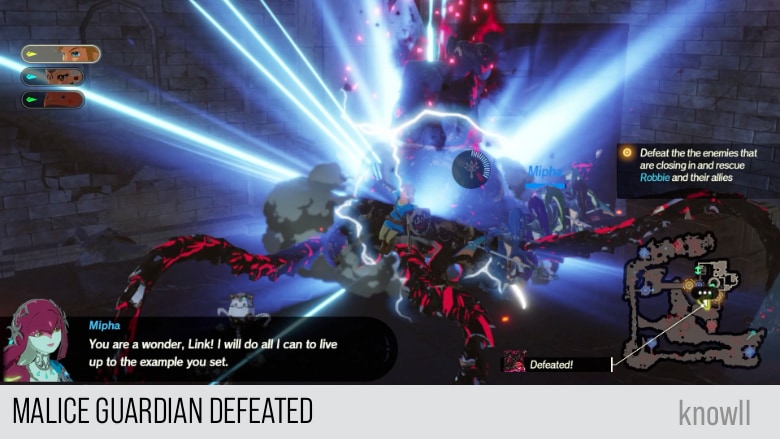
Robbie: Whew, you really saved my day! Although... I feel something coming from nearby...
As if on cue, a new enemy bursts from the ceiling. This is a Malice Guardian, the first of its kind so far.
Objective: Defeat the Enemies that are Closing in and Rescue Robbie and their Allies
This is the first Malice Guardian you can face in the whole game. You can view our Enemies Guide to get more details on fighting Malice Guardians.
Mipha: No! How did it get in here! Robbie, stand back!
Hylian Soldier: It's awful! Even more enemies are closing in on us!
Zelda: We won't be able to hold out like this!
Daruk: Sorry for the delay, folks. But we're here now and ready to roll!
Daruk has arrived and is moving toward Akkala Citadel!
Daruk: Raaargh! Don't get in my way!
Daruk has broken through the enemy horde!
Daruk is defending the plaza!
Daruk: I've got this place covered, Princess. You go and help out Mipha!
After clearing the enemies in all of the targeted positions within the citadel, it's time to bring the battle outside.
Robbie: Oho! You saved my skin! Thank you very much!
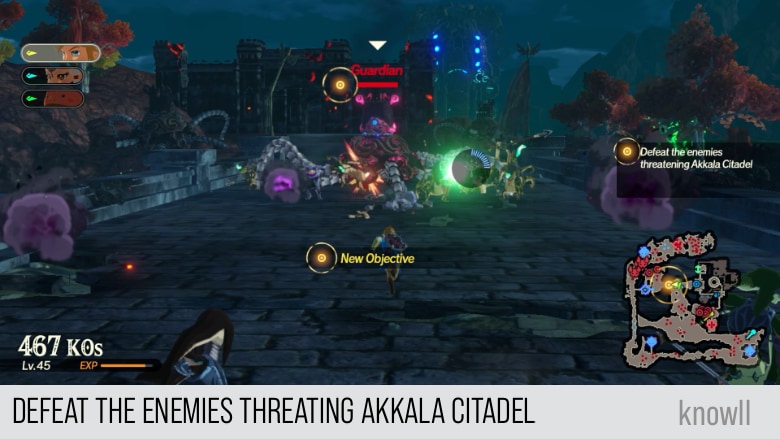
A horde of enemies has appeared and launched an assault on Akkala Citadel!
Zelda: Enemy reinforcements... again? And to top it off, Guardians... A lot of them...
Robbie: Right. If you draw the enemies to the bridge, we'll destroy enemies on it with the citadel's cannons!
Objective: Defeat the Enemies Threating Akkala Citadel
Daruk: All right! Time to squash the brutes on the bridge!
Mipha: Very well. I will combat their forces to the south.
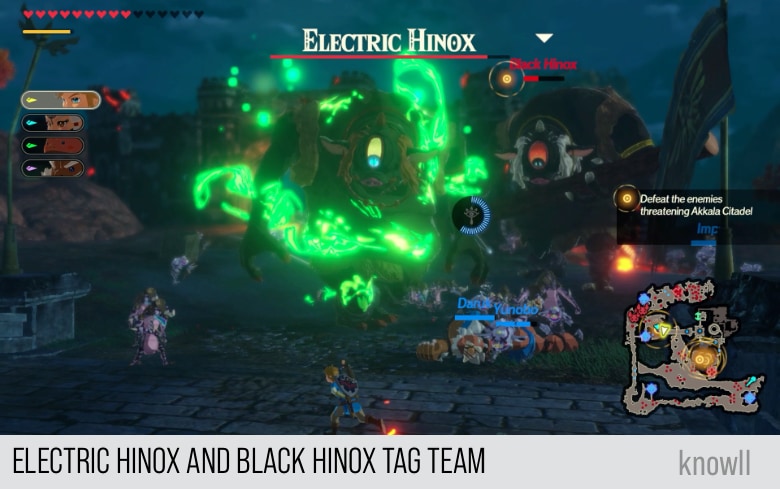
There will be a series of monsters coming through the bridge, one after another. You will face a Guardian, a Black Hinox, and then an Electric Hinox,
Fighting the Electric Hinox
This is the first time the game makes you fight an Electric Hinox. View our Enemies Guide to get details on their attacks and how to effectively defeat them.
Once you have cleared the bridge of these enemies, go ahead and aid Mipha on the South.
Mipha: Link... Now that you are here, I know I can face whatever comes my way.
Mipha: Sidon, are you all right?! We may not be able to rely on Vah Ruta anymore...
Most of the enemies in the South are Silver Bokoblins plus a Flying Guardian, nothing you could not handle. Go ahead and defeat them.
Mipha: All clear in the south!
Hylian Captain: The cannons are just about ready to fire! Everyone, fall back to the citadel!
Objective: Head to the East of Akkala Bridge
The next scene is a scripted event where the enemies on the bridge get blasted by cannons. This explains why in BOTW the main bridge to Akkala citadel is destroyed.
Hylian Captain: Sorry for the wait! Preparations are complete. Fire the cannons at will!
Robbie: Looks like we got them in our sights! And... FIRE!
Robbie: The results are astounding! They are mere fish food now!
Zelda: Time to strike down the remaining enemies. Let's glide down from the cliff into the exercise yard!
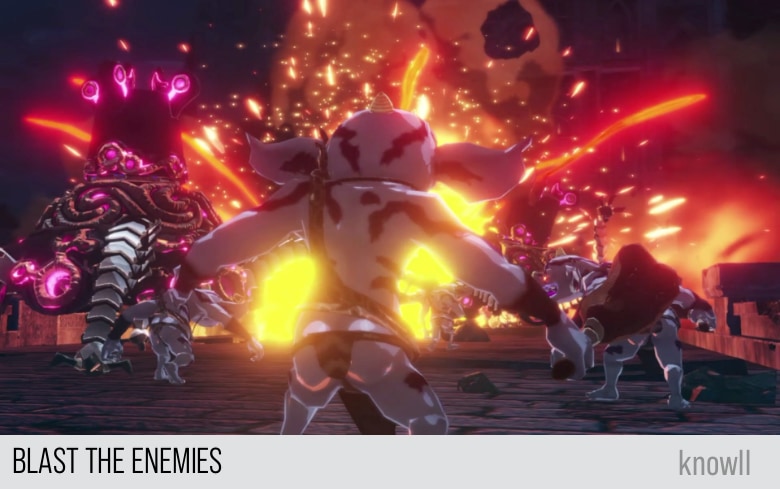
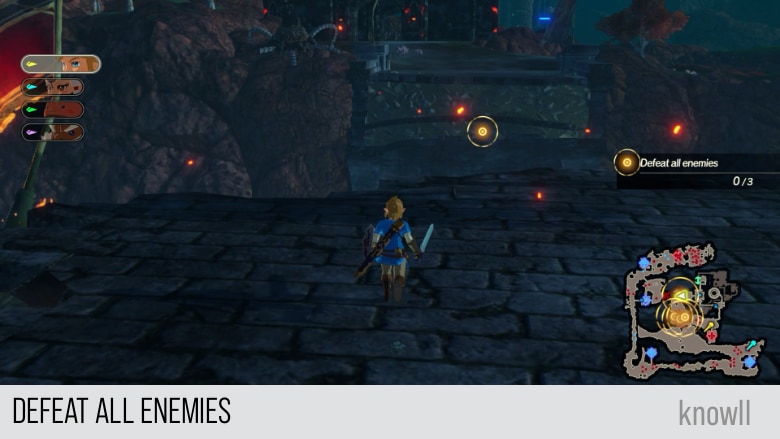
Objective: Defeat all Enemies
Go to the edge of the destroyed bridge and jump down from there. You will face a lot of Bokoblins and three Malice Guardians that are already very weak.
One special attack will be able to kill them all, as long as they are within the range. Go ahead and defeat them all.
Zelda: With this, we were able to defeat all the enemies. I'm so glad we succeeded in defending the citadel.
Mipha: Commendable, Sidon! You deserve our thanks. As does Vah Ruta, of course.
Sidon: No, Sister. The glory is yours alone, as expected. Without you, those soldiers would have perished.
Robbie: Thanks to everyone's hard work and the Divine Beast, we were saved! Thank you! Thank you!
Korok Locations
Every Chapter in the game contains Koroks. The main challenge is that there is no feature in the game that will make them appear on the map.
Hence, we provide all their locations on the area as well as on the map.
Total Koroks: 6
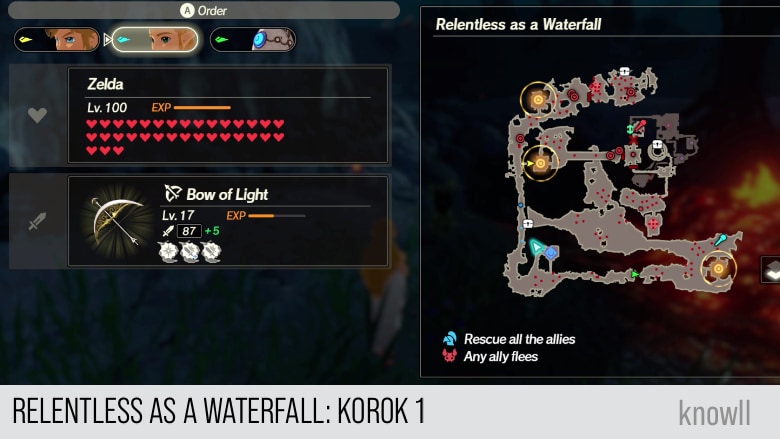
Relentless as a Waterfall Korok 1
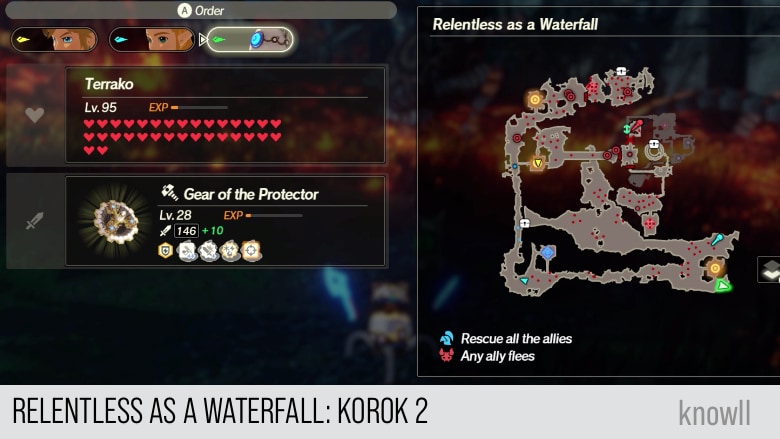
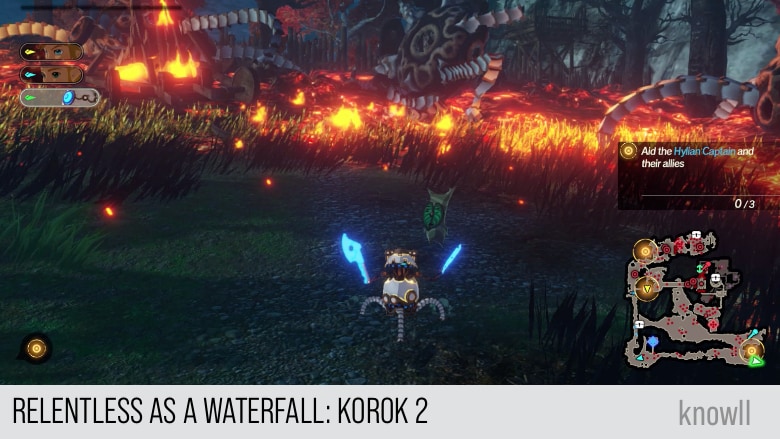
Relentless as a Waterfall Korok 2
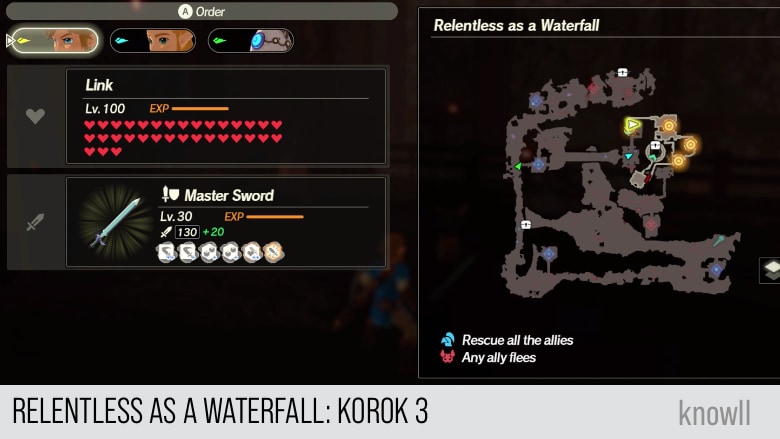
Relentless as a Waterfall Korok 3
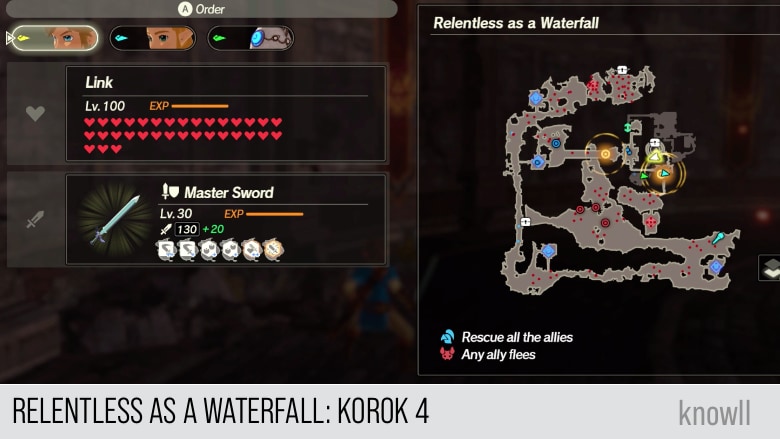
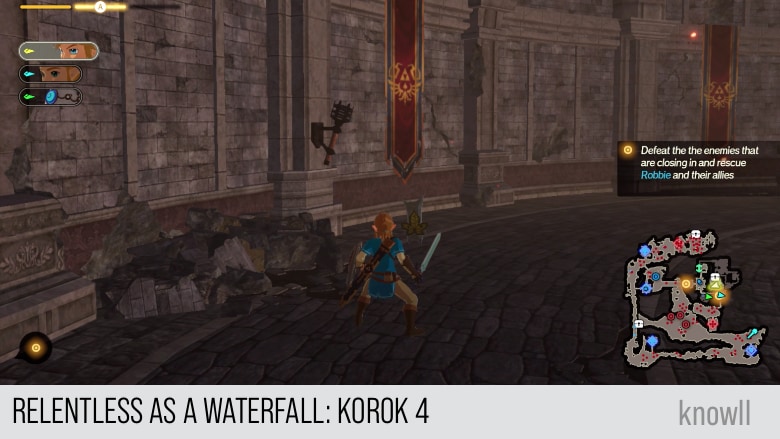
Relentless as a Waterfall Korok 4
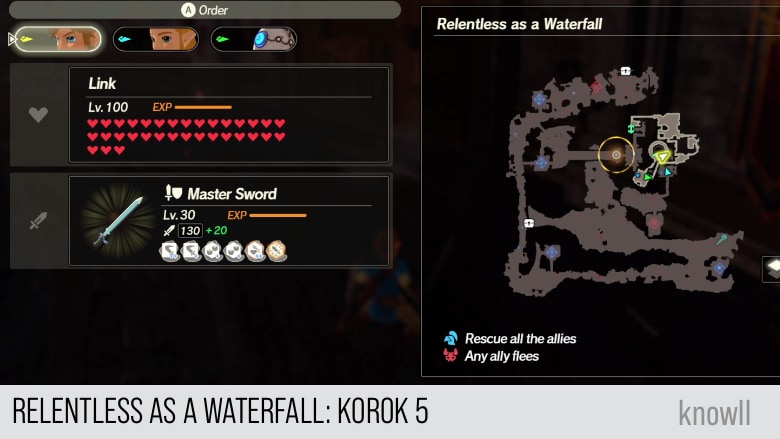
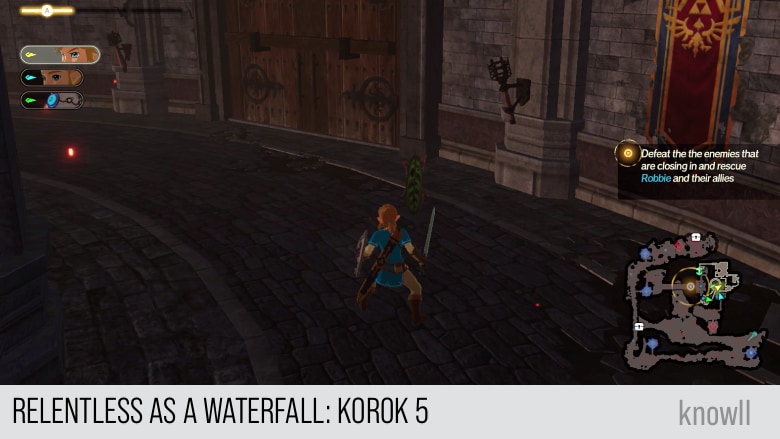
Relentless as a Waterfall Korok 5
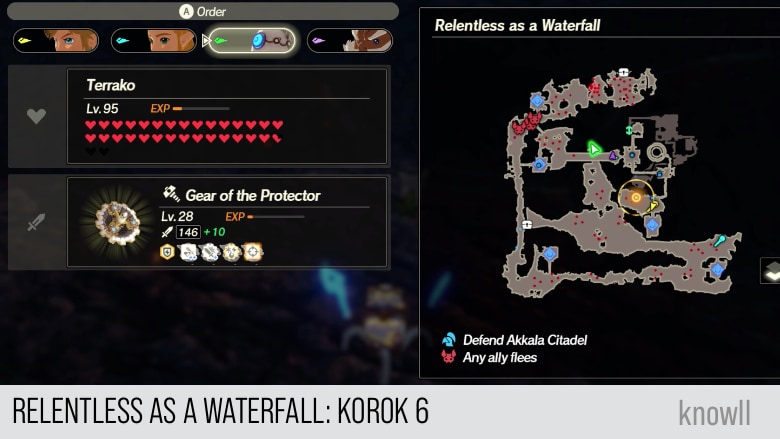
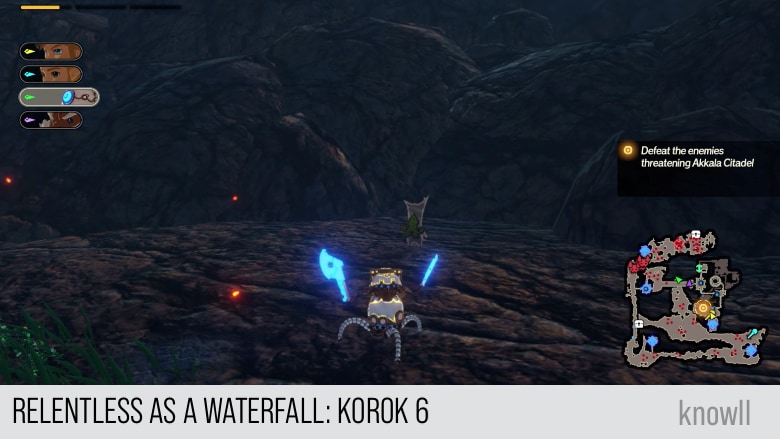
Relentless as a Waterfall Korok 6
Continue the adventure with our next Chapter entry Each Step Like Thunder.