
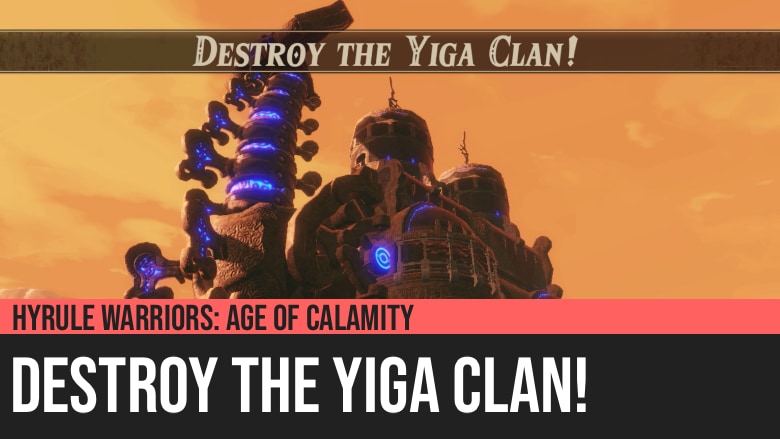
Hyrule Warriors: Age of Calamity - Destroy the Yiga Clan!
Hyrule Warriors: Age of Calamity - Destroy the Yiga Clan! is the second part of Chapter 4 of the game. Reclaiming the Sheikah Tower gives the party an invaluable advantage. With the Yiga Clan's hideout located, Urbosa boards Naboris and prepares to attack.
This Chapter gives you the first experience of fighting a massive number of enemies using Vah Naboris, the most destructive Divine Beast in the game. It also provides you one of the best boss fights with Master Kohga and Sooga combining forces to defeat you.
Treasure Chests and Koroks
- 8 Koroks
- 8 Treasure Chests
Battlefield-Specific Materials
- Mighty Bananas
- Raw Bird Drumstick
- Raw Meat
- Raw Prime Meat
- Raw Bird Thigh
Special Rewards

Sheikah Towers Restored
Now that the network of Sheikah Towers had been restored in full, the Sheikah Slate bestowed upon Zelda's party detailed knowledge of all Hyrule.
Empowered with this immense trove of knowledge, Purah began running calculations to locate monster camps and the Yiga Clan hideout.
In hopes of heading off an assault on Hyrule Castle before it could begin, Urbosa and Divine Beast Vah Naboris were sent on a mission to root out the king's enemies.
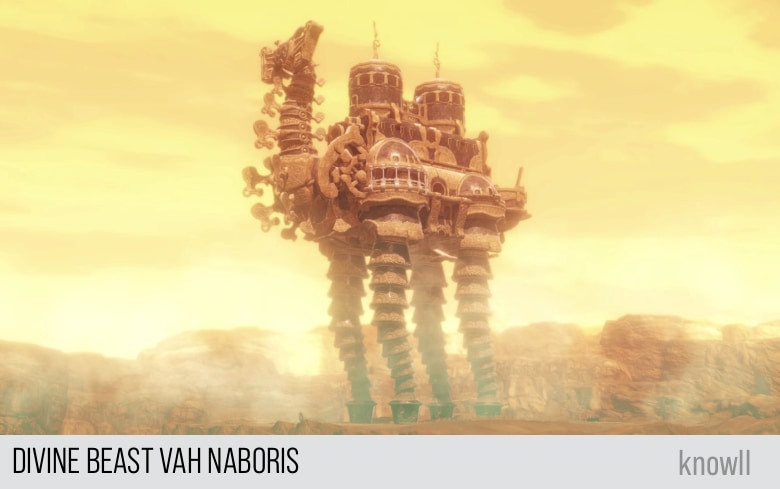
Divine Beast Vah Naboris
In the process of activating the Sheikah Tower in each region of Hyrule, the party learns valuable tactical knowledge, including the location of the Yiga Clan's hideout. Aiming to take them out in one fell swoop, Urbosa boards Vah Naboris.
Urbosa: Well, it's time. You and I must now ride into battle without the luxury of training.
Urbosa: Then again... Experience is the best teacher.
Objective: Defeat the Yiga Clan while Heading for the Yiga Clan Hideout
By default, the game turns on Motion-Control aiming. In other words, by using the Switch, you can target enemies and do battle.
Motion-Control Aiming - Turn On or Off?
However, we highly recommend that you turn-off Motion-Control aiming. The main reason is that it is much easier to play the game with Motion-Control aiming turned-off.
If you would like to experience it yourself, do the battle with it turned on. You can later repeat the Divine Beast battle with the Motion-Control turned off.
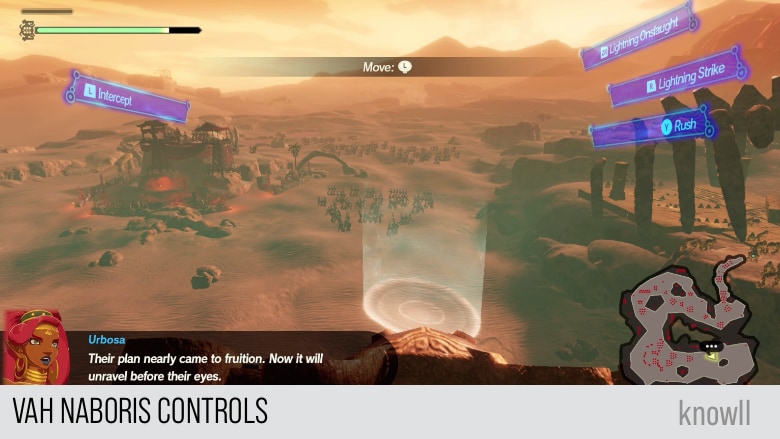
Urbosa: Their plan nearly came to fruition. Now it will unravel before their eyes.
Urbosa: Say a prayer, Yiga. Urbosa is coming.
Go ahead and give the controls a try.
Urbosa: Well done, Vah Naboris. For my part, I am finally getting used to these controls.
Lightning Strike Attack
This is the long-range attack of Vah Naboris. Similar to Vah Medoh's Aerial Bombardment, it is limited to the radius of the target. After knowing the attack Lightning Onslaught, which we will cover next, you will most probably not use Lightning Strike again.

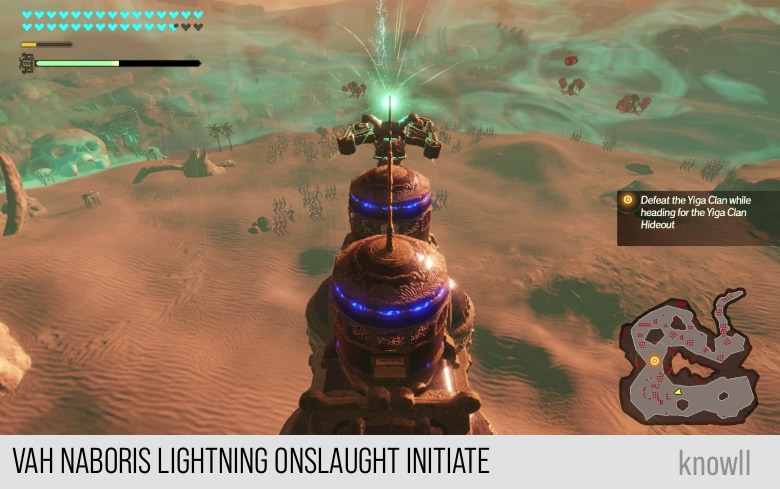
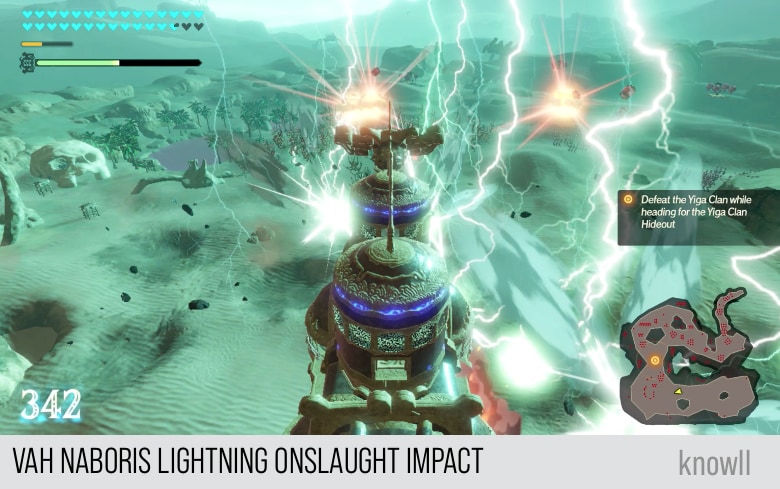
Lightning Onslaught Attack
The Lightning Onslaught is the most powerful Divine Beast attack in the whole game. It could be said that it is even more powerful than any Special Attack of any Divine Beast. That is how powerful and how destructive it is.
What makes this attack most powerful are these reasons:
- This attack has no cooldown. You can fire one after another.
- This attack has the largest AOE in the whole game. It is a sphere that attacks both the air and the ground in a 360 degrees direction, that is, everywhere.
- Compared to Light Blades of Vah Medoh, that only attacks what is in front and only those on air. Plus, Light Blades has a cooldown.
So, with Lightning Onslaught, you do not need any other attack from Vah Naboris. Maybe except for Rush which you need to destroy buildings and obstacles. The lightning attacks do not affect those.
The attack initiates by forming the sphere which tells you how far the attack will go.
Once the sphere is formed, another lightning sphere forms inside and will grow as large as the original. This is the one that will electrocute and destroy the enemies within the boundary of the first.
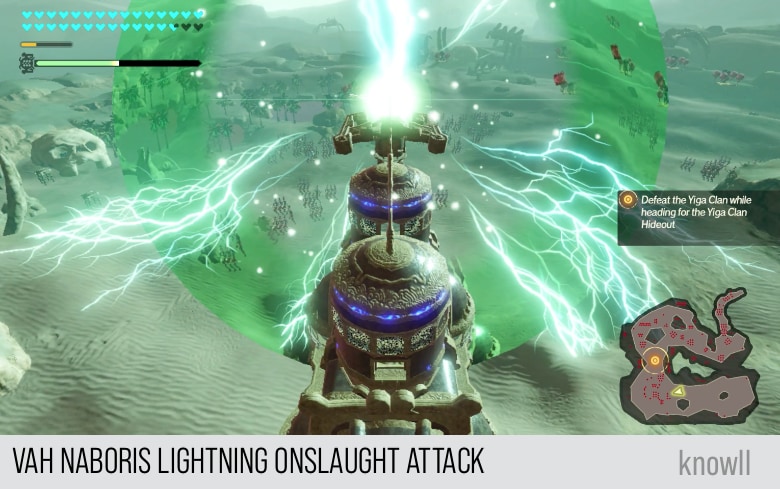
The result is a complete annihilation and destruction of all enemies inside the sphere.
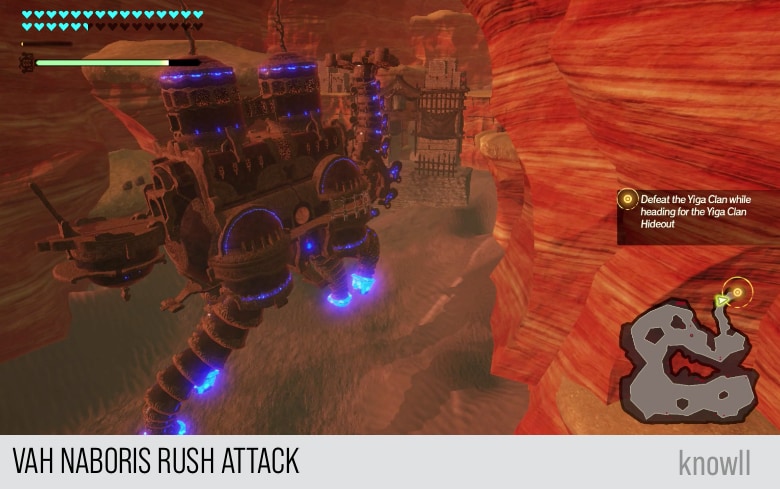
Rush Attack
The only other attack you will need is the Rush Attack, which is useful for destroying structures and blockages.
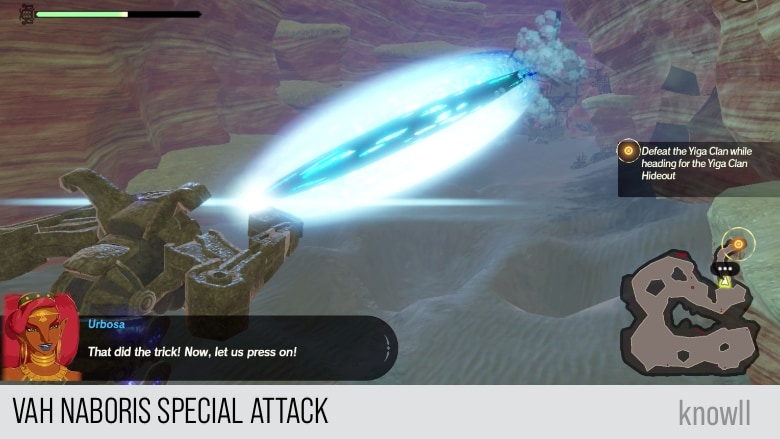
Special Attack
Like the other Divine Beasts, Vah Naboris has a Special Attack that becomes available once its gauge gets filled up.
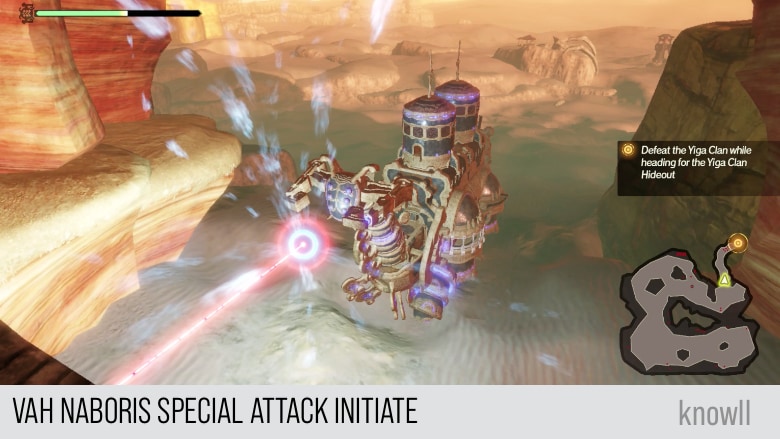
This has a longer range than the Lightning Onslaught, but that one is more destructive and has a more constant output without being limited by a gauge or a cooldown.
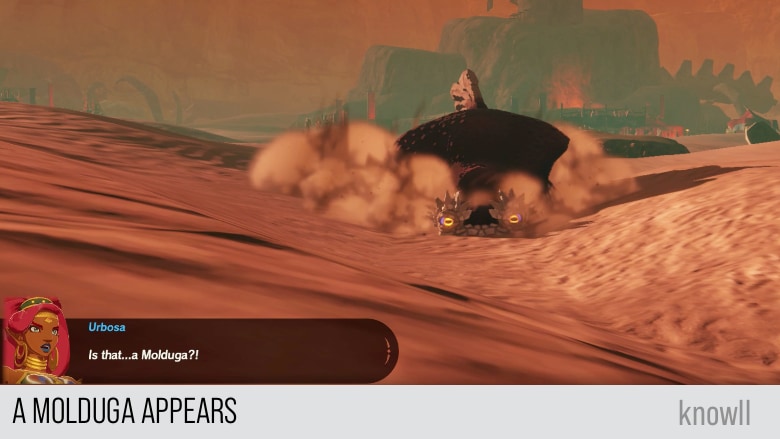
A Molduga Appears
Once you reach the middle of the map, a Molduga will suddenly appear. This will occasionally attack you. But with your Lightning Onslaught, you do not have to worry or fight this directly as well. It will just get automatically destroyed.
Urbosa: Is that... a Molduga?
Urbosa: It must have been drawn to all the noise. Best not to linger.
Ignore the Molduga for now and just keep pressing forward.
Urbosa: Quite a pair we make. Now, to show them the will of the Gerudo!
Urbosa: You have stirred up a tempest, now suffer the lightning!
Once you are near the Targeted Position, obstacles will appear, which you can destroy using either Rush or the Special Attack.
Urbosa: We should be near the hideout now. Prepare to fight for your lives, Yiga!
Destroy the obstacle below with Rush, as it does not have a cooldown or a gauge.

Urbosa: This is our chance. Let's charge and then smash our way through!
Urbosa: That did the trick! Now, let us press on!
Finally, after defeating the enemies and structures with Vah Naboris, your party can continue the attack.
Urbosa: Good! With that done, we can push forward to their hideout.
Attack on the Yiga Clan
Using Purah's insights, Urbosa easily accomplished her mission. Thus were Zelda and the others witness to the immense capability of the Sheikah Towers.
The Vah Naboris mission cleared a path directly to the Yiga Clan hideout. Looking to exploit this advantage, the Champions moves in to strike at once.
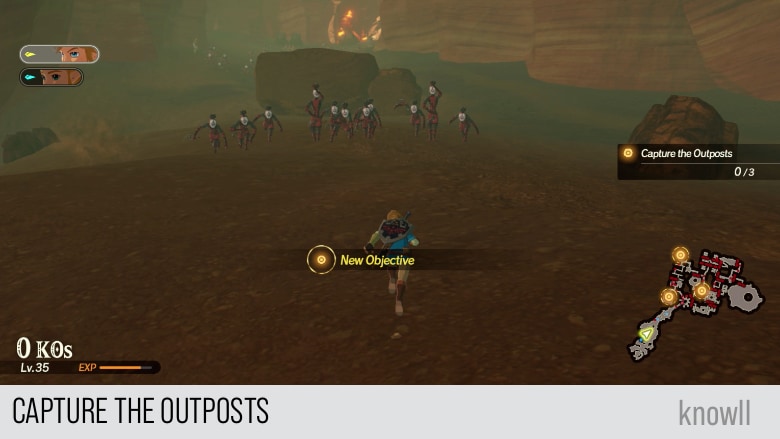
Objective: Capture the Outposts
Now that Vah Naboris has cleared the path, it's time for our heroes to continue the attack on the Yiga Clan.
You will be facing a number of Yiga Blademasters, in addition to Yiga Footsoldiers. You can view our Enemies Guide for more tips on handling them.
Urbosa: Our scouts located the critical facilities within the hideout. We can topple the Yiga's entire operation.
Urbosa is referring to two special rooms in the hideout, their Stock room, and their Weaponry.
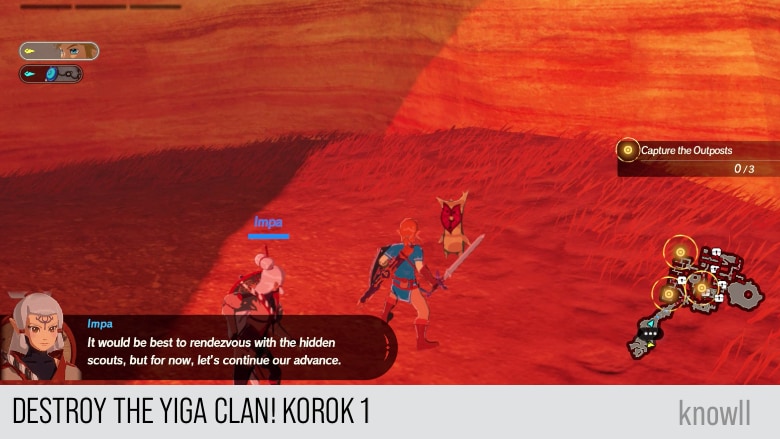
Impa: It would be best to rendezvous with the hidden scouts, but for now, let's continue our advance.
Impa: The Divine Beast completely razed the entrance. Incredible.
Urbosa: Vah Naboris is powerful, yes. But now we have to push forward without its help.
Upon seeing Bokoblins inside the hideout, Urbosa gives this comment.
Urbosa: Devious. How they managed to tame such monsters, I do not know.
The second outpost is their Stock room.
Urbosa: The Yiga Clan's stockpile.
Yiga Footsoldier: Hands off our supplies, you dirty do-gooders!
The third outpost is their Weaponry.
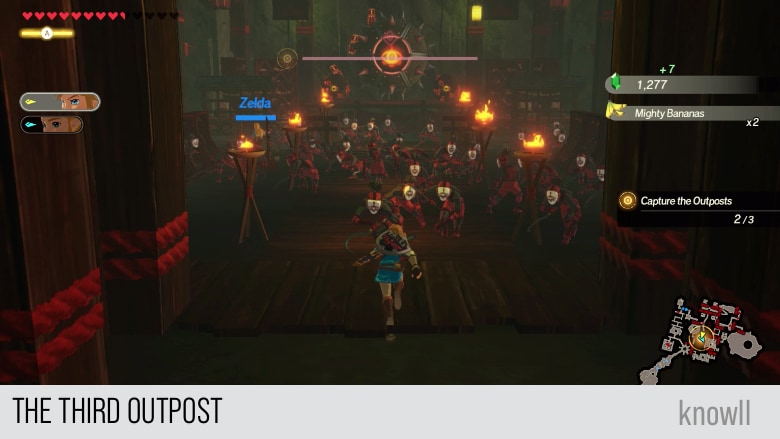
Impa: The weapon cache has been captured! We must keep up the pace.
Urbosa: We must rendezvous with the scout. Quickly, head for the canals.
Objective: Head for the Scout
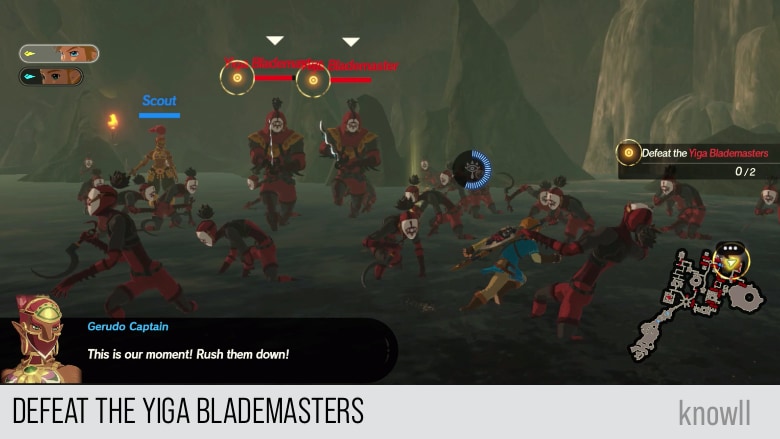
After capturing the outposts, it's time to head for the Scout and defeat the Yiga Blademasters.
Urbosa: I'll be there soon. Try not to die in the meantime.
The Scout is being surrounded by the Yiga Blademasters!
Gerudo Captain: This is our moment! Rush them down!
Scout: The enemy leader is in the square at the very back... I don't know how to get there. I'm sorry.
The scout is referring to a hidden path that will be revealed later. This is a similar path that was present in the BOTW, where you found a short cut to Master Kohga's napping place.
Scout: The Yiga captured my friend and took her to the dungeon. Please find her!
Urbosa: She let herself get ensnared in their web? Sounds like a reckless one.
Impa: We had better break her out quickly. She may have useful information.
Objective: Rescue the Scout
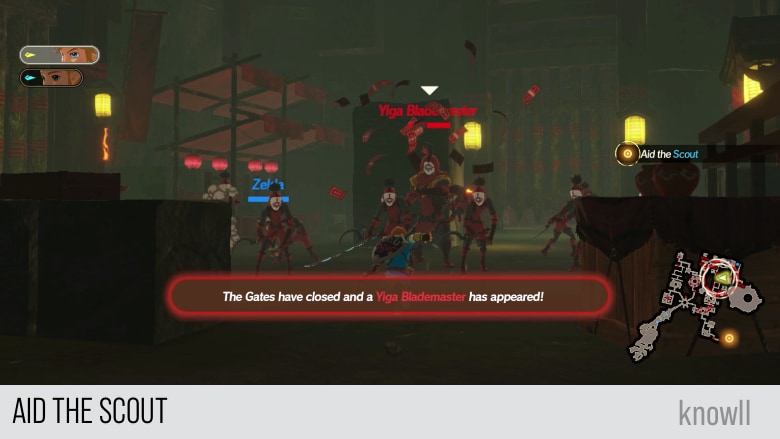
On your way to the scout, a Yiga Blademaster will appear.
The Gates have closed and a Yiga Blademaster has appeared!
After defeating the enemies, proceed to the location of the captured scout.
The Scout has been discovered!
Urbosa: Tell me, what happened?
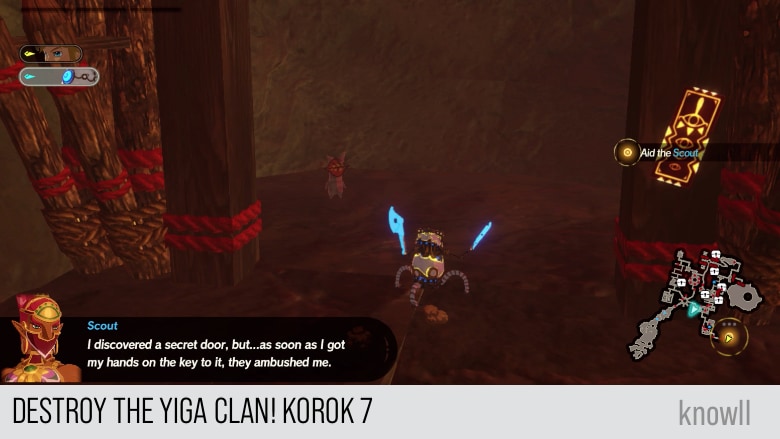
Scout: I discovered a secret door, but... as soon as I got my hands on the key to it, they ambushed me.
A Yiga Blademaster has appeared!
Urbosa: There's the guard! Wipe him out!
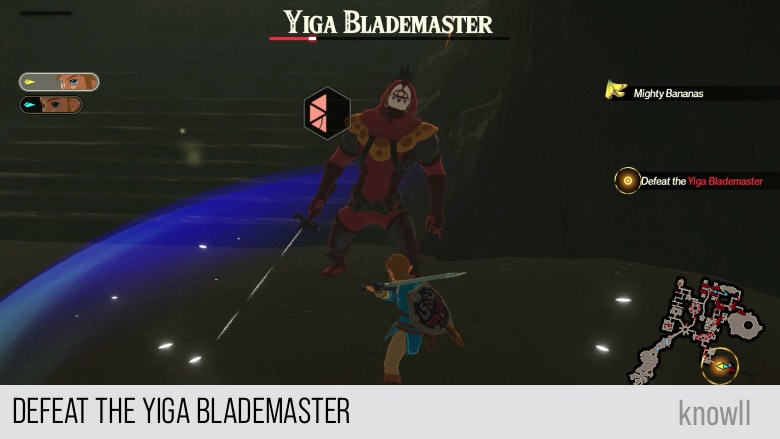
Defeat this last Yiga Blademaster so you can access the hidden path.
Objective: Defeat the Yiga Blademaster
Once you defeat him, you will acquire the key.
You have retrieved the key from the Yiga Blademaster!
Urbosa: You're free. Count yourself lucky, vai.
Scout: Thank you. Here is where to find the hidden door.
Your whole party will be moved in front of the hidden door. No need to search for it.
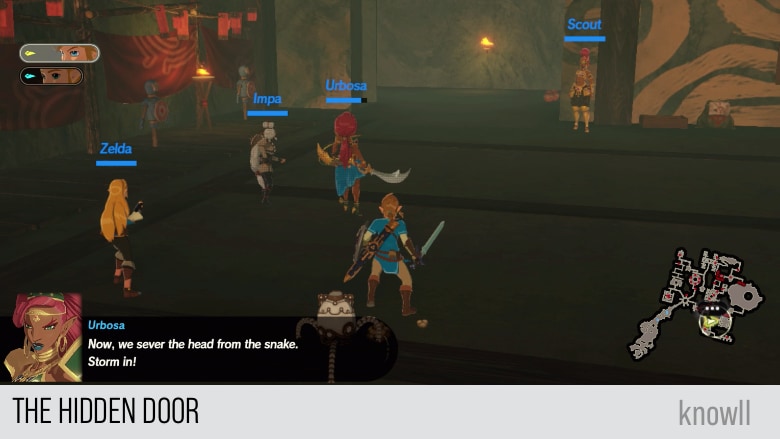
Urbosa: Now, we sever the head from the snake. Storm in!
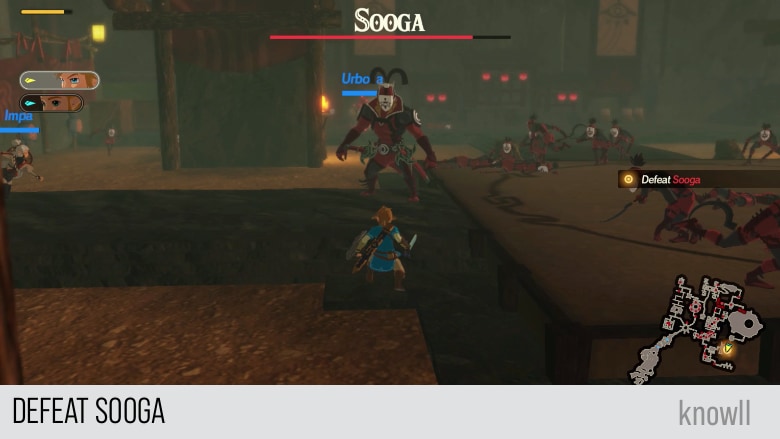
Objective: Defeat Sooga
It will not be that easy though. Before reaching the Targeted Position, Sooga will appear.
Sooga: You go no further.
We have covered Sooga's moveset and attacks in previous chapters. You can view our Sooga Guide for more tips.
Sooga: It seems they have bested me. Well then, I haven't a moment to lose in balancing the scales.
Impa: Phew... That was close. Now then, let's hurry.
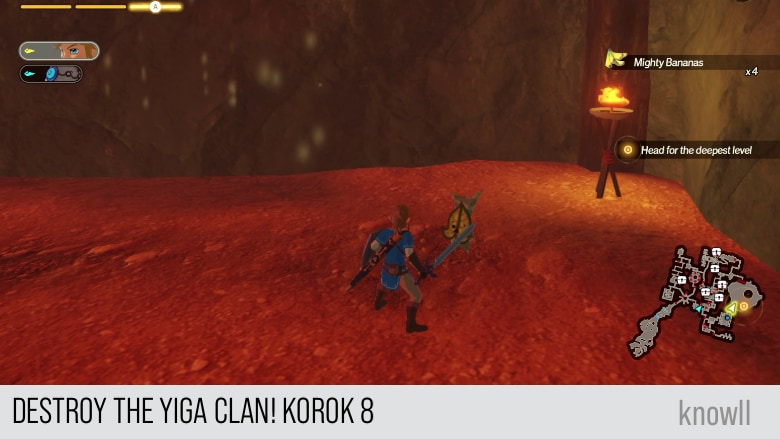
Objective: Head for the Deepest Level
After winning the fight with Sooga, the door shown below will open up and a new target position will be shown.
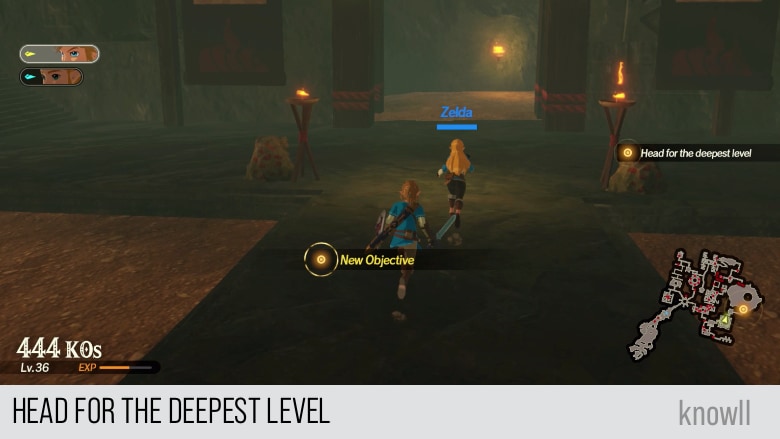
It is time to face the final boss of the quest.
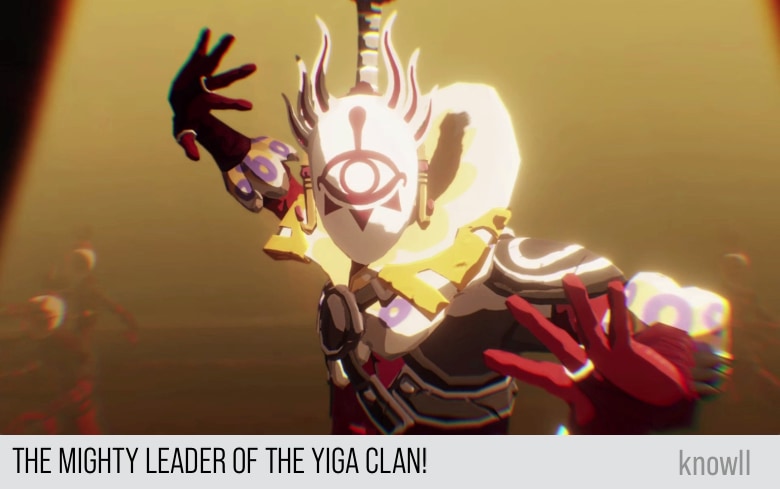
The Mighty Leader of the Yiga Clan
The party has finally managed to corner the Yiga Clan, but Master Kohga refuses to go down without a fight - for some reason, he appears incredibly confident. After taunting the party, Kohga rushes to battle, henchmen in tow.
Master Kohga: Upsy-daisy... Look what you did! Well! I don't mind. I don't mind one itsy-bitsy bit.
Master Kohga: And do you know why, hm? Because your thread's about to get cut, and I'm the shears. SNIP! SNIP!
Master Kohga: Yes! What a relief it will be when you meddlers are out of the picture!
Master Kohga: Today! Right now, in fact! The stupendous chief of the Yiga Clan, MASTER KOHGA...
Master Kohga: ...is gonna KILL YOU ALL... TO DEATH!
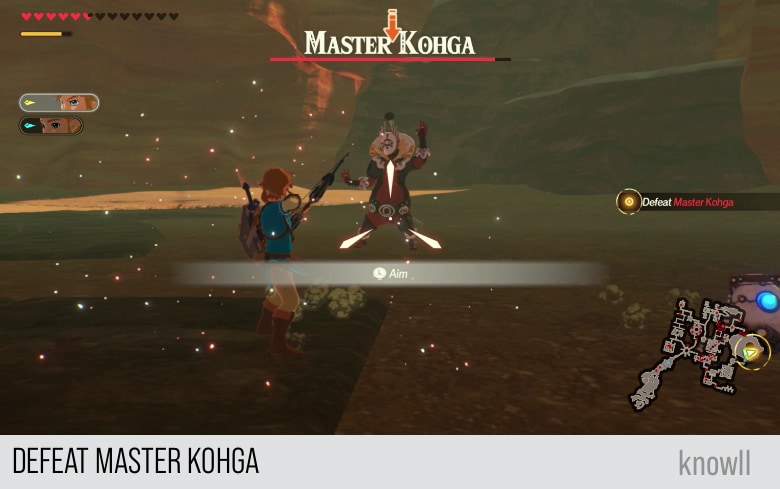
Objective: Defeat Master Kohga
This is the second time you face Master Kohga in a Chapter Entry. We covered his moveset and attacks in Urbosa, The Gerudo Chief. You can view our Master Kohga Guide for more tips.
Urbosa: Yiga cowards, you will pay for the suffering you have caused!
Master Kohga has the following attacks which we already covered earlier.
Telegraphing Attacks
- Bomb Attack
- Float Attack
- Rolling Bomb Attack
- Multi-Bomb Attack
Non-Telegraphing Attacks
- Slice Attack
- Jump Attack
- Bind Attack
Similar to Sooga, he will have new attacks in this second encounter.
Barrier Attack
Master Kohga spams this attack a lot. With Barrier Attack, he creates a force field which he pushes towards you.
You can see the telegraph when he raises his feet, as though forming the plane he will push later.
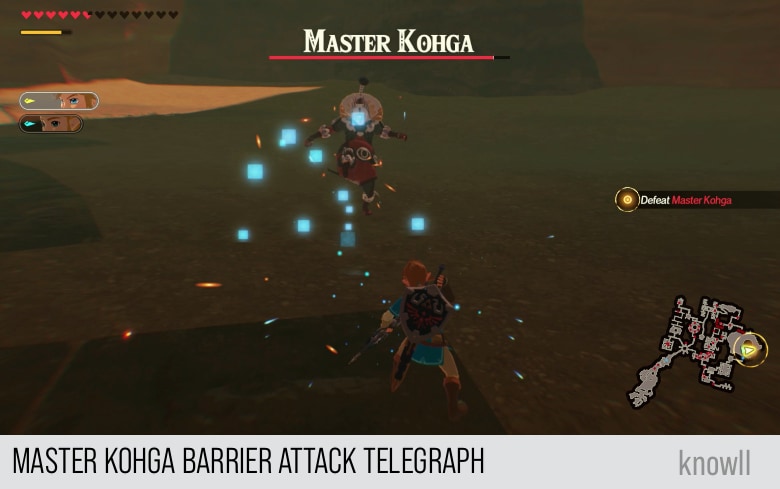
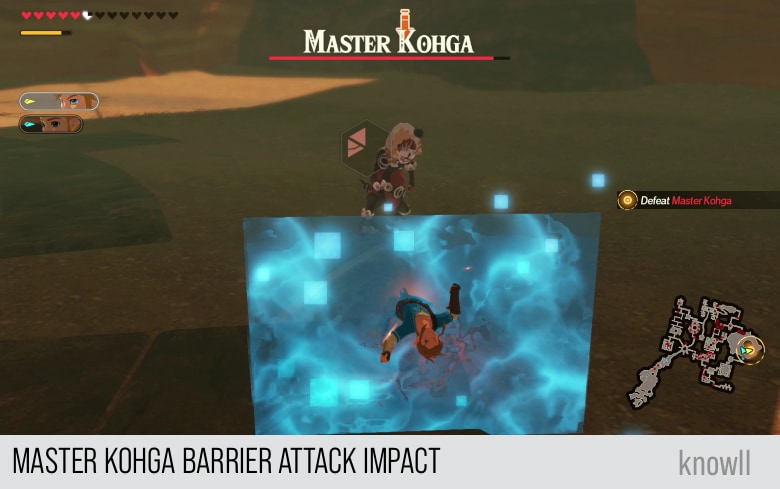
Once the plane is formed, he will kick it and it will move towards you.

This attack will knockback your character. Even though it is one of his spam attacks, it takes almost a full heart.
After losing 25% of health, Sooga will appear and join the fight.
Master Kohga: *huff* *huff* What a *huff* dirty trick!
Urbosa: Keep fighting. Let us turn Kohga's napping spot into his resting place.
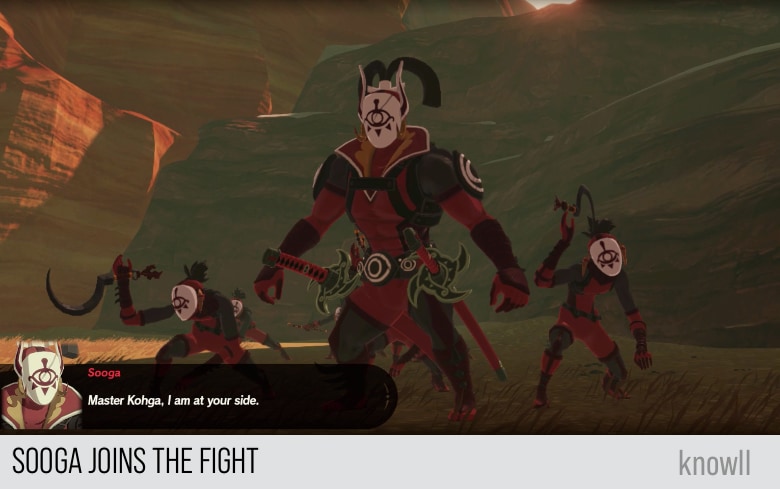
Sooga: Master Kohga, I am at your side.
Master Kohga: Finally, you bum! What took you so long?!
Urbosa: Weakened though he is, that one may pose a threat. Stay on guard.
Note that you don't have to fight Sooga, so focus all of your attacks on Master Kohga. After the fight with him ends, the quest will end as well.
Once the health bar of Master Kohga is fully cleared, he will do one last ancient technique.
Urbosa: Submit, Kohga. It is over.
Master Kohga: Oh no, it's not. I'm gonna dazzle you with my next move, an ancient technique I call... RUNNING AWAY!
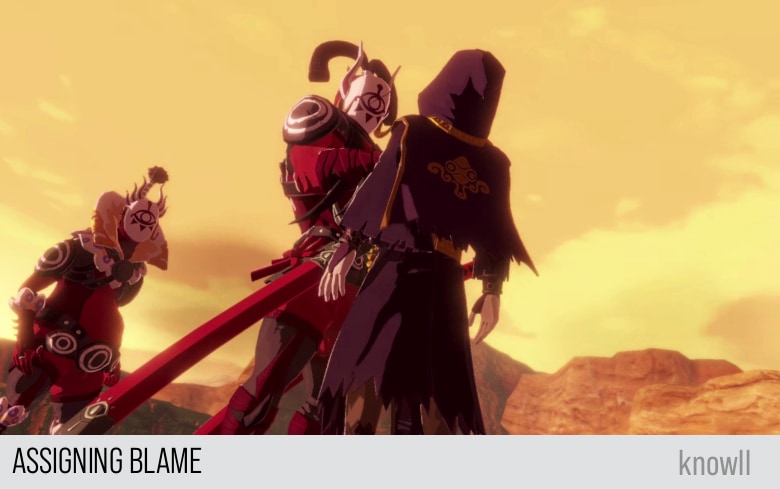
Assigning Blame
Astor appears before the recently defeated Master Kohga, who is outraged that the Yiga Clan's promised victory did not come to pass. Astor simply smiles, stating that all is as it must be, and he warns the Yiga Clan not to oppose him.
Master Kohga: Hey, prophecy man! You missed the part where we get walloped!
Sooga: I am afraid we cannot overlook this failure, seer.
Astor: Hm. Fate decides all... even this defeat. As you well know, if you decided to turn against me... you would make an enemy of Calamity Ganon.
Astor: So you see, then.
Astor: Good. We will need each other's help if we are to achieve our grand purpose. In the name of Calamity Ganon, you and I are bound. Let us turn our eyes to the task before us, yes?
Match of Progress
Having handled the Yiga Clan, Zelda and the party realize how truly valuable the Sheikah Towers are. Purah is eager to continue her research with her newly increased staff. Zelda offers her words of encouragement, though she remains troubled by her own lack of progress.
Urbosa: These Sheikah Towers... They are rather useful, I admit.
Purah: I know, right?! Oh, but just wait! There's one more thing I gotta show ya!
The whole party teleports to the top of the tower.
Zelda: Purah! A little warning would have been nice.
Purah: Sorry, sorry. But look! Is this technology amazing or what?
Zelda: Um.
Purah: Right now we can't teleport many people at once - and anyhoo, there aren't many places we can travel. But with further study, I think these towers will be invaluable!
Purah: Lucky for us, I have lots of new researches on my team too. It won't be easy, but we're not gonna let that stop us, eh?
Zelda: I know that you won't.
Zelda: I wish I could join you, but now...
Zelda: Ah... Anyway, I'm glad for your help, Purah.
Korok Locations
Every Chapter in the game contains Koroks. The main challenge is that there is no feature in the game that will make them appear on the map.
Hence, we provide all their locations on the area as well as on the map.
Total Koroks: 8
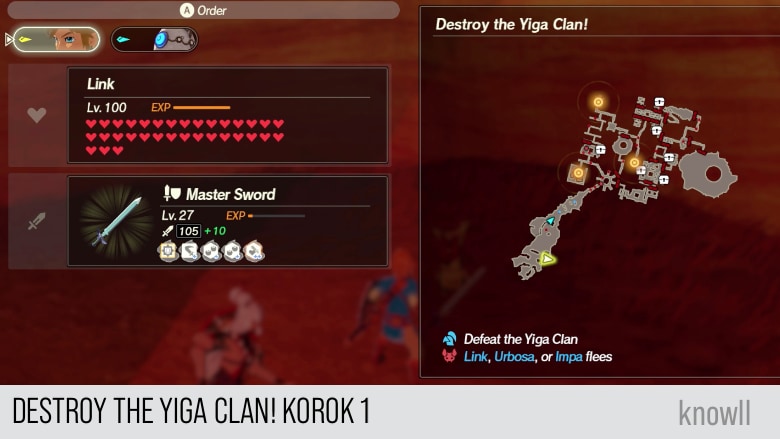
Destroy the Yiga Clan! Korok 1
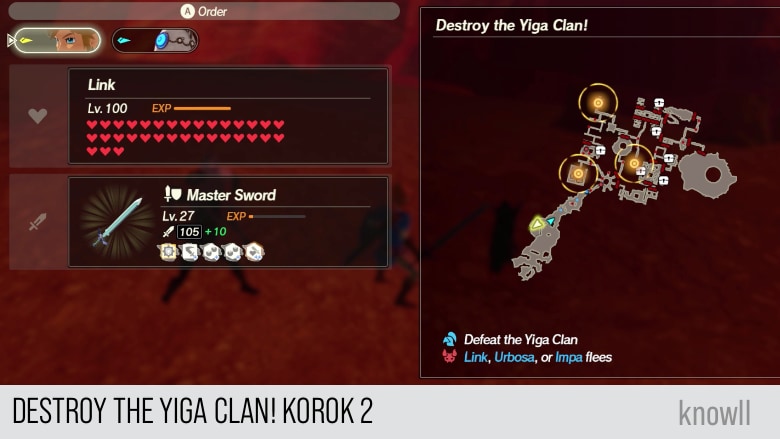
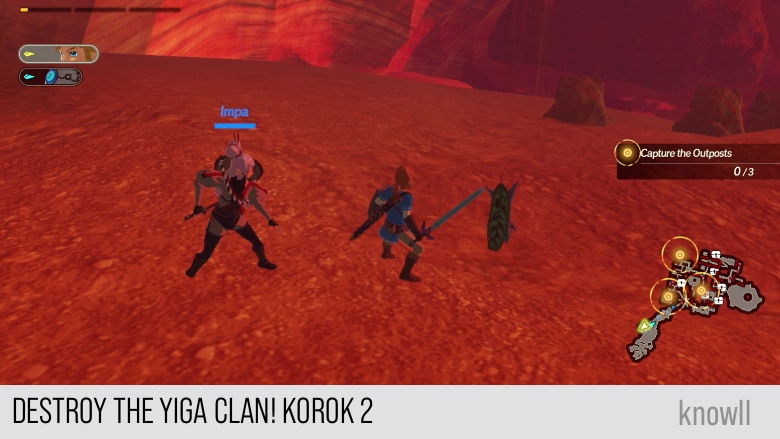
Destroy the Yiga Clan! Korok 2
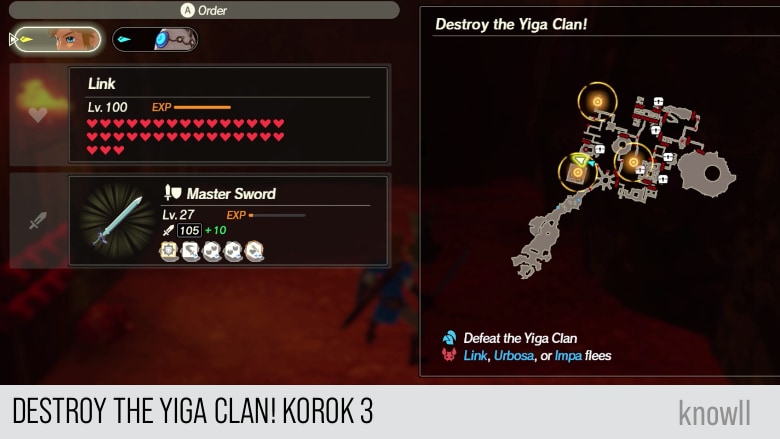
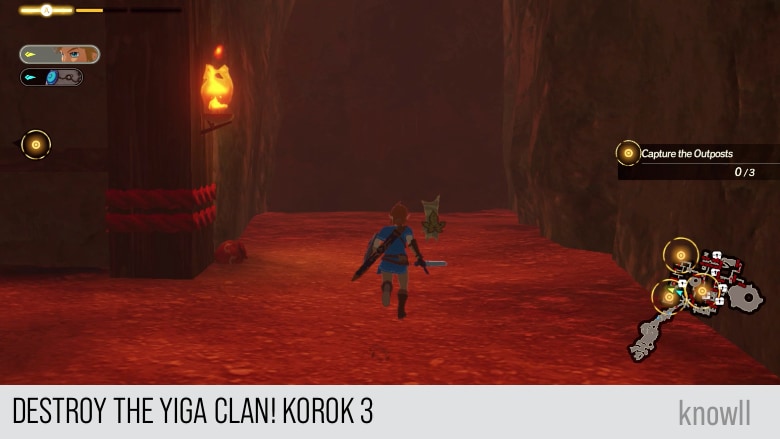
Destroy the Yiga Clan! Korok 3
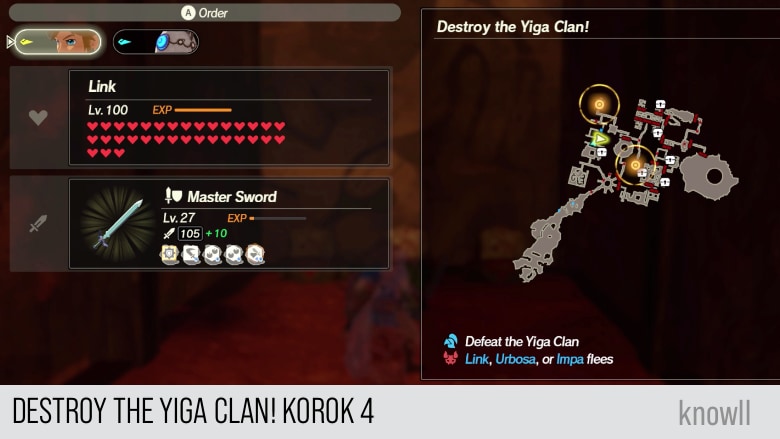
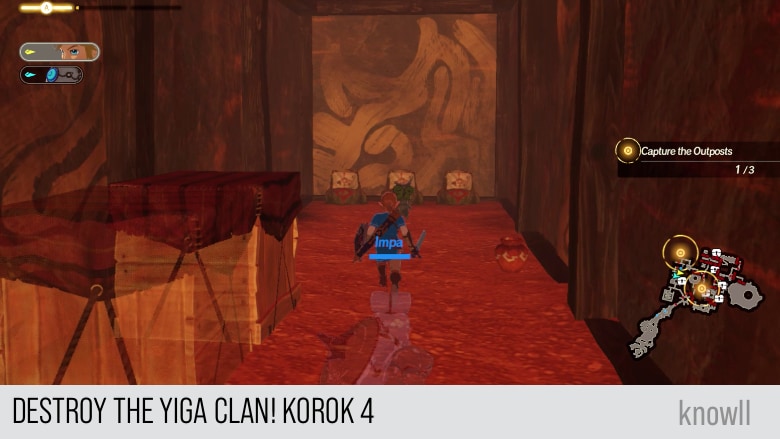
Destroy the Yiga Clan! Korok 4
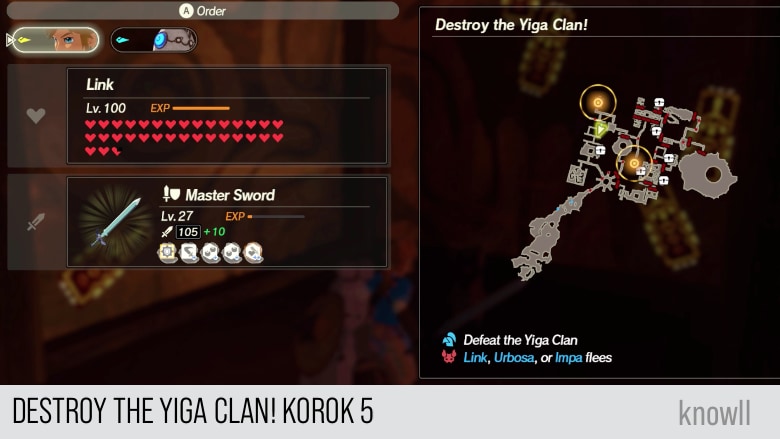
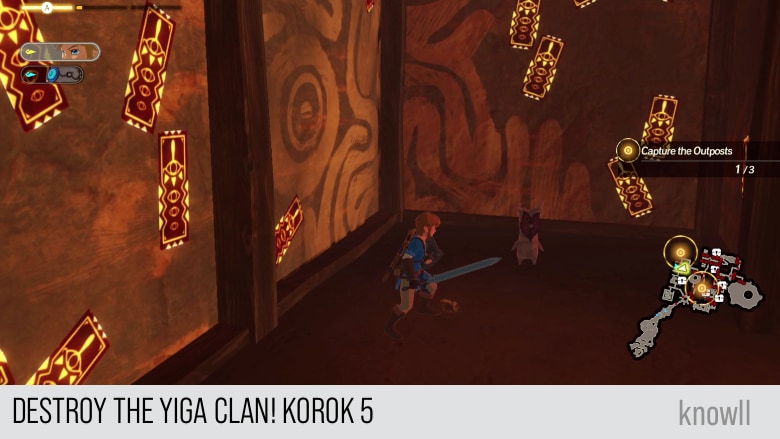
Destroy the Yiga Clan! Korok 5
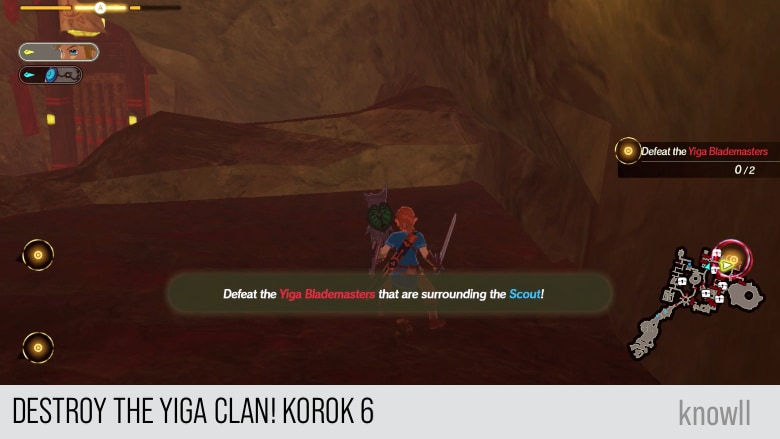
Destroy the Yiga Clan! Korok 6

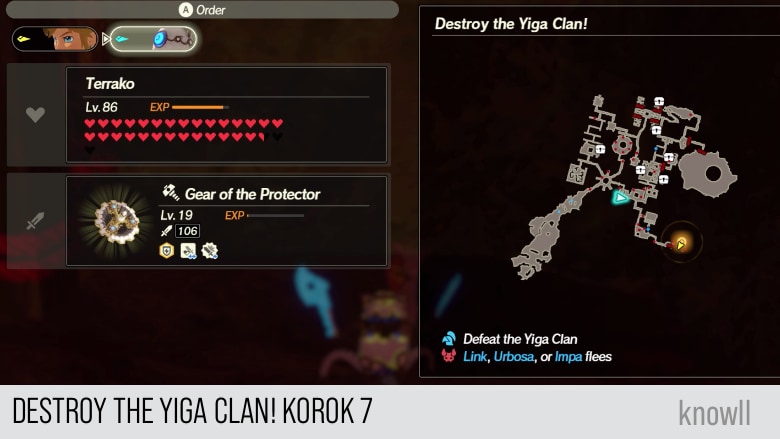
Destroy the Yiga Clan! Korok 7
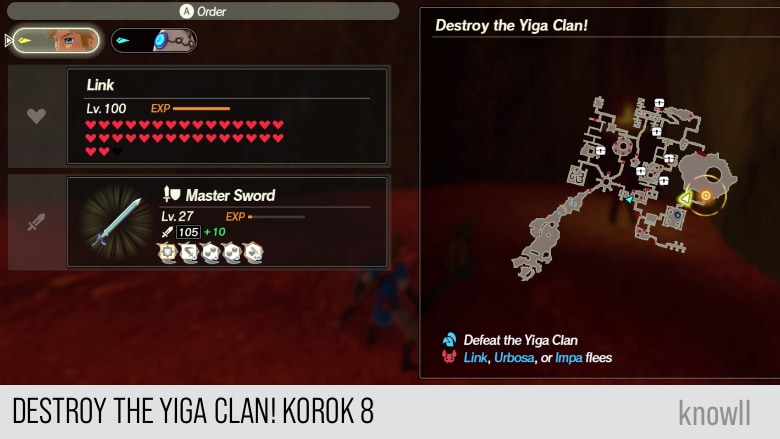
Destroy the Yiga Clan! Korok 8
Continue the adventure with our next Chapter entry When Courage Fails.