
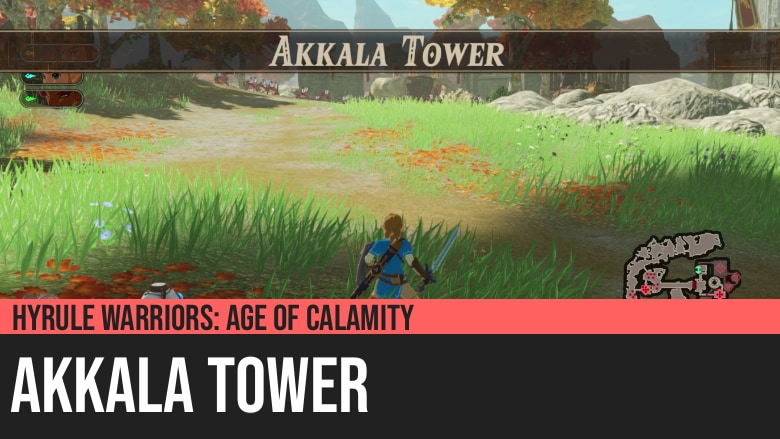
Hyrule Warriors: Age of Calamity - Akkala Tower
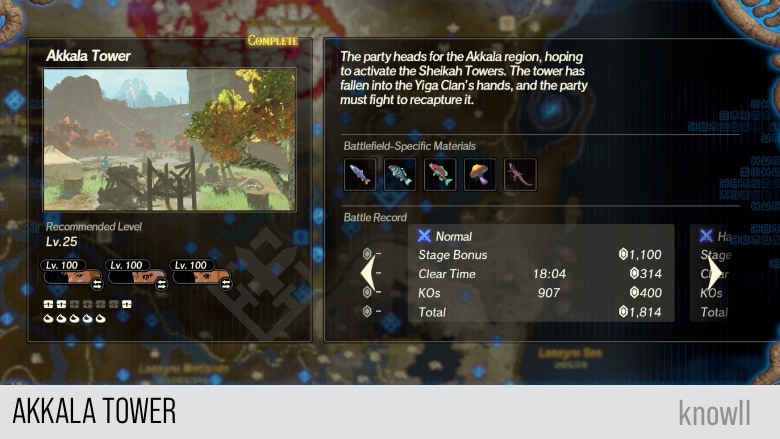
Hyrule Warriors: Age of Calamity - Akkala Tower is the first part of Chapter 4 of the game. The party heads for the Akkala region, hoping to activate the Sheikah Towers. The tower has fallen into the Yiga Clan's hands, and the party must fight to recapture it.
This Chapter continues one of the best boss fights in the game with Sooga, who becomes stronger and gains an improved moveset with new attacks. It also gives you your first Blue-Maned Lynel fight.
Treasure Chests and Koroks
- 5 Koroks
- 7 Treasure Chests
Battlefield-Specific Materials
- Chillfin Trout
- Armored Carp
- Staminoka Bass
- Endura Shroom
- Hightail Lizard
Special Rewards
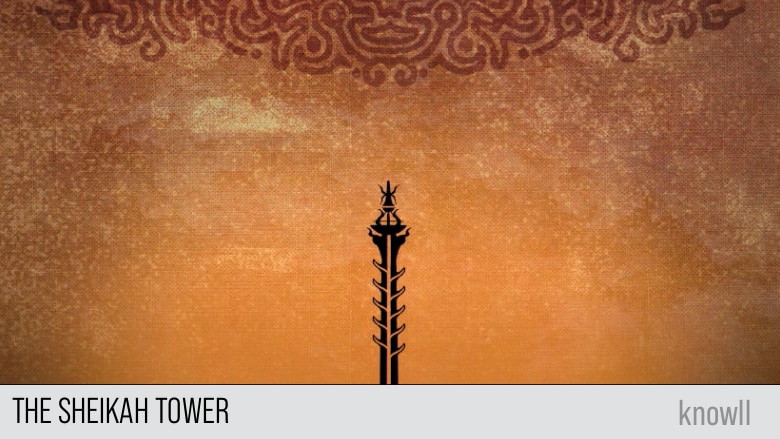
The Sheikah Tower
As the pilots learned how to manipulate the arcane machinery of their Divine Beasts, Purah led a research expedition to the otherwordly edifice that had appeared on Hyrule Field.
This Sheikah Tower was far from the only one of its kind. In fact, such structures were embedded deep in the earth throughout the kingdom, their emergence controlled by a device inside Hyrule Castle.
To activate the control device, they would have to bond the Sheikah Slate with a Sheikah Tower. Zelda, Purah, and the Champions set out to do just that.
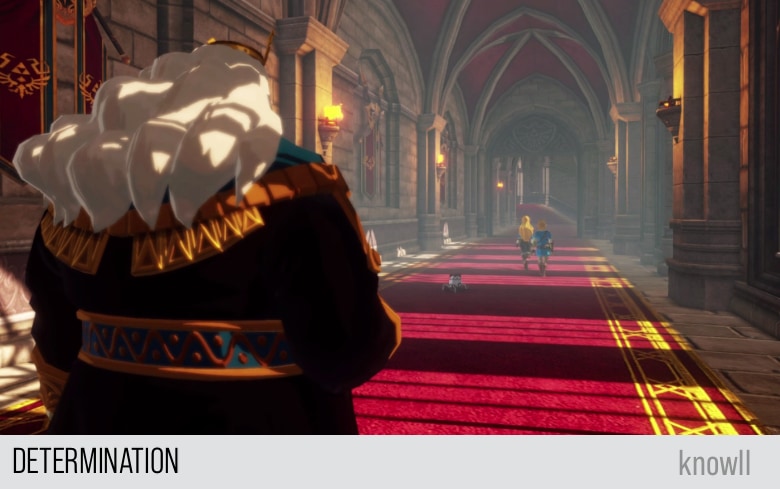
Determination
As Zelda prepares to depart and investigate the Central Tower, King Rhoam confronts her once again on where her focus lies. Zelda musters all of her courage to express her intentions to him, but...
King Rhoam: Studying relics again, hm?
Zelda: Father!
King Rhoam: You think you have time to busy yourself with things like that?
Zelda: It's just that I...
The little Guardian approaches King Rhoam.
Zelda: This is from a long time ago. It's a relic I found one day... while Mother and I were out exploring. Mother and I... we discussed it at some length together. It seemed special, like it might hold hidden powers. Even after all this time, I have yet to unravel its purpose.
Zelda: But, Father, if you allow me to uncover the meaning behind such relics, I believe it could help us to -
King Rhoam: Enough. That is not for you to determine.
Zelda: It doesn't mean I won't continue with my training, Father! But I also want... I want to... explore all options - to do everything that I can!
King Rhoam: Even so, it seems that you are avoiding your duty. Hmmm...
King Rhoam: I will allow it... for now. But do not forget your mission.
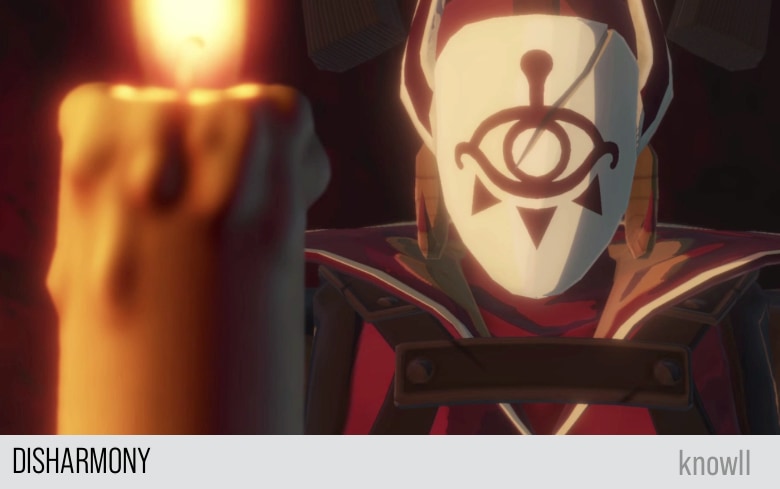
Disharmony
Master Kohga: So if they can fix that Sheikah thingamajig, what does that mean for me - I mean, us?
Sooga: That thingamajig will tell them where we are and what we're doing.
Master Kohga: Our cover would be blown, huh? Sounds like bad news.
Astor: Measures are being taken. Soon you will each have your own parts to play.
Master Kohga: Respect, Sooga! This is a directive from Lord Ganon.
Sooga: A-apologies!
Astor: This Guardian is possessed by Calamity Ganon, harbinger of destruction. With it, I will bring this world to its knees.
Sooga: You are blind, "seer." Calamity Ganon... is not for mortals to control.
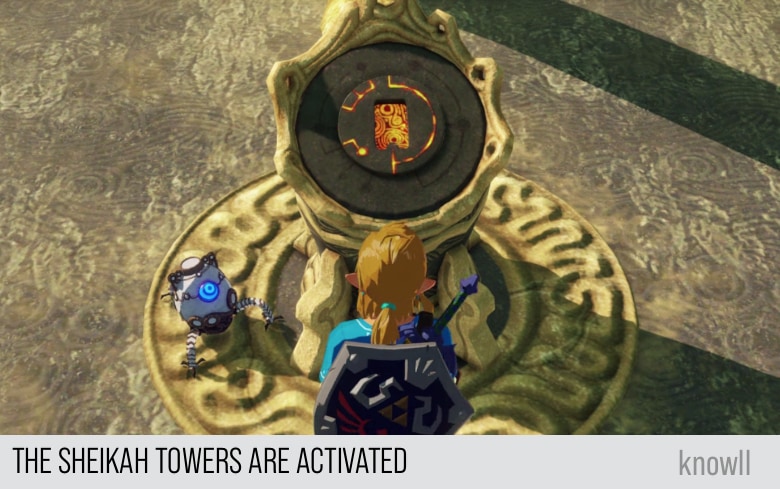
The Sheikah Towers are Activated
Guided by the little Guardian, Link presents the Sheikah Slate to the terminal of the Central Tower, causing the tower to activate and rise up into the air. At the same time, the towers in other regions also rise up. Purah, observing this, cries out in excitement.
Purah: It wooorked!
Zelda: Yes! You did wonderfully!
Purah: One down, and a whole lot more to go! Time's a wasting, right?
Activating the Sheikah Towers
Zelda and the others had successfully activated the Central Tower. Under Purah's guidance, they embarked on a mission to restore the ancient structures all across Hyrule.
They had no notion that a shadowy foe was amassing all its might to disrupt their quest. The party headed for Akkala, where the final tower awaited - as did a Yiga Clan ambush.
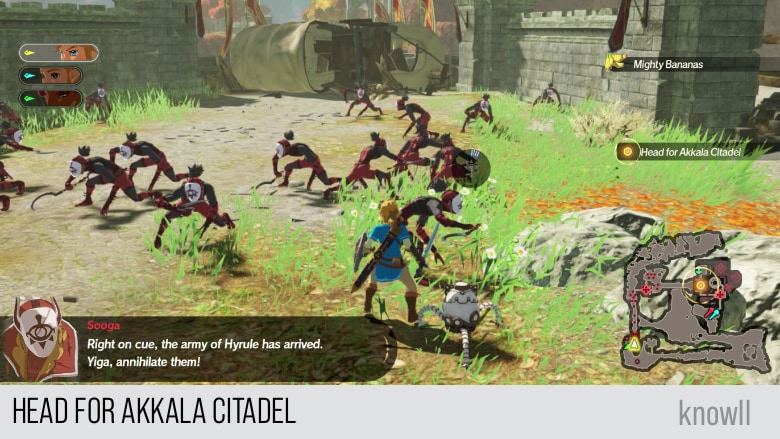
Objective: Head for Akkala Citadel
You have only one main goal for this quest, but you will be clearing any obstacles that prevent your party from reaching the citadel. Try to approach the Targeted Position, and you will face the first obstacle.
Hylian Captain: Report! The Yiga Clan stormed Akkala Citadel - they have already captured it!
Zelda: To reach that tower, we'll have to retake the citadel!
Urbosa: They've blocked the bridge. Well played, Yiga.
Zelda: This place used to have a research lab. Look - the Guardians they were studying are still here.
Zelda: If we can activate a Guardian with the little one, we may be able to clear the path.
Sooga: Right on cue, the army of Hyrule has arrived. Yiga, annihilate them!
Urbosa: We have come all this way. Those who stand against us will meet a swift end.
Objective: Defeat the Yiga Blademasters
The first obstacle is the blockage the prevents access to the main road. It will not be removed until the two Yiga Blademasters are defeated.
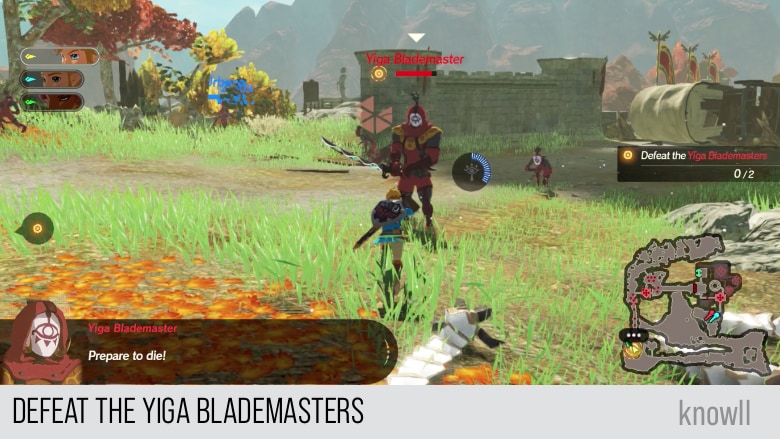
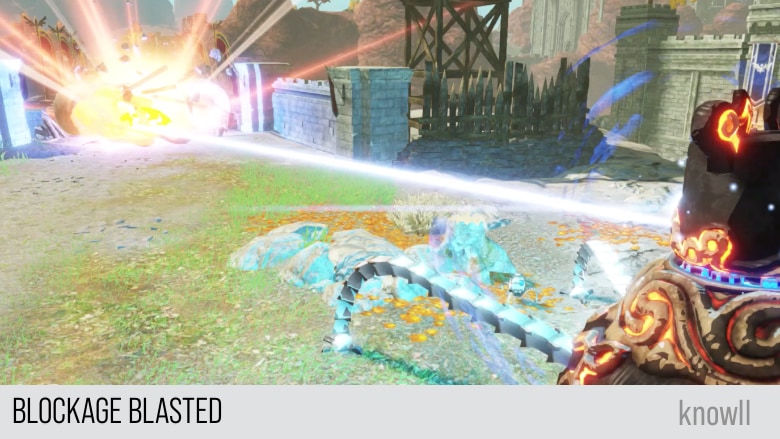
Once the two are defeated, the little Guardian will control the big one to blast the blockage out of the path.
Zelda: All right. Ready, little one?
Zelda: Wonderful!
Urbosa: Another blocked bridge. Can you manage this one too, little knight?
Zelda: The little one is tapped out for now. Perhaps we can use an ancient furnace to provide power.
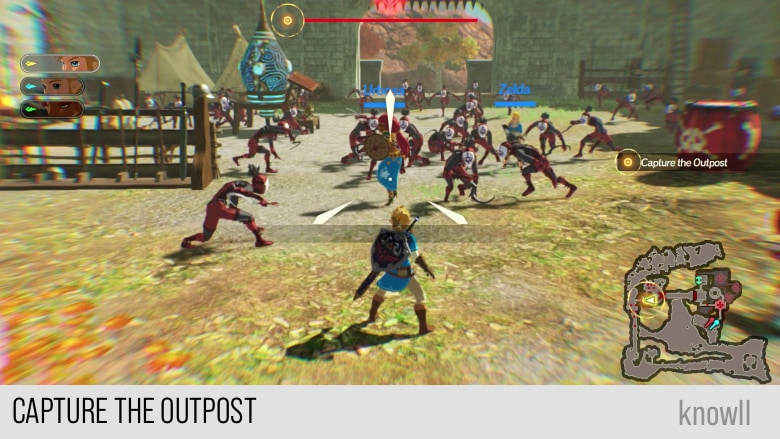
Objective: Capture the Outpost
You need to capture the outpost to clear the other blockage. Defeat the Yiga Footsoldiers inside so you can access the Ancient Furnace.
Zelda: I, too, will perform my sworn duty!
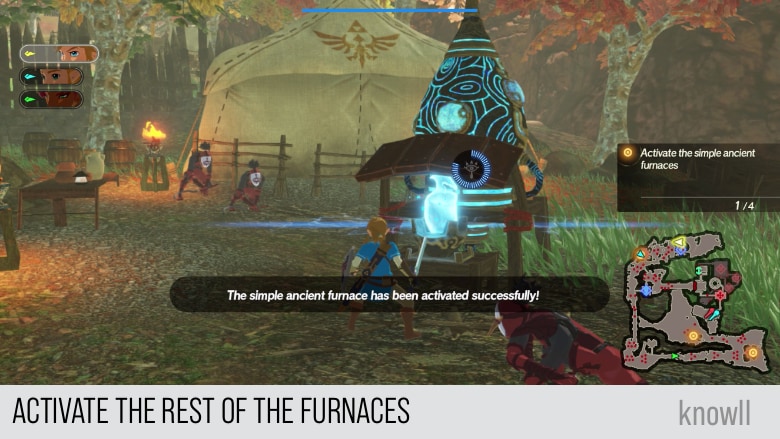
Objective: Activate the Simple Ancient Furnace
Once the outpost has been captured, you will be able to activate the furnace.
Zelda: Let's use the ancient furnace to supplement the little one's energy.

Like earlier, the blockage will be blasted out of the path.
Urbosa: The way is clear. On we go.
Continue moving to the Targeted Position. On the way, there is just one Yiga Blademaster. Defeat him.
Sooga: It seems unwise to leave these odd relics unattended.
Urbosa: The Yiga Clan is in our way, but not for long.
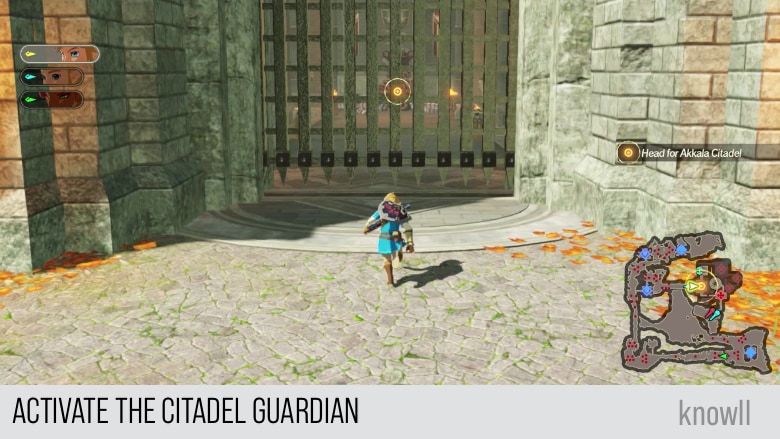
After defeating the remaining Yiga Blademaster, your party will discover that the entrance to the citadel is closed.
Urbosa: Scorching sands! The gates will not open! They excel at slowing us down.
Zelda: I recall a Guardian within the citadel. If we activate it, it could break the gate from within.
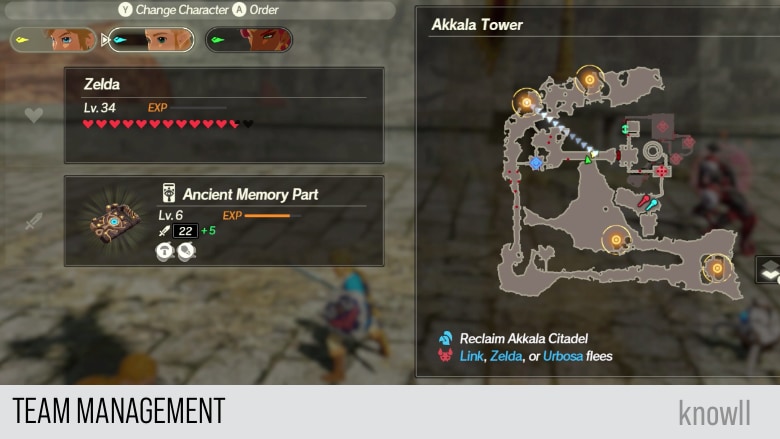
Objective: Activate the Simple Ancient Furnaces
This will be similar to the earlier objective, but this time, there are four furnaces to activate. As there are four of them, you will need proper team management, to minimize running from one point to another. You will save time and effort.
Command your characters to move to a distant outpost. Then control your current character to the nearest outpost. This way, you can be fighting while they are moving to their destination.
Zelda: I imagine that would require even more energy.
Sooga: Now is the time. Destroy the relic!
Zelda: No! The furnace! Without its energy, we can't...
Protect the simple ancient furnaces from the Yiga Clan!
The outposts will have either a Yiga Blademaster or a Moblin, nothing that you could not handle.
Zelda: Come on. Just a bit more. Let's head for the remaining furnaces.
Sooga: This will not be a simple task for you. No, no.
Urbosa: No! We cannot let them destroy them!
Once you have activated all the ancient furnaces, return to the blocked entrance and a cutscene will get triggered.
Zelda: We've done it! We have enough energy now. Let's activate the Guardian within the citadel.
The Guardian in Akkala Citadel has activated.
Yiga Footsoldier: That Guardian's on a rampage! Run awaaaay!
Sooga: My warriors! What are you doing?
Zelda: Now! Into the citadel!
Zelda: All that's left is to chase the Yiga Clan out. Let's defeat their ringleader!
Sooga: There is no alternative now.
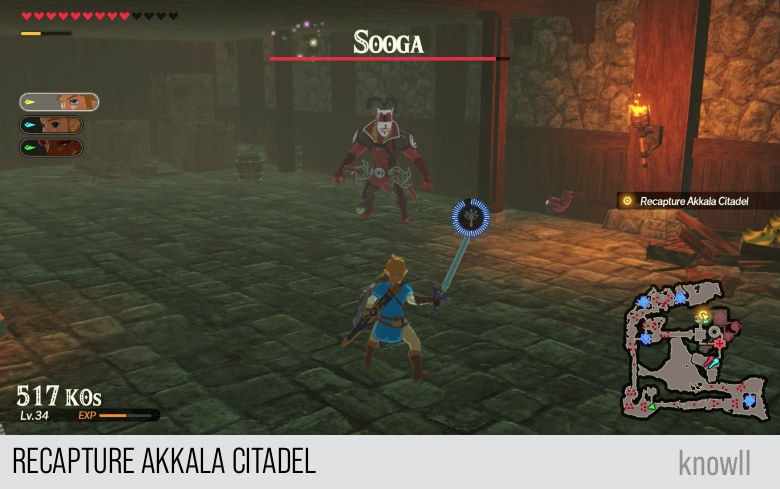
Objective: Recapture Akkala Citadel
It is time to search and fight Sooga, who is hiding somewhere in the citadel.
Sooga: You must face me.
We have covered the moveset and attacks of Sooga in a previous chapter. You can view our Boss Guide to see our tips for fighting him.
Attacks of Sooga
We have covered the following attacks of Sooga. You can expect him to still do them. We will cover his new attacks in the next section.
- Sword Beam Attack
- Teleport Attack
- Bind Attack
- Rush Attack
Once you have cleared 25% of his health, Sooga will disappear.
Sooga: I see you have some skill. Well, then.
Sooga has moved within Akkala Citadel!
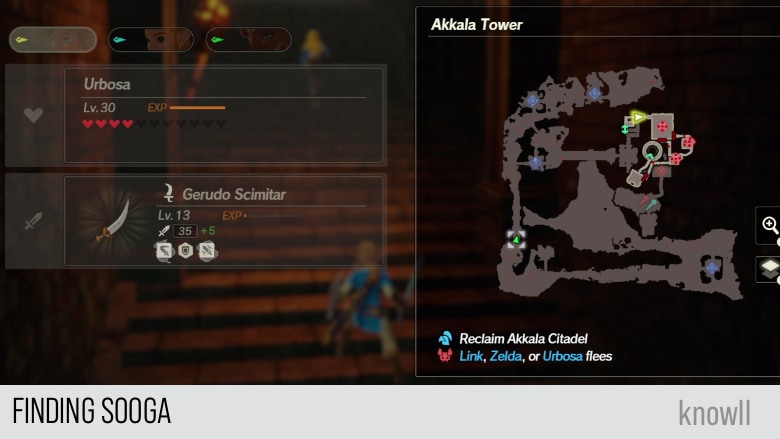
Objective: Seek out and Defeat Sooga
Zelda: Where could he have gone? We must search within the citadel.
Note that while searching for Sooga, you do not need to go back to your previous locations. He will only move forward, so do the same. Just move ahead and explore the rest of the citadel. Do not turn back.
Just keep pressing on.
You will soon reach a large room that is full of Blue Bokoblins. This will present you as well with your very first Blue-Maned Lynel in the game. This will be an upgrade to the Lynel you faced in Zora's Domain. It is stronger, but it has the same moveset. You can view our Enemies Guide for handling the Lynels.

The rest of the outposts you will clear will contain only Lizalfos and Yiga Footsoldiers. Defeat them all.
Once you have reached the third outpost, Sooga will return and fight again.
Sooga: Ah-HA!
Zelda: Agh! Where did he come from?!
With the return of Sooga, he gains new attacks.
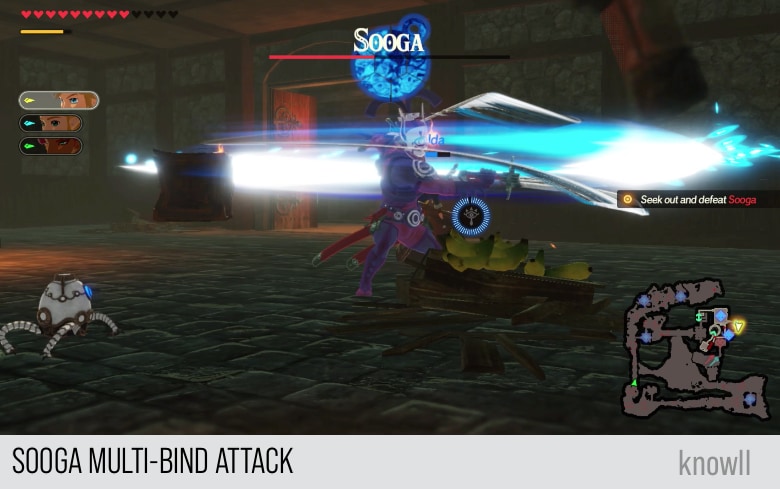
Multi-Bind Attack
As you remembered in the previous chapter, Sooga has a Bind Attack that leaves Link unable to move and then damages him severely. That Bind Attack has one direction only.
The Multi-Bind Attack is more powerful as it can hit in all directions, within a certain radius.
Like all powerful attacks, this one has a telegraph, which you can counter using a Remote Bomb.
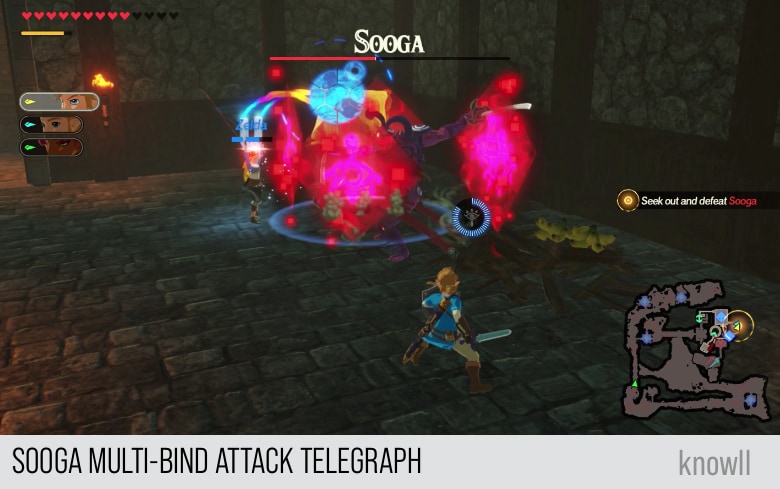
If you do not counter Sooga, he will do a 360-degree attack that will bind you if hit.
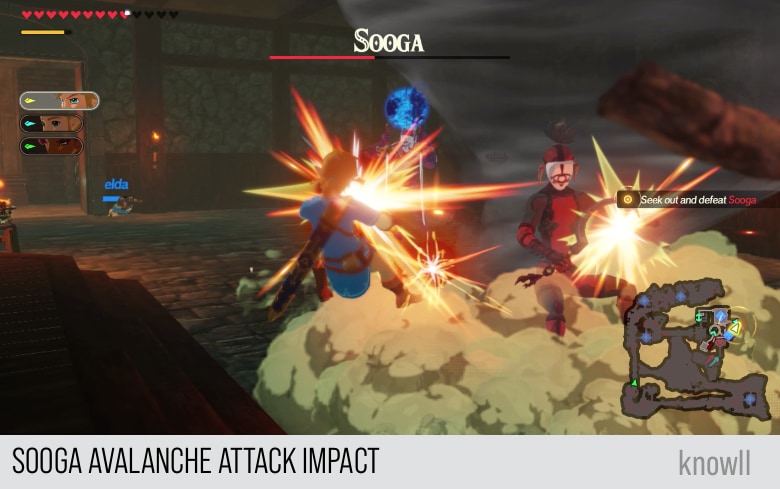
Sooga Avalanche Attack
The Avalance Attack is a combo attack by Sooga. He strikes his swords to the ground that causes a flow of rubble to approach you. This one has a large AOE. You might think you can avoid it by just walking on the side, but it spreads out and will hit if it reaches you.
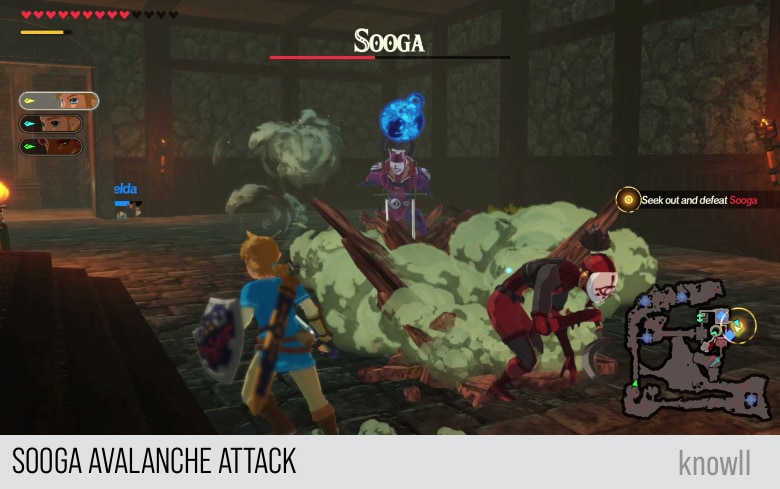
In the image above, it's obvious it will not hit Link. But as the attack spreads out, it hits Link and brings him to the second part of the combo.
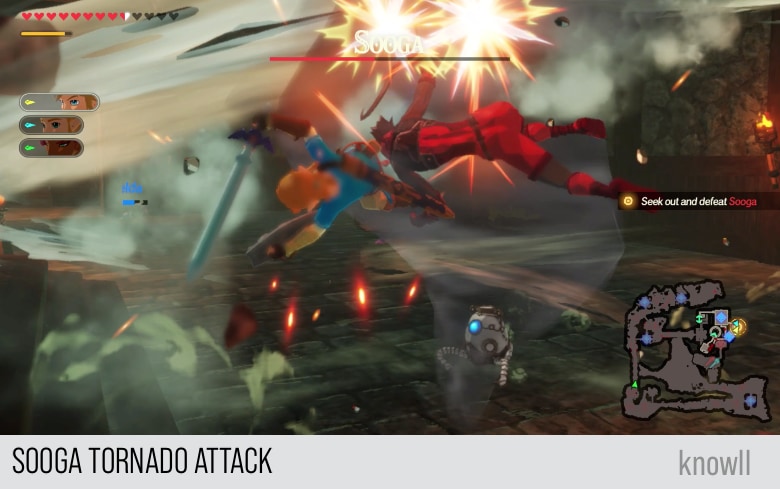
Sooga Tornado Attack
The Tornado Attack follows immediately after the Avalanche Attack. Tornadoes will form after the avalanche and take your character in the whirlwind.
Go ahead and fight Sooga. Once his health drops to 25%, he will disappear again.
Sooga: Hm. You're quite good. Perhaps next time, then.
Sooga has moved within Akkala Citadel!
Zelda: He disappeared again. He's got to be around here. Leave no stone unturned!
As shared earlier, do not go back to previous locations. Only move forward.
Once you go to the adjacent room, it will initiate the next battle.
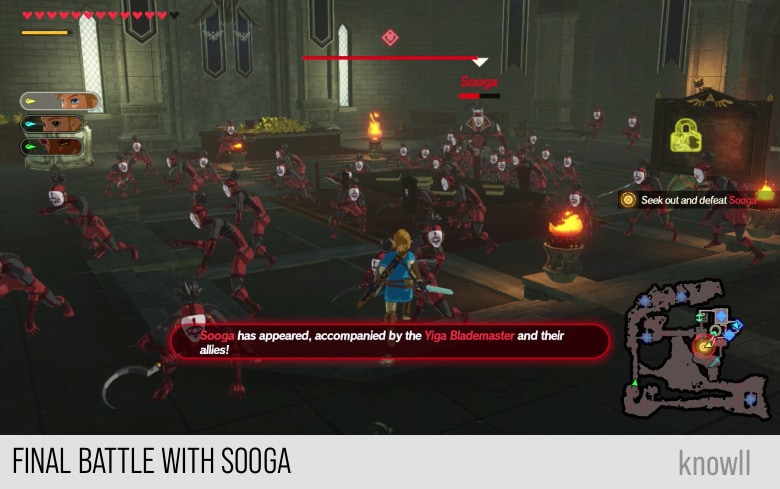
Sooga: All of you, attack! We must undo their forces!
Sooga has appeared, accompanied by the Yiga Blademasters and their allies!
You will notice that Sooga's health has been restored to 50%. Earlier, he has 25% of health before disappearing.
After defeating Sooga, the entire Yiga Clan will retreat.
Sooga: We've done what we could. Time to retreat.
Urbosa: Finally, they turned tail. Now we can restore the tower.
Zelda: Yes. With this, all the towers will be restored. It will serve us well in facing the Calamity.
A Game Changer
Having successfully activated all of the Sheikah Tower, Zelda takes in the expansive view. Purah has been busy analyzing the functions of the tower and, after lauding their usefulness in the defense of Hyrule, declares her intention to demonstrate their value.
Zelda: What a magnificent view. We're so high up. Purah, have you found anything yet?
Purah: I see, hmm... So by bonding this with the Sheikah Slate...
Zelda: Hm, what's that? Purah?
Purah: Listen, Princess! These towers have got a lot of power hiding inside! The Sheikah Towers were designed to scan their surroundings for Calamity Ganon. When we activate them, the terminals load the Sheikah Slate with a map of the area!
Purah: You can see the geography nearby - and locate monsters - as easy as click, snap!
Urbosa: So, we can track down the enemy and take them by surprise.
Purah: Preeecisely!
Purah: Rather than just telling you about it, why don't I give you a little demo?
Korok Locations
Every Chapter in the game contains Koroks. The main challenge is that there is no feature in the game that will make them appear on the map.
Hence, we provide all their locations on the area as well as on the map.
Total Koroks: 5
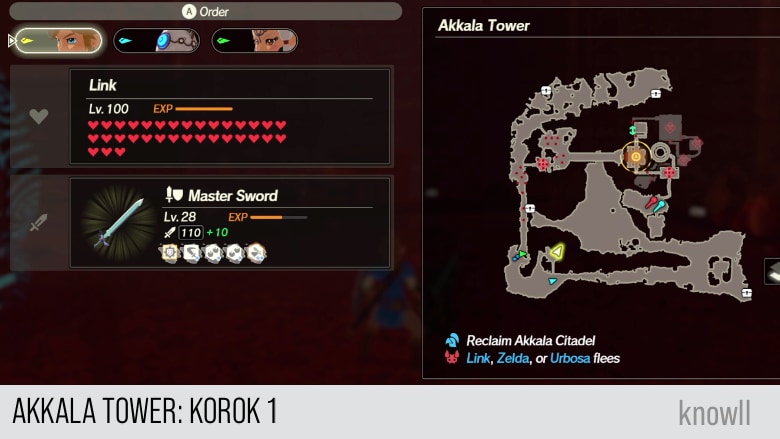
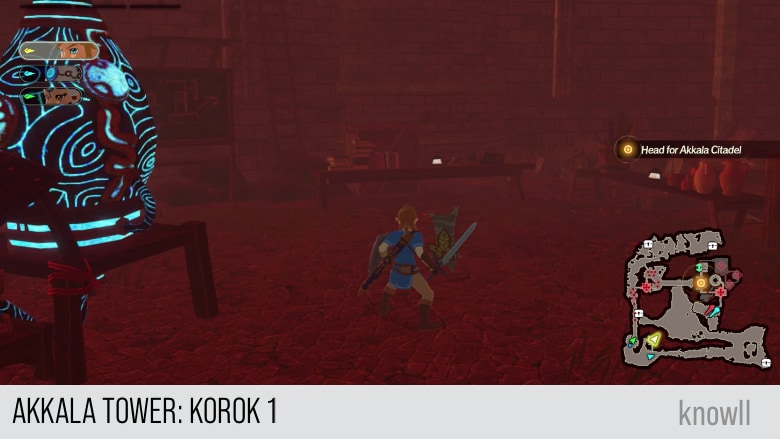
Akkala Tower Korok 1
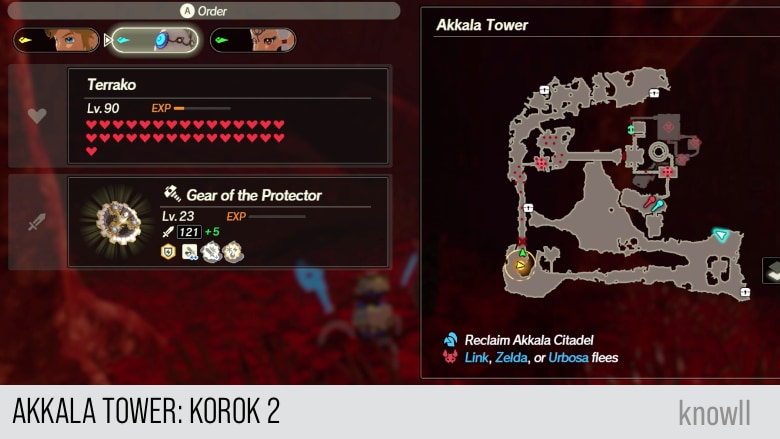
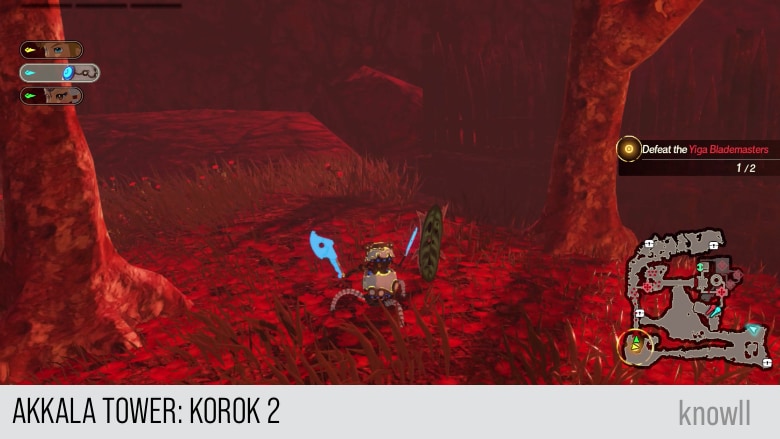
Akkala Tower Korok 2
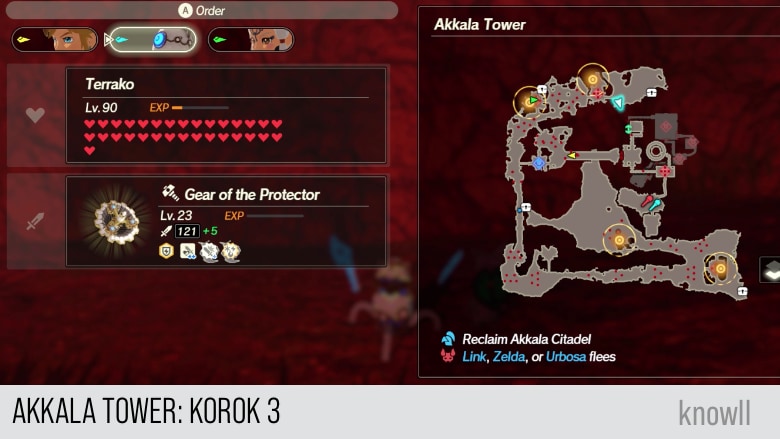
Akkala Tower Korok 3

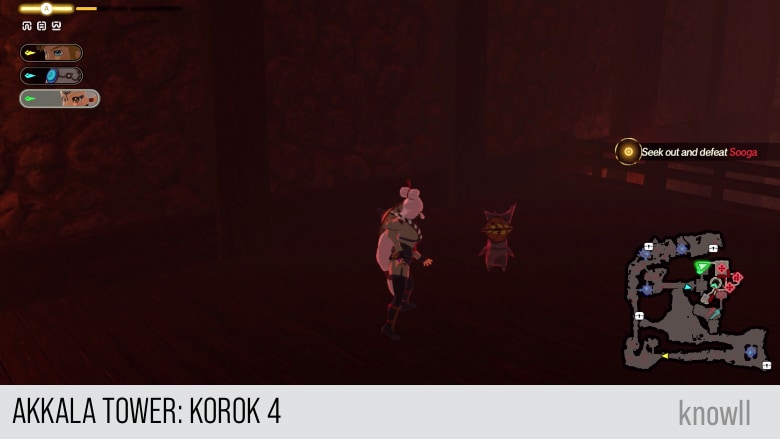
Akkala Tower Korok 4

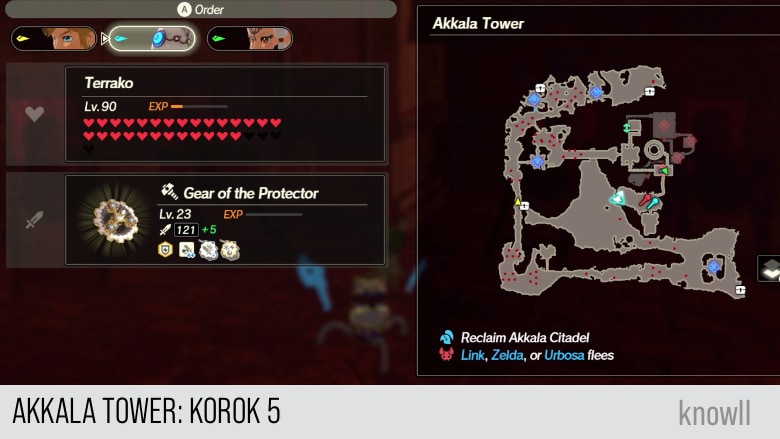
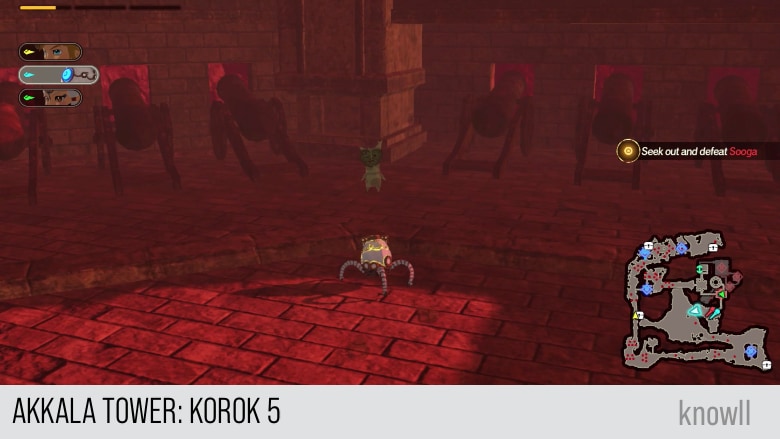
Akkala Tower Korok 5
Continue the adventure with our next Chapter entry Destroy the Yiga Clan!