
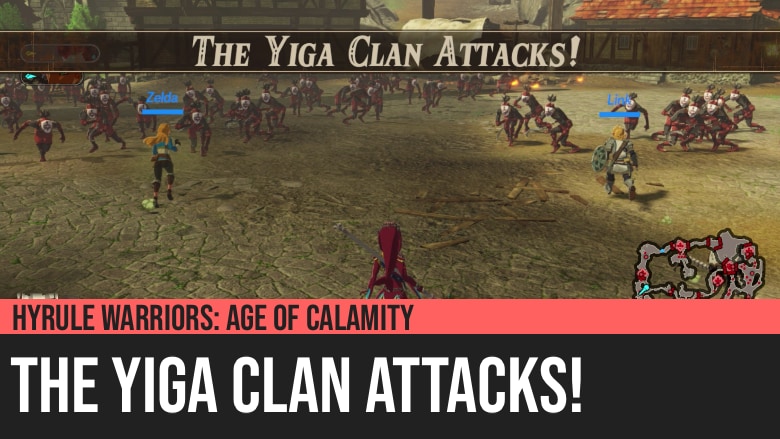
Hyrule Warriors: Age of Calamity - The Yiga Clan Attacks!
Hyrule Warriors: Age of Calamity - The Yiga Clan Attacks! is the fifth part of Chapter 2 of the game. Zelda and the party journey to the Lanayru region to continue work with the Divine Beasts. However, Sooga and Yiga Clan assassins attack before they can reach their destination.
This Chapter entry is the culmination of all the new elemental enemies introduced in the past four chapters: Electric, Ice, and Fire. Before they were separately introduced, now they are all present in one entry.
This entry also gives one of the best boss fights in the game with Sooga. You will also face for the first time a Hinox.
Treasure Chests and Koroks
- 8 Koroks
- 8 Treasure Chests
Battlefield-Specific Materials
- Blue Nightshade
- Mighty Carp
- Mighty Thistle
- Stamella Shroom
- Rugged Rhino Beetle
Special Rewards

The Yiga Clan Attacks!
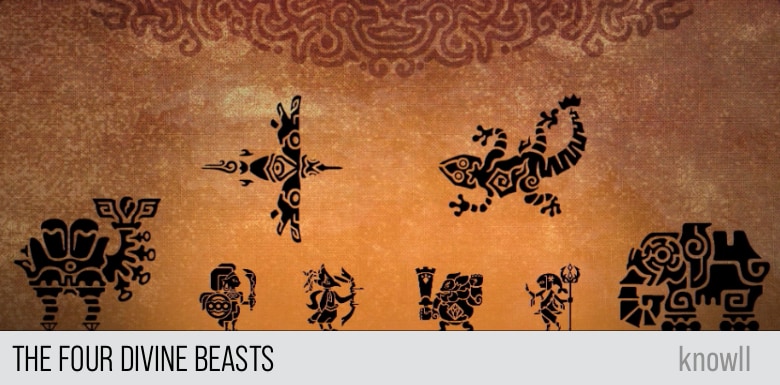
With that, the four Divine Beasts were assembled with their pilots. Training began in earnest, and the plan to defeat Hyrule's enemies began to coalesce.
Zelda continued her work calibrating the Divine Beasts and researching ancient relics. Much to her frustration, however, her sealing power remained dormant.
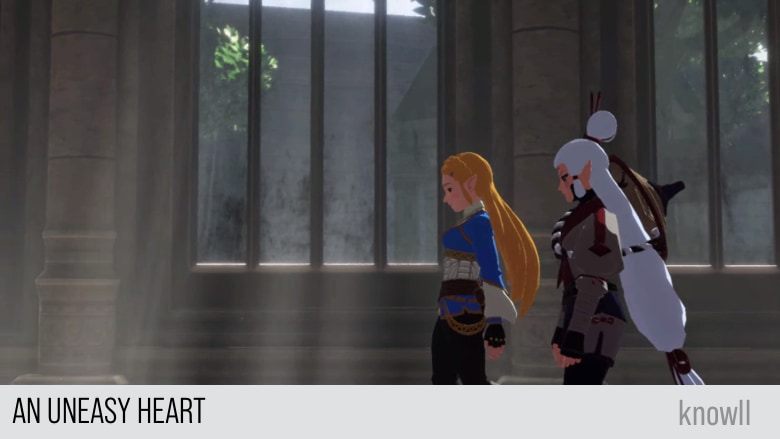
An Uneasy Heart
Zelda has been successful in her recruiting mission, yet the king remains stern with her. Told to focus on her training now more than ever, Zelda tells the little Guardian of the insecurities she carries with her.
Impa: His Majesty did not offer even a single word of praise.
Zelda: Well... It's only natural that Father would be frustrated.
Impa: But, Your Highness...
Zelda: Right now, we must do whatever is in our power. Please inform Mipha and Daruk that we depart tomorrow morning.
Impa: Then you plan to go to the Divine Beasts? Understood.
Little Guardian attracts Zelda's attention.
Zelda: Oh my...
Zelda: Father thinks that... He thinks that the reason my ability hasn't awakened is because I haven't worked hard enough. I imagine that when I visit the Divine Beasts, he'll say as much.
Link joins their company.
Zelda: Link, you -
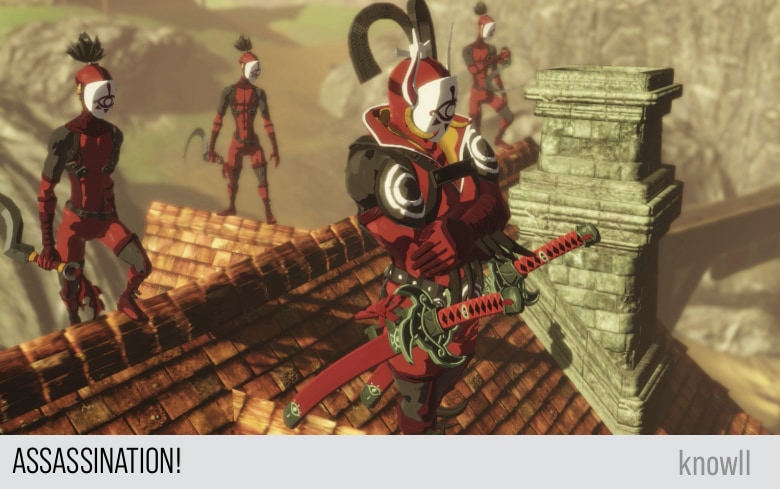
Assassination!
Zelda departs Hyrule Castle and sets out with the pilots for the Lanayru region, where they intend to train with the Divine Beasts. The party talks amongst themselves as they travel, but their progress is abruptly halted when the Yiga Clan appears, intent on taking Zelda's life.
Zelda: The adjustments to the Divine Beasts are not yet complete. We must fine-tune them for the individual pilots, to ensure that they will be as effective as possible.
Zelda: So many of their parts are complex - we don't yet understand them fully. But I will discern their uses.
Mipha talks to Daruk.
Mipha: Daruk, I have a request. Might I... join you for training next time? I would like to be fully prepared. Learning new ways to fight foes might do me some good.
Daruk: Of course! The more, the merrier!
Daruk: Thing is, we still need a knight gritty enough to seal the darkness, and they're nowhere to be found.
Mipha: Y-yes...
Daruk: Although, hey! If ya see anybody that -
Daruk observes Link and then grins.
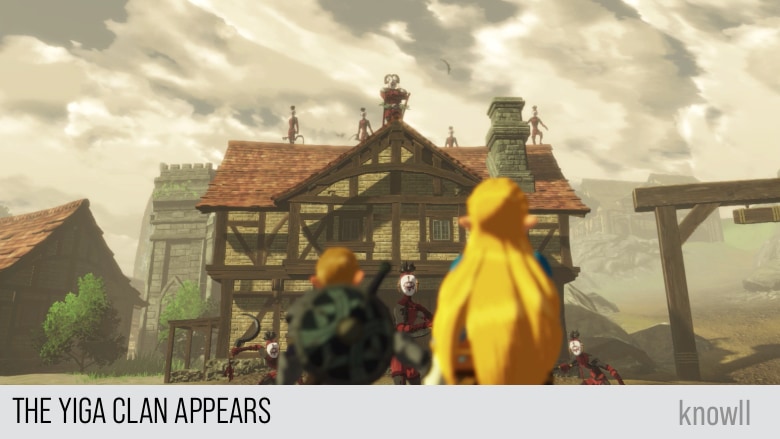
Zelda: What do they want?
Sooga: Your Highness, I bring news. It regards your impending death.
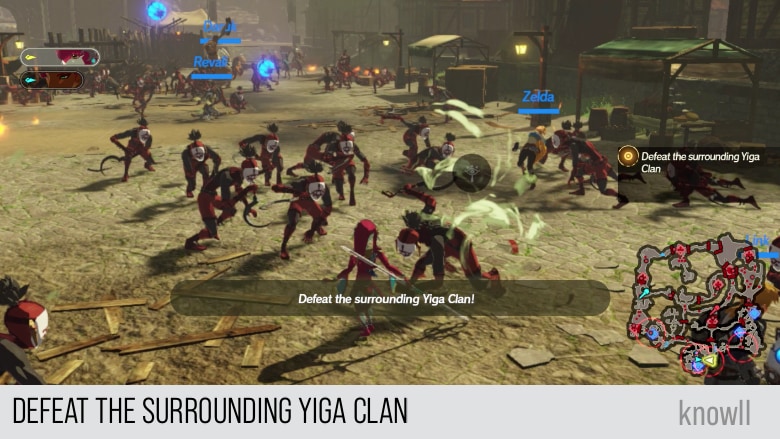
Objective: Defeat the Surrounding Yiga Clan
Sooga: Remember, the princess is our target. Don't waste your energy on the others.
Mipha: Link, take care of the princess. We will do what we can here.
Zelda: Everyone, please be careful.
Link has left the battlefield, taking Zelda with him!
You will not be able to play as Link in the early part of this Chapter entry, as he will be with Zelda. You will be able to switch to your other characters, though.
Daruk: Didn't expect things to get rough so quickly. This is primo training, isn't it, Mipha?
Mipha: You may be right, Daruk - though training is not my main concern right now...
Objective: Defeat the Yiga Blademasters
After you have defeated a number of Yiga Footsoldiers, the objective will change to defeating two Yiga Blademasters.
We have covered their combat pattern in the previous chapter. You can view our Enemies Guide for more details.
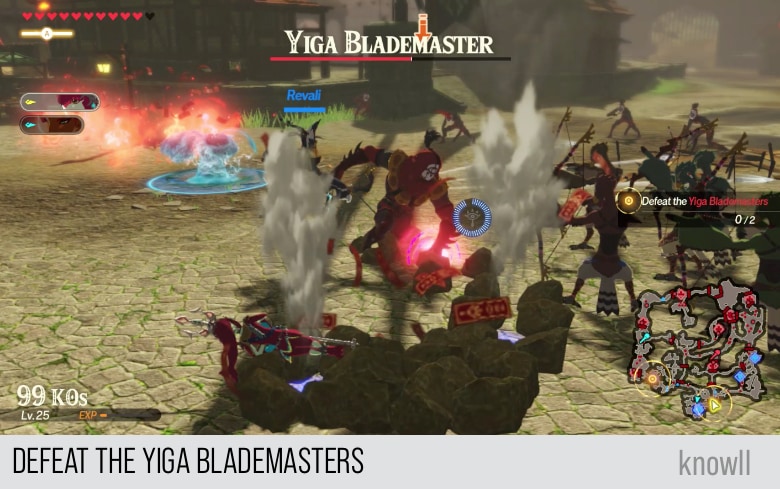
After defeating the two Yiga Blademasters, a new set of enemies will appear.
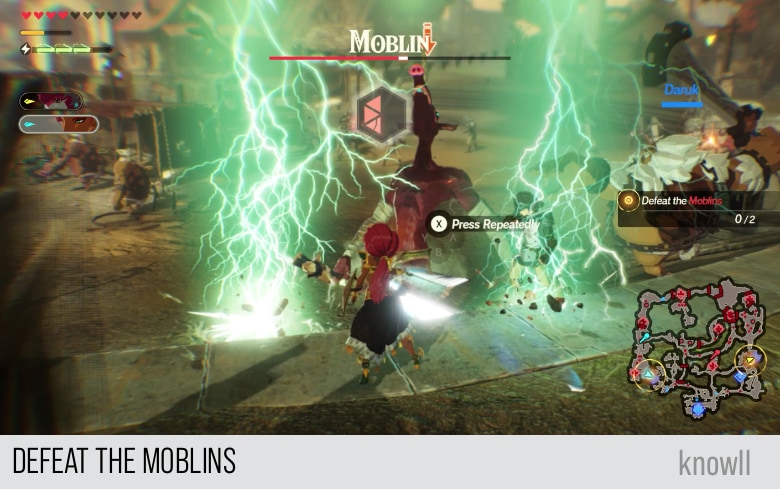
The Moblins have begun an assault!
Daruk: With these numbers, we can't defend the gates. Hate to say it, but there's not much we can do...
Objective: Defeat the Moblins
You can command your heroes to move into the target positions. The two Moblins are just of the standard variety and not elemental.
After defeating the two Moblins, Mipha gives the new objective.
Mipha: The enemy shows no sign of relenting. Perhaps we should ask for assistance at the garrison.
Objective: Head for the Hyrule Garrison to Request Reinforcements.
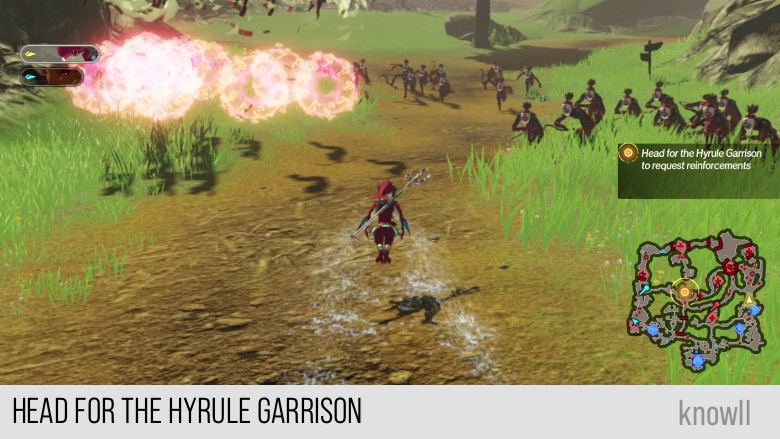
Mipha: There are enemies in the garrison? We must hurry!
Objective: Defeat the Blue Moblins
Upon reaching the garrison, the new objective is to defeat the two Blue Moblins. This is the first chapter in the game where Blue Moblins appear. They are not much different from the Red Moblins, only a little stronger.
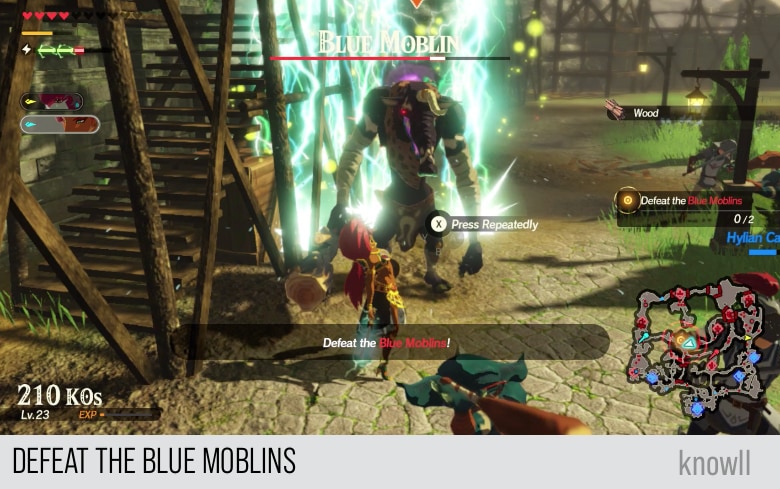
Hylian Captain: We're saved! Now we can help the princess too!
Objective: Defeat the Electric Moblin and Key Enemies
After defeating the two standard Blue Moblins, their elemental versions will appear.
The Electric Moblin and their allies have begun an assault!
Daruk: Argh! They are coming at us from everywhere at once!
Mipha: Yes. But by spreading out across the battlefield, we can turn the tide in our favor.
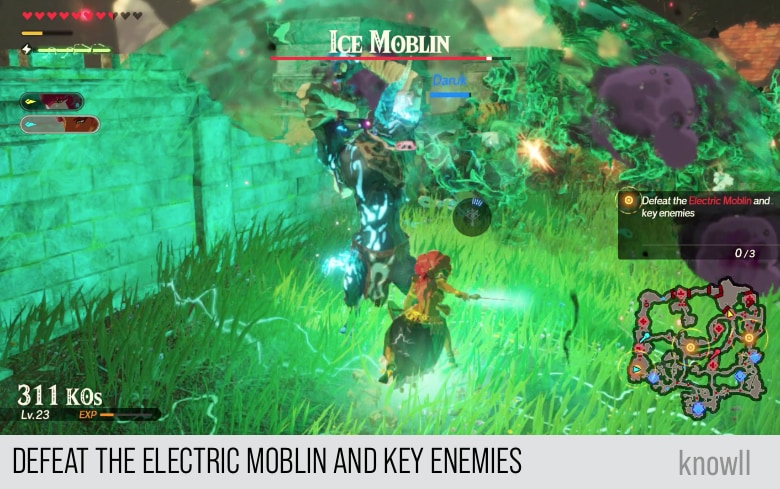
The three Blue Moblins are all elemental: Fire, Ice, and Electric. After defeating them all, it's time to capture some outposts.
Hylian Soldier: The enemy leader has been spotted at the northern outpost!
Daruk: Great! Then it's time to turn the tables!
The location of the Enemy Stronghold has been revealed!
Revali: We should strike from the eastern and western outposts. A pincer attack should do the trick.
Objective: Capture the Outposts
Each of these outposts will have a Yiga Blademaster as a miniboss.
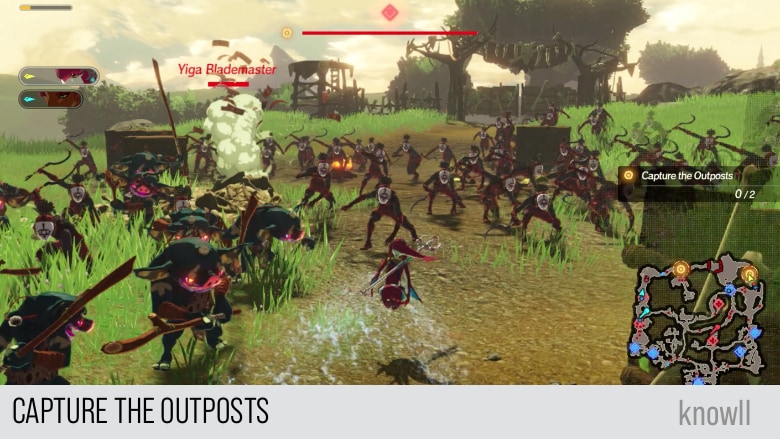
After capturing the outposts, it's time to go for the main stronghold.
Yiga Footsoldier: Hey, what's with all the hubbub?
Revali: Unbelievable. Looks like they got confused and ran out. Now we can attack their stronghold.
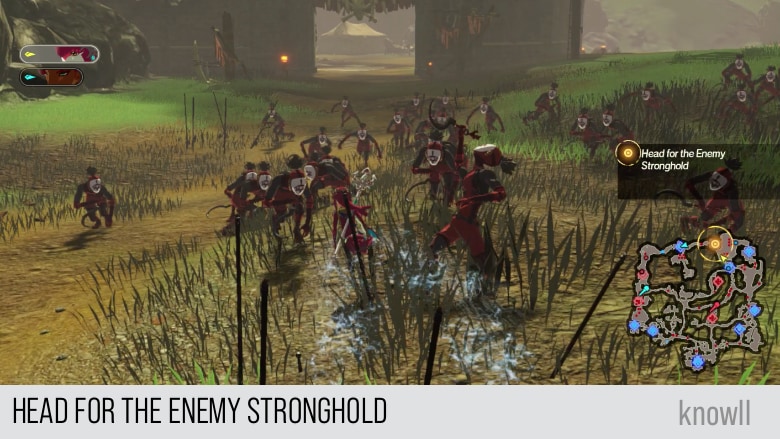
Objective: Head for the Enemy Stronghold
A big miniboss will be waiting for you in the target area. You can command all of your heroes to go there.
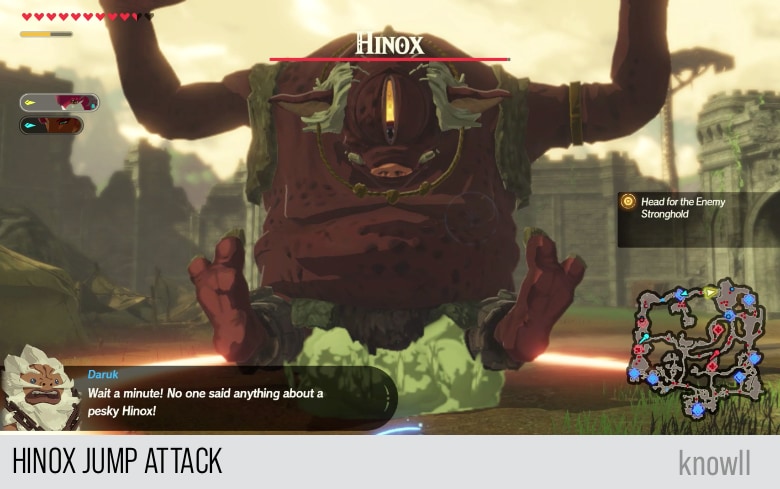
Daruk: Wait a minute! No one said anything about a pesky Hinox!
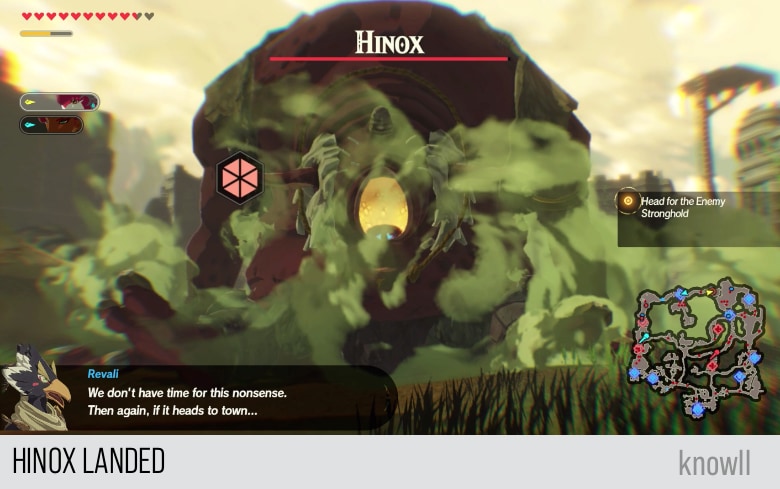
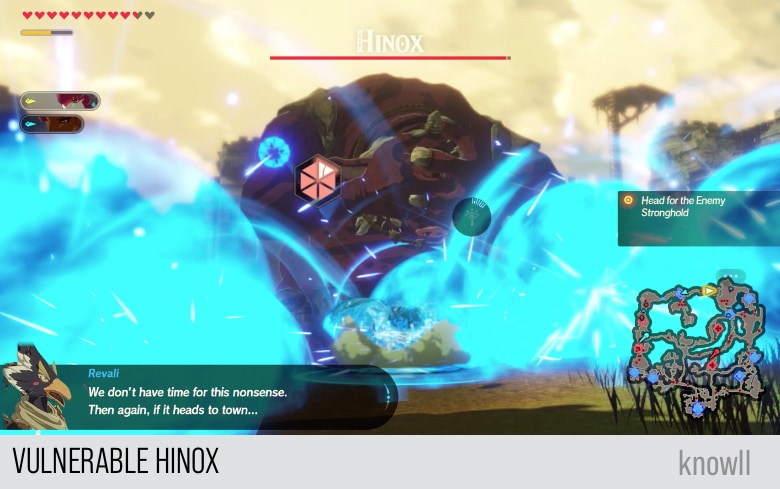
Revali: We don't have time for this nonsense. Then again, if it heads to town...
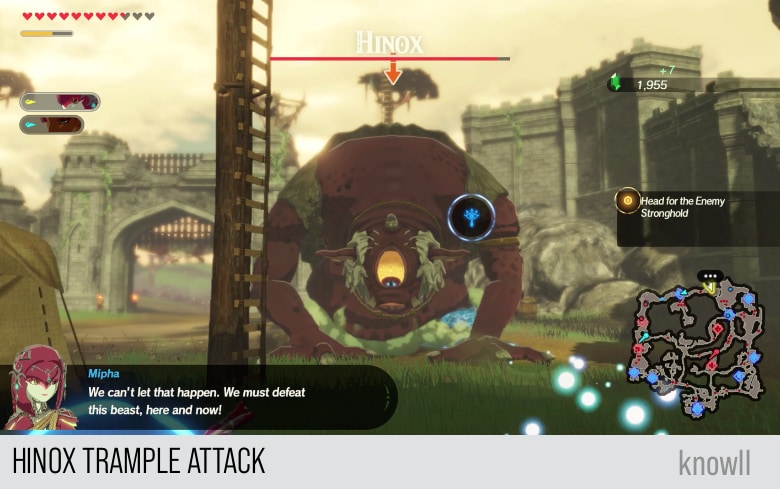
Mipha: We can't let that happen. We must defeat this beast, here and now!
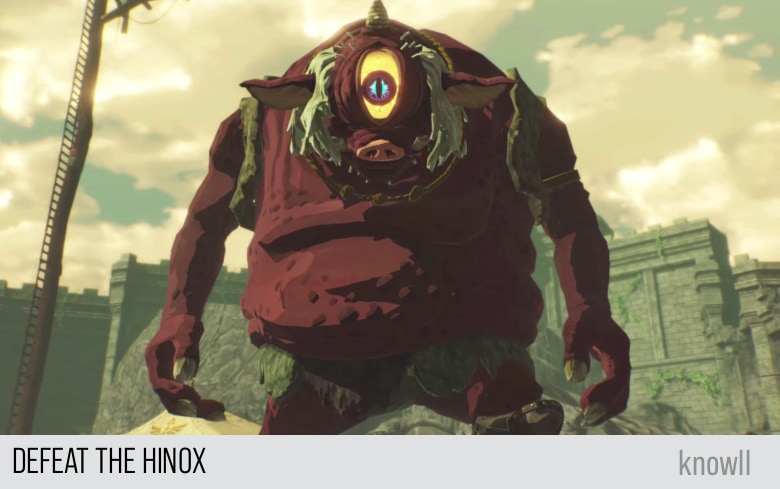
Objective: Defeat the Hinox
This is the first chapter in the game where you fight a Hinox. We included below the attacks present on the Red version.
Jump Attack
This is one of the most common attacks of a Red Hinox. It has a large AOE. You might be able to get a Flurry Rush by doing a backflip, which is the easiest of all forms of dodge.
Once a Hinox lands from its jump, it is vulnerable. It also shows its WPG.
If you are able to land an attack that can hit its eyes - either through Remote Bombs or Link's arrows, you can make more attacks and reduce its WPG further.
Trample Attack
In this attack, the Hinox uses its two hands and starts trampling you in the ground like an ant. Using a backflip, you can punish it with a Flurry Rush.
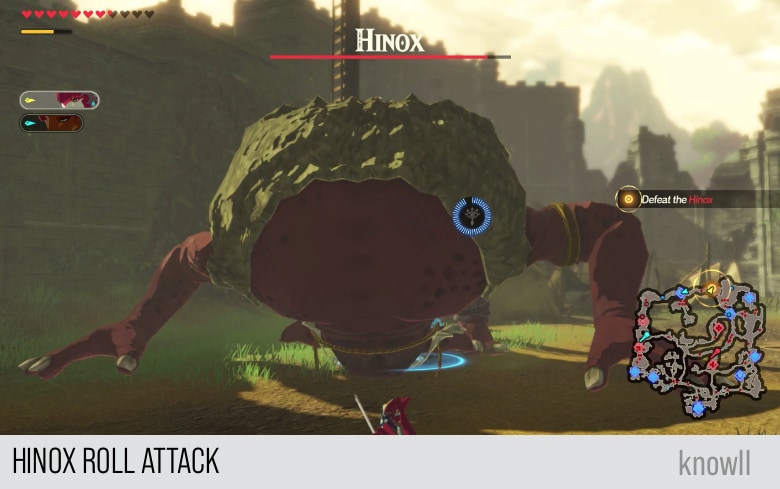
Roll Attack
This one is linked to the next attack. It serves as a telegraph, as the second attack has stronger damage.
You will observe the Hinox preparing to roll as below and then perform the second part of its combo.
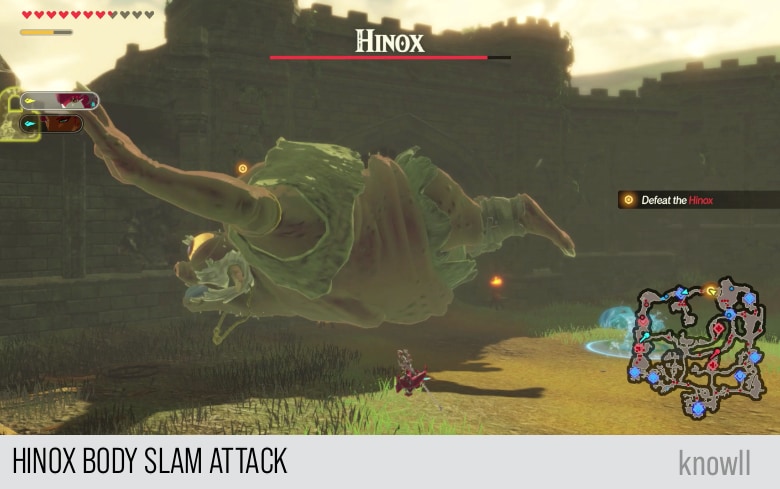
Body Slam Attack
After the Hinox makes the first part of the attack, which is rolling on you, it will do a body slam like a wrestler.
Like most attacks with high damage, this one has a telegraph with a counter. You can use Stasis to counter the attack and punish it.
Managing Elemental Attacks
When fighting enemies with large health, like the Hinox, it's best to manage your elemental attacks, as it can drastically improve your clear time.
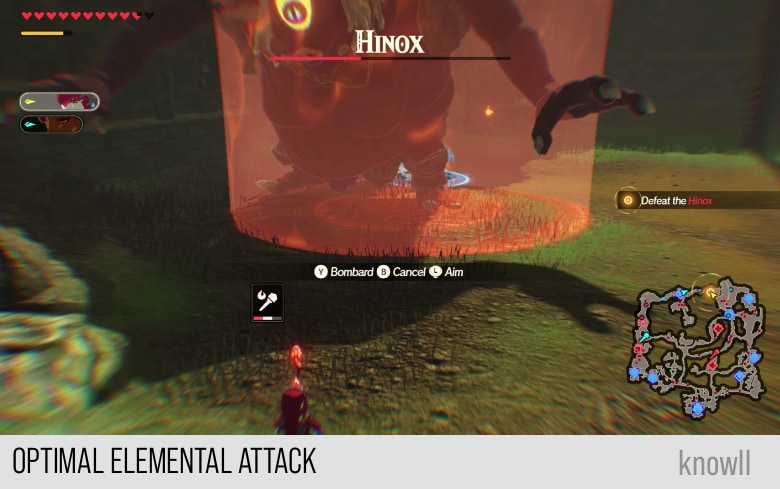
In the example below, using the Lightning Rod attack produces a standard-sized attack radius.
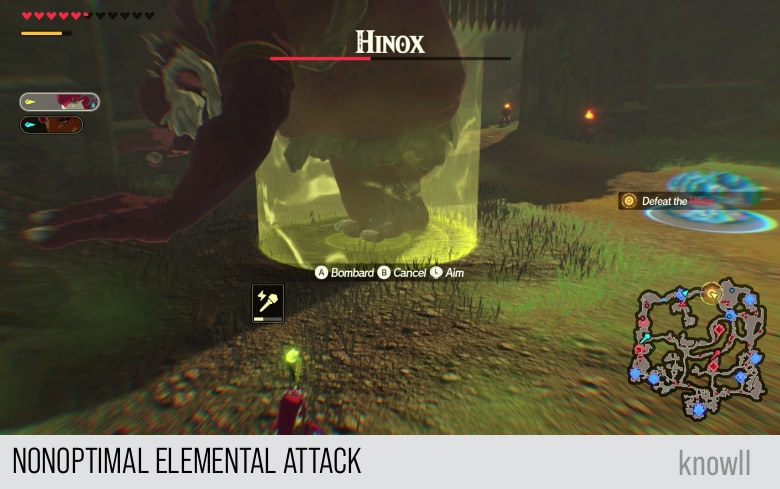
It also produces a standard WPG damage.
When doing an elemental attack, you should not go for standard damage as it is not the optimal damage. The Hinox below stands on top of the grass. The optimal WPG damage should make use of this info to produce the biggest impact.
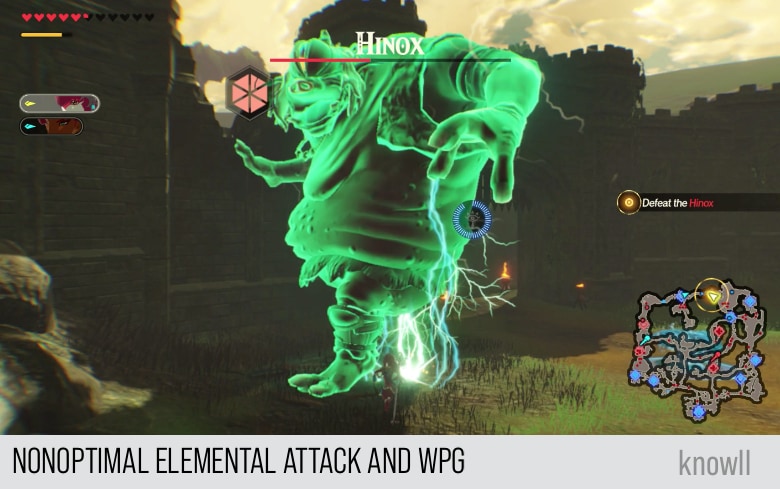
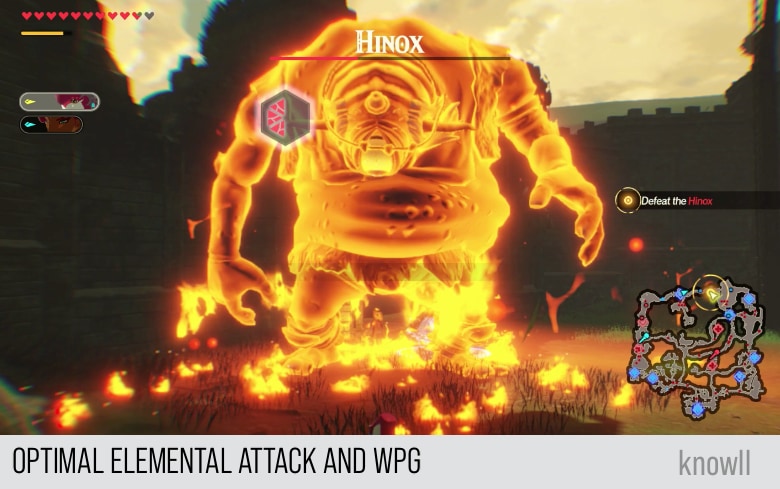
If you use the Fire Rod, it creates an AOE radius that is much larger than that of the Lightning Rod. This is because it takes advantage of the environment.
If you do the attack with the Fire Rod, it makes the WPG much brittle and weaker to attacks, hence it will break faster. You can see it from the graphics as it shows the WPG as fragmented.
With the advice above, you should be able to easily defeat larger monsters with big health bars.
After defeating the Hinox, the party can continue searching for the leader of the Yiga attack.
Urbosa: Now that that's over with - where is the Yiga leader?
Zelda: Fire! Scattered across the town!
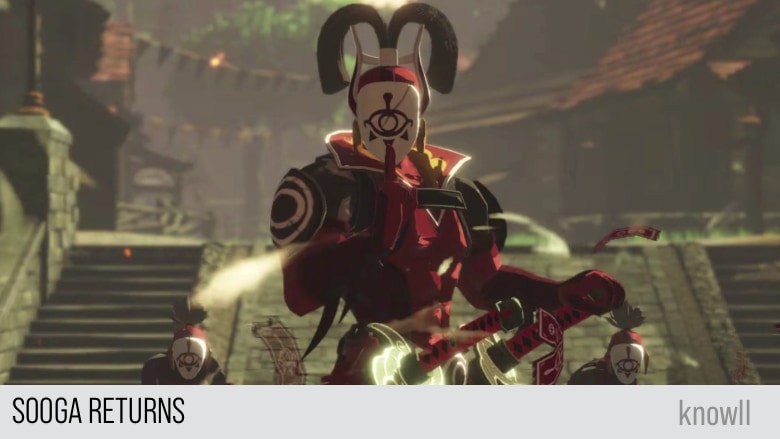
Sooga Returns
Finally, Sooga joins the battle.
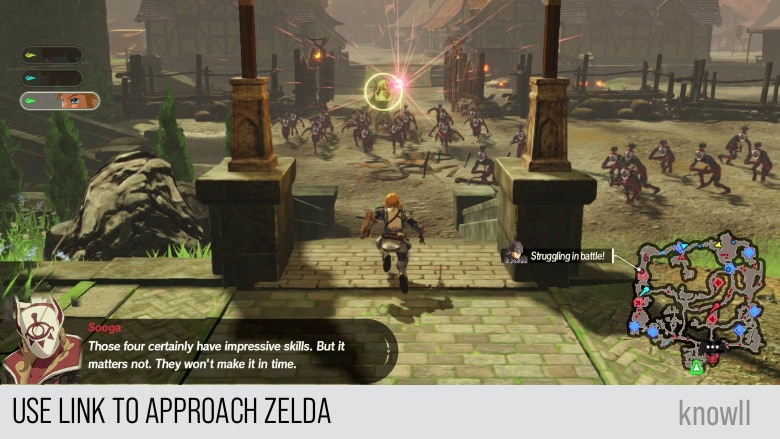
Sooga: Those four certainly have impressive skills. But matters not. They won't make it in time.
Daruk: Can't believe we fell for it. He lured us away with phony info!
Mipha: At least Link is with the princess. He will keep her safe.
Objective: Use Link to Approach Zelda
Earlier, Link was not available among your characters. From here onwards, you can start using him. Go and look for Sooga.
Objective: Defeat Sooga
This is the first Chapter entry where you can fight Sooga. He gives one of the best fights in the whole game. And it will only get better, as next time you see him in future Chapter entries, he is much stronger, using new attacks.
For now, let's see his available moveset when you fight him for the first time.
Sword Beam
Like the standard Yiga Blademasters, Sooga has a Sword Beam as well. But his attack is a much stronger version, as he uses two swords.
He telegraphs this attack as shown below.
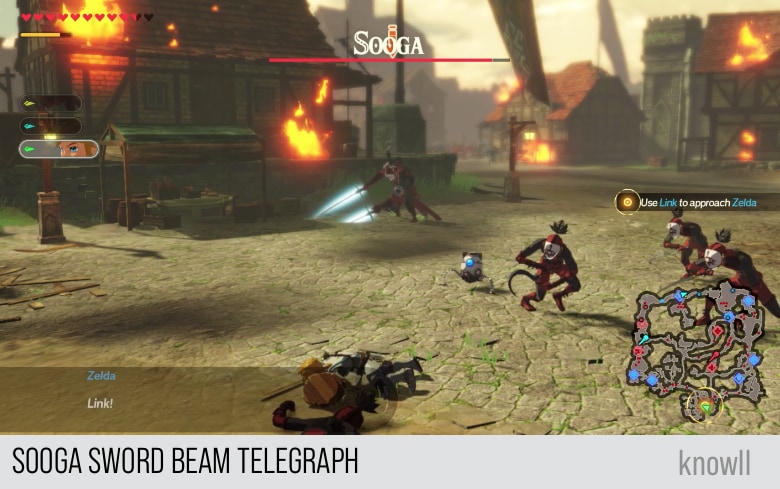
The actual attack is shown below, after the telegraph. As we have shared with the Yiga Blademasters, it does not matter where you are when you receive a Sword Beam attack, the damage is constant. As though you received it in melee distance.

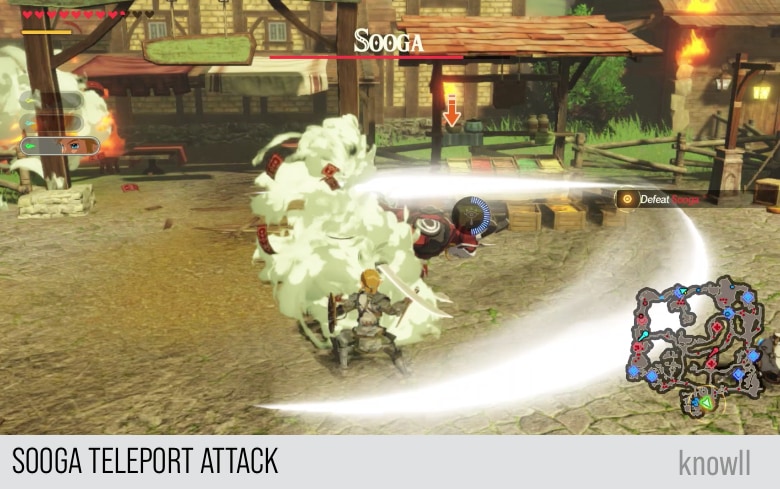
Teleport Attack
Like the Yiga Blademasters, Sooga also has a Teleport Attack. He telegraphs it as shown below, with a large explosion.
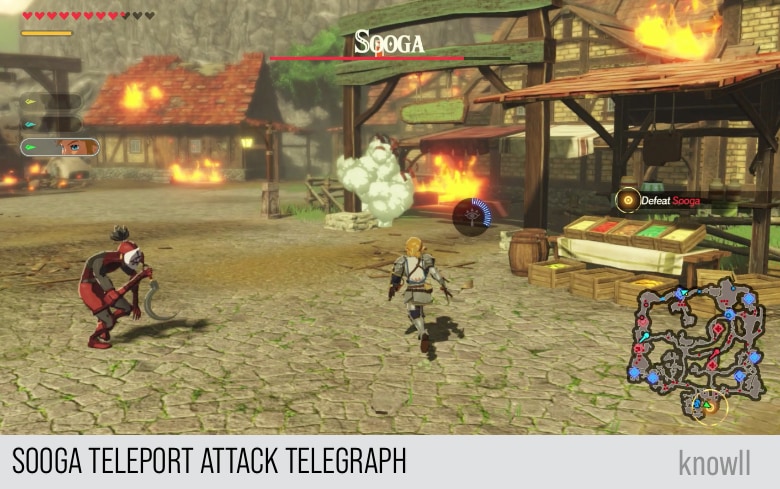
After the telegraph, the next time you see him will be an immediate attack as shown below. As we shared for the Yiga Blademaster, you can punish the teleport attack by positioning or dodging.
Bind Attack
This is the first unique attack of Sooga. He telegraphs it as shown below. The moment you see that, prepare with a dodge.
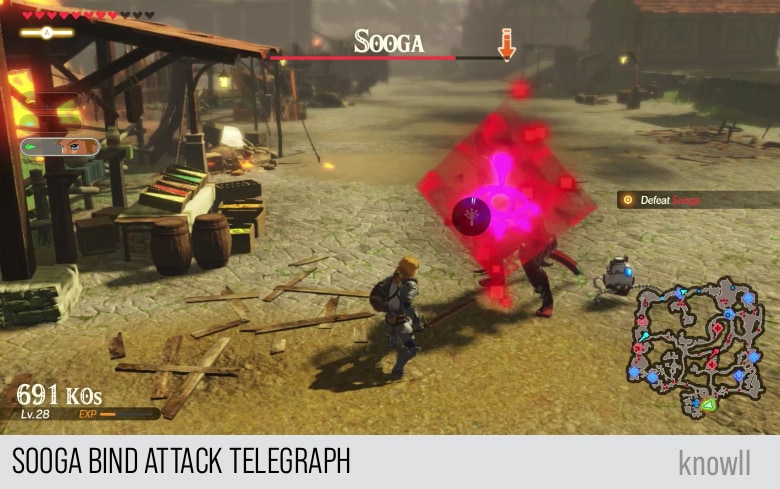
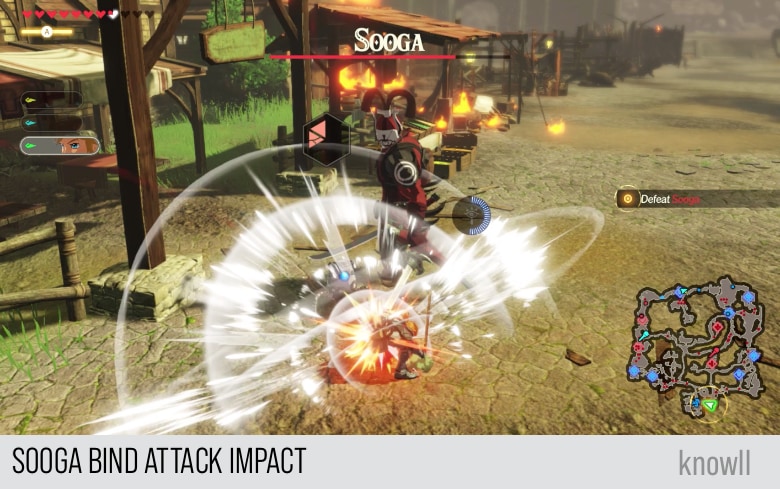
Once Sooga hits you with the attack, it will bind you as shown below.
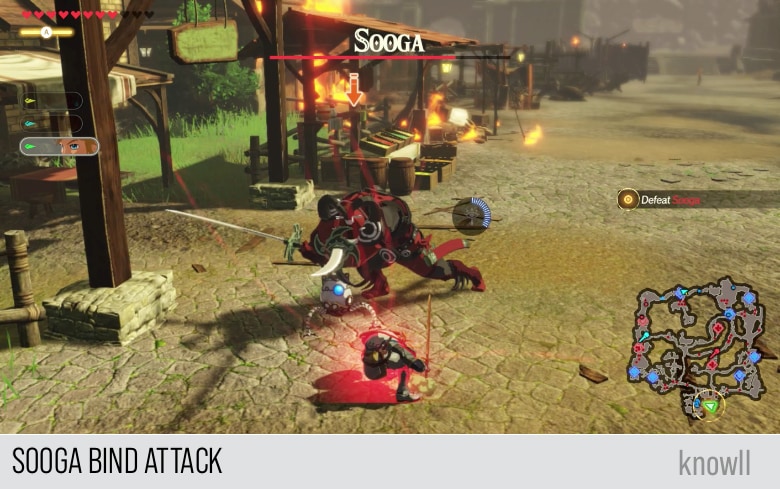
There is no damage yet though. The actual damage will happen the moment he rests his swords down.
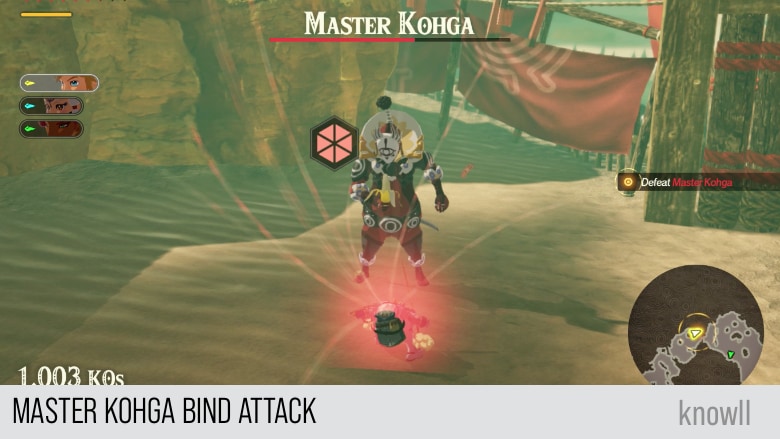
These bind attacks are very similar to that of Master Kohga.
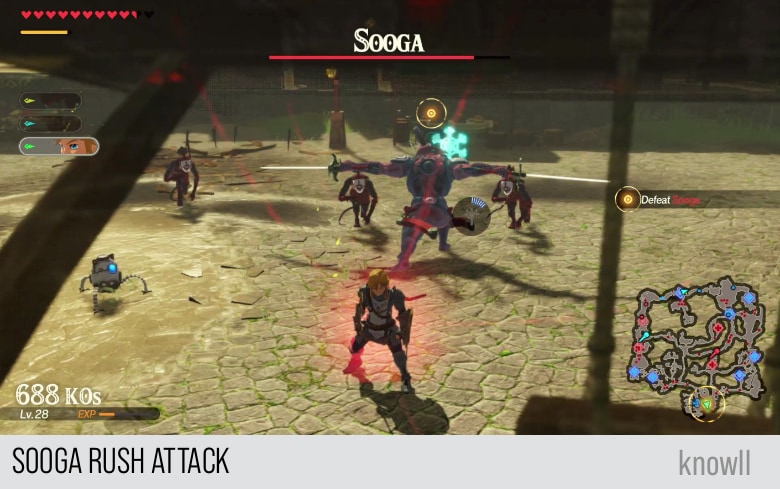
Rush Attack
This is one of the more powerful attacks of Sooga, at this stage of the game. He telegraphs it as shown below.
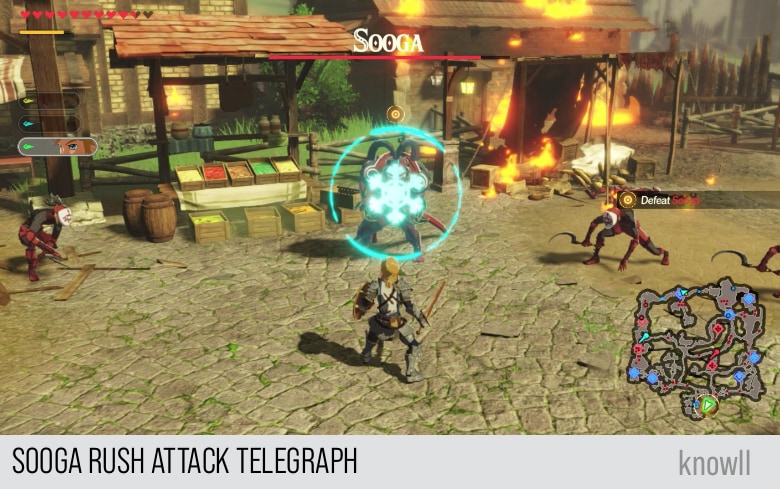
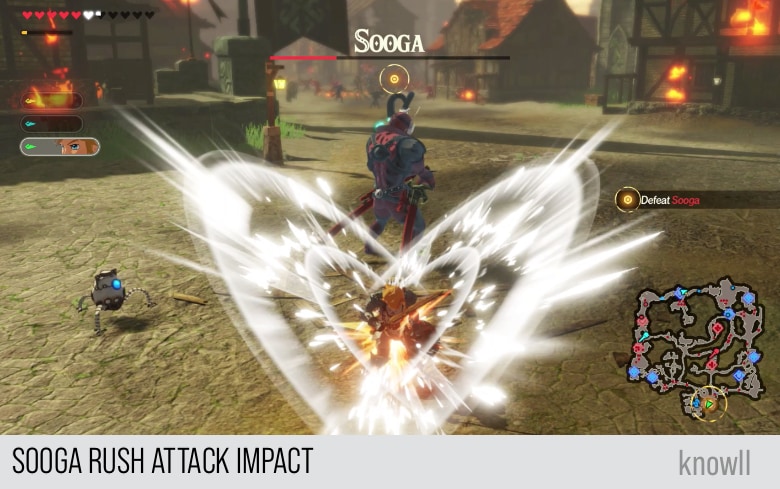
You can counter it with Cryonis, but take note, it is a very fast attack. If you are not able to counter, you can safely assume that you will get caught by it.
The only slow part of this attack is the telegraph. Once it is over, the attack has fully executed and you are already sliced.
You will not see the damage right away though. The actual effect of the attack will happen once he sheats his swords. That is very cool indeed.
Knowing these attack patterns of Sooga, go ahead and defeat him. He will become stronger and have even more powerful moves next time you fight him in future Chapter entries.
Once he reaches less than 50% of health, he says:
Sooga: Well, aren't you persistent. Perhaps our strategy should have focused more on you...
And once you defeat him:
Sooga: What a blunder...
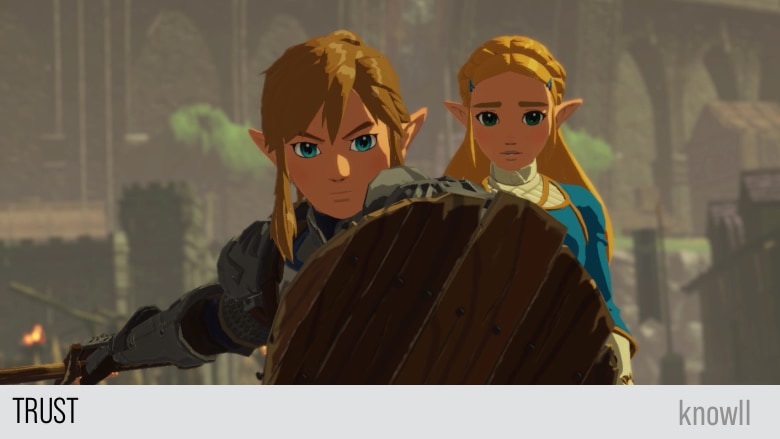
Trust
Link and the others fight bravely in the intense battle and manage to rout Sooga and the Yiga Clan. Zelda offers Link gratitude for his protection and finds herself slowly coming to trust him more and more.
Sooga: I suppose destiny is at work, then. The future is fickle.
Sooga: Yiga Clan! Time to go.
Zelda: Link... Um...
The little Guardian confronts Link for his action earlier.
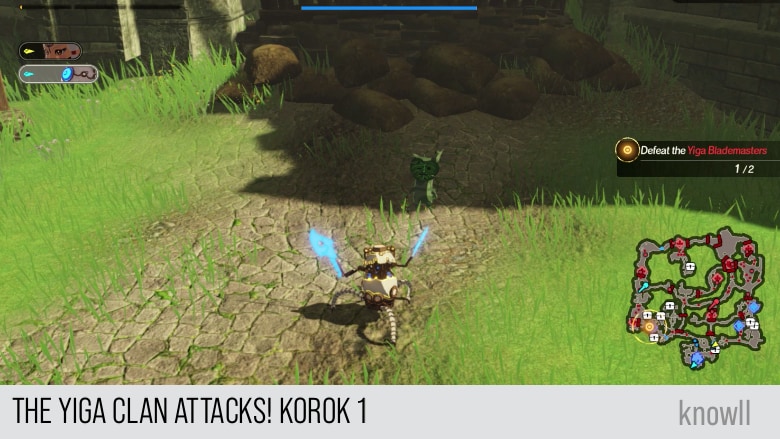
Korok Locations
Every Chapter in the game contains Koroks. The main challenge is that there is no feature in the game that will make them appear on the map.
Hence, we provide all their locations on the area as well as on the map.
Total Koroks: 8
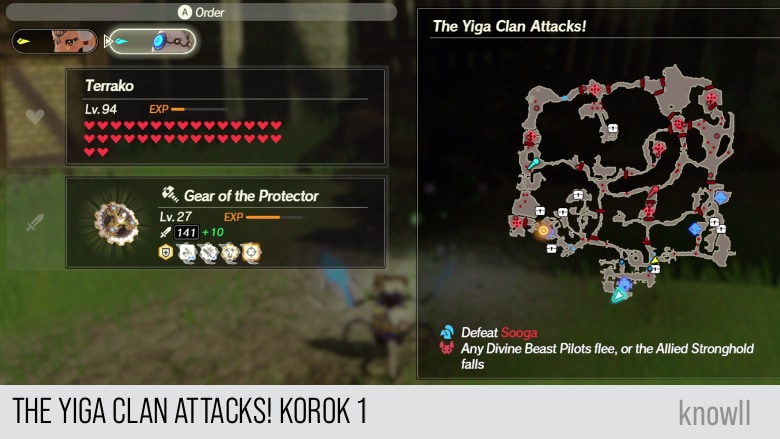
The Yiga Clan Attacks! Korok 1
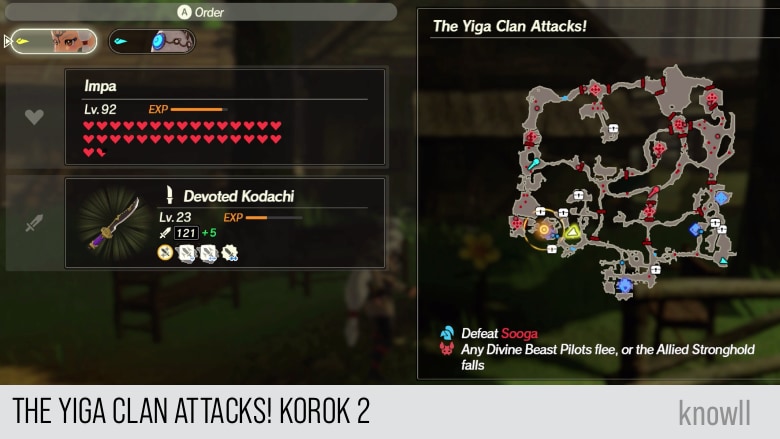
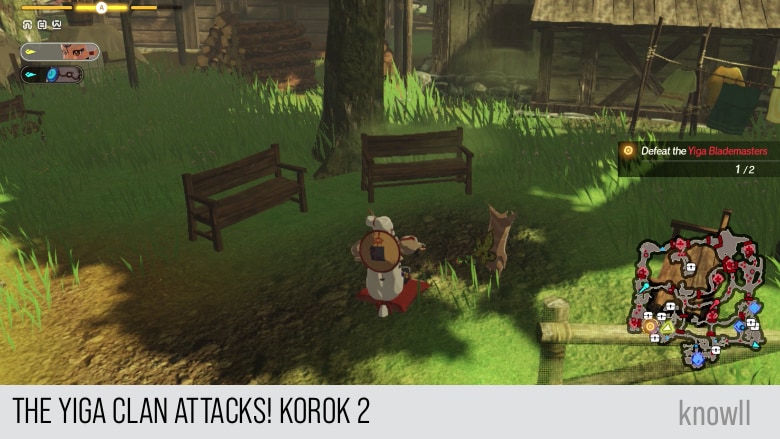
The Yiga Clan Attacks! Korok 2
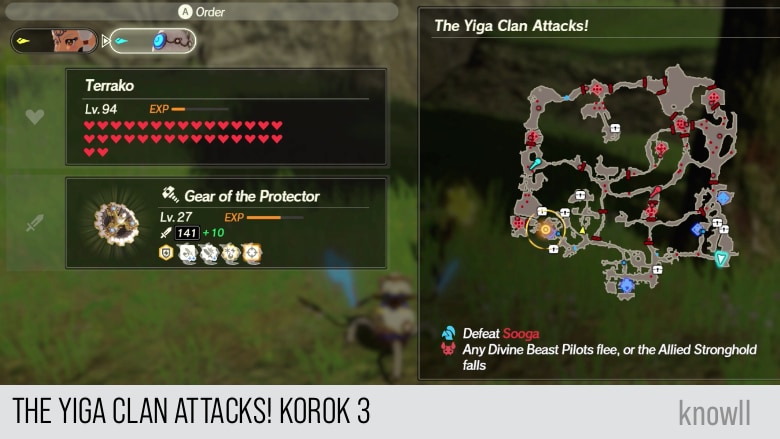
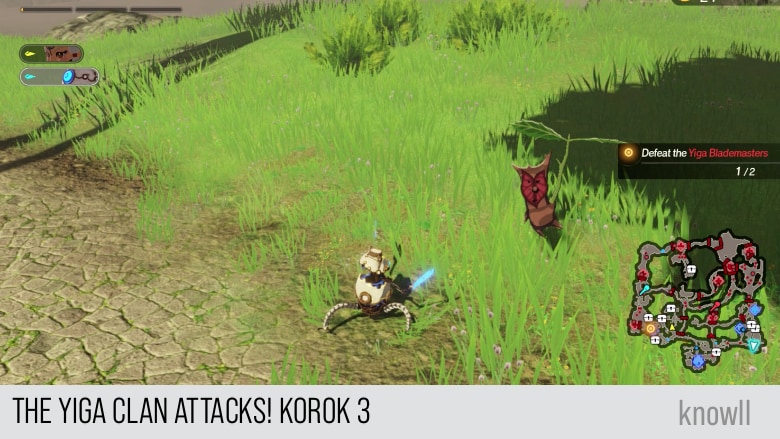
The Yiga Clan Attacks! Korok 3
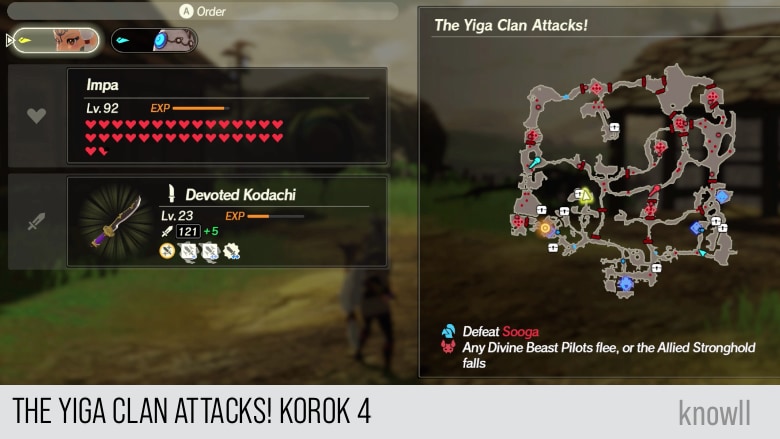
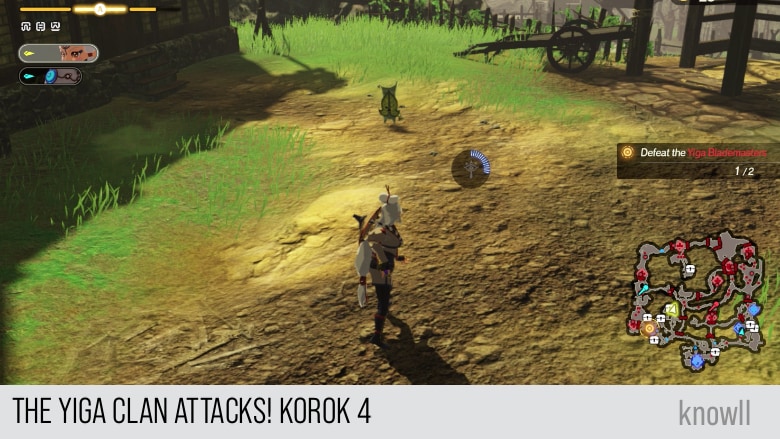
The Yiga Clan Attacks! Korok 4
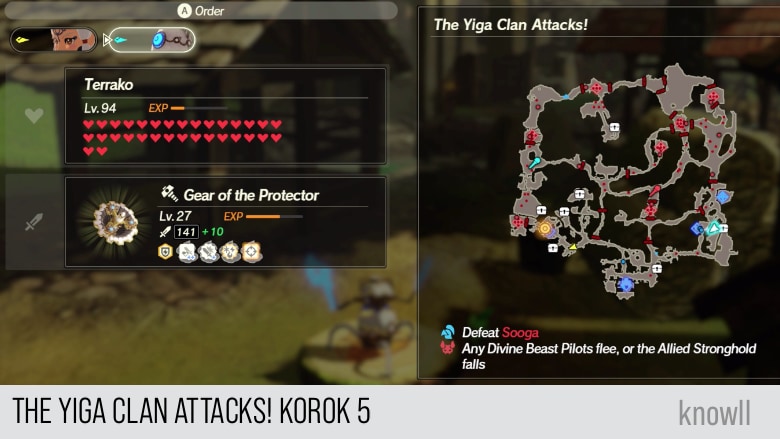
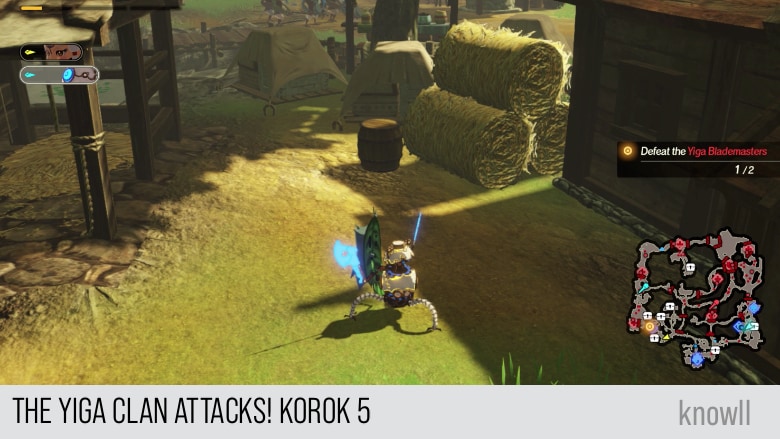
The Yiga Clan Attacks! Korok 5
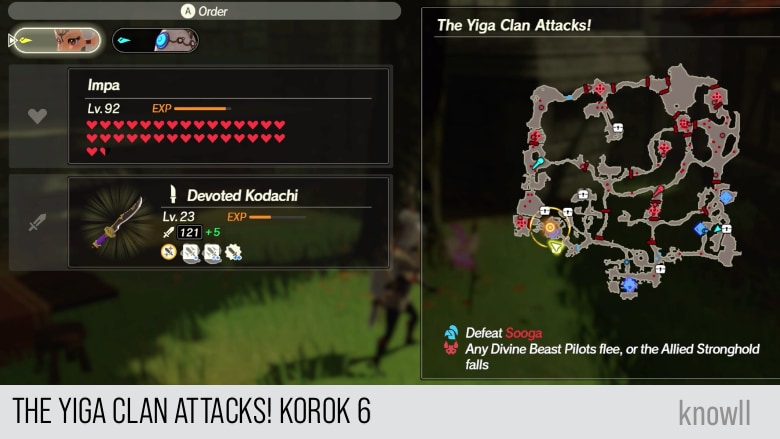
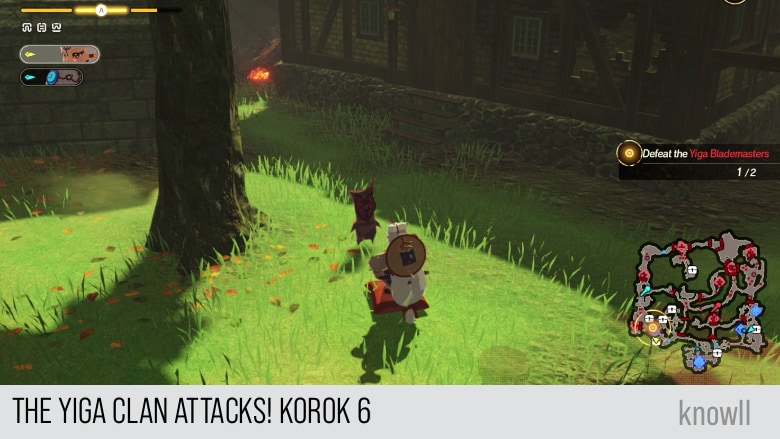
The Yiga Clan Attacks! Korok 6
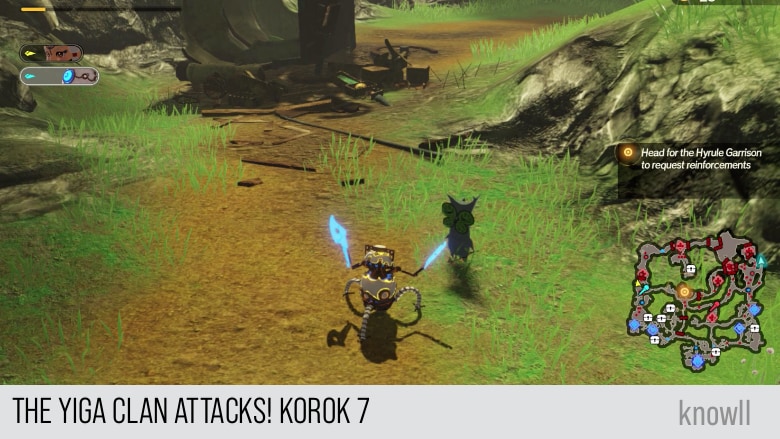
The Yiga Clan Attacks! Korok 7

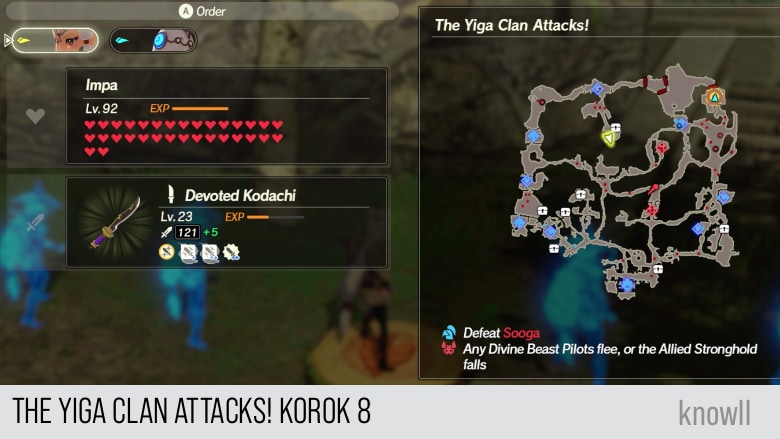
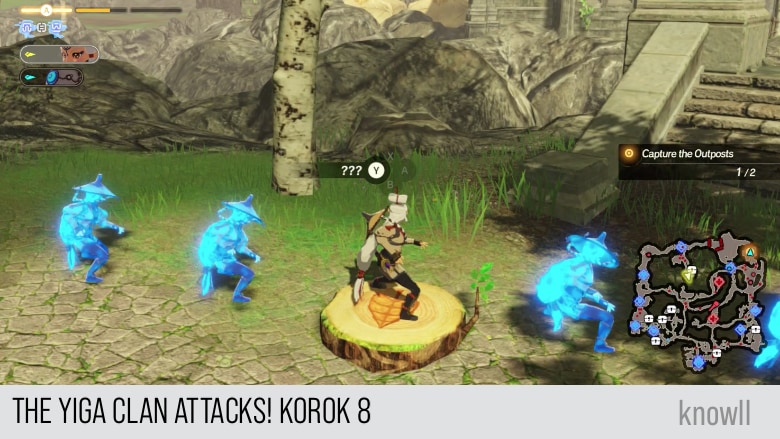
The Yiga Clan Attacks! Korok 8
Continue the adventure with our next Chapter entry Freeing Korok Forest.