
Hyrule Warriors: Age of Calamity - The Great Plateau
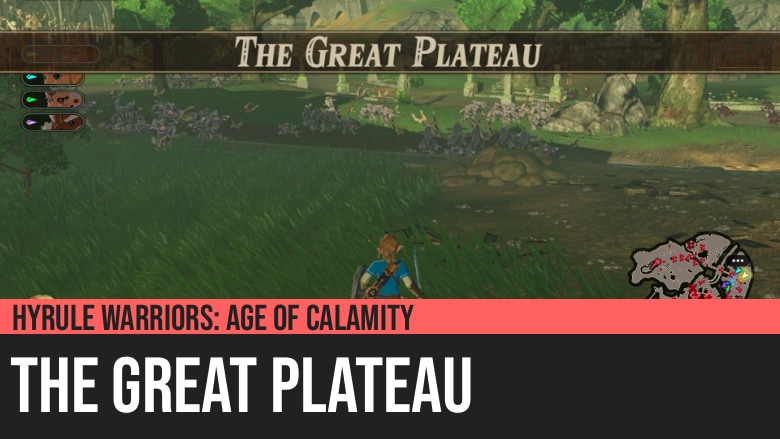
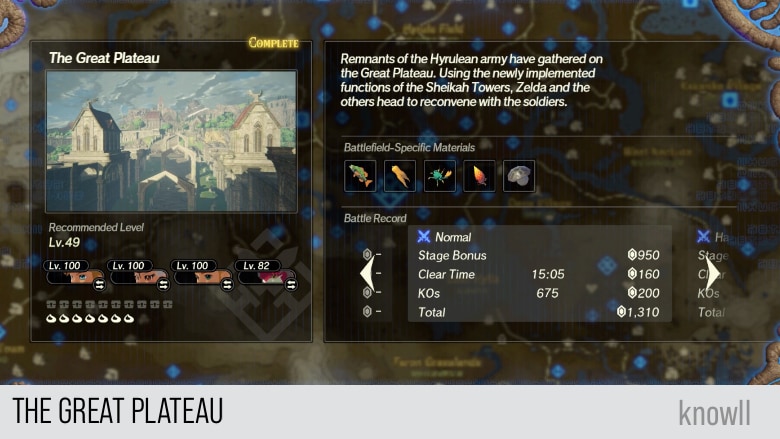
Hyrule Warriors: Age of Calamity - The Great Plateau is the first part of Chapter 7 of the game. Remnants of the Hyrulean army have gathered on the Great Plateau. Using the newly implemented functions of the Sheikah Towers, Zelda and the others head to reconvene with the soldiers.
This Chapter entry gives you the first Silver Lyner that you can fight in the game. Also, it unlocks a new playable character for your heroes, King Rhoam.
Treasure Chests and Koroks
- 7 Koroks
- 10 Treasure Chests
Battlefield-Specific Materials
- Hyrule Bass
- Endura Carrot
- Razorclaw Crab
- Mighty Thistle
- Ironshroom
Special Rewards
Battle on the Great Plateau
At long last, Zelda's true power had awakened.
Even the Yiga Clan, who have vehemently opposed the heroes, now joined them in strength. Finally, the people of Hyrule stood united.
Just as hope had begun to shine, Zelda received an urgent message - remaining Hyrulean forces were locked in a fierce battle on the Great Plateau. Heeding their call, the princess rushed immediately to their aid.
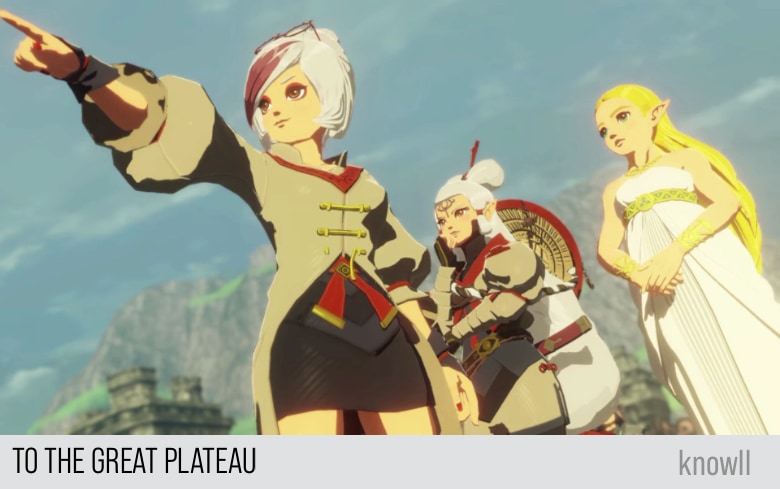
To the Great Plateau
The party receives word that there are soldiers holed up on the Great Plateau. They must be helped, but traveling so far would be difficult and dangerous. Fortunately, Purah has a plan to make the trip much, much easier.
Zelda: All right. Our fight isn't over - we must hurry!
Impa: I'm sorry, Your Highness... but it's too far. Even if we left right away-
Purah: Blah, blah, blaaah!
Purah: I just so happen to have good news to share. Go ahead... and behold!
Zelda: The tower!
Purah: See that terminal over there? I used it to fiddle with the control unit. The one that's in the castle.
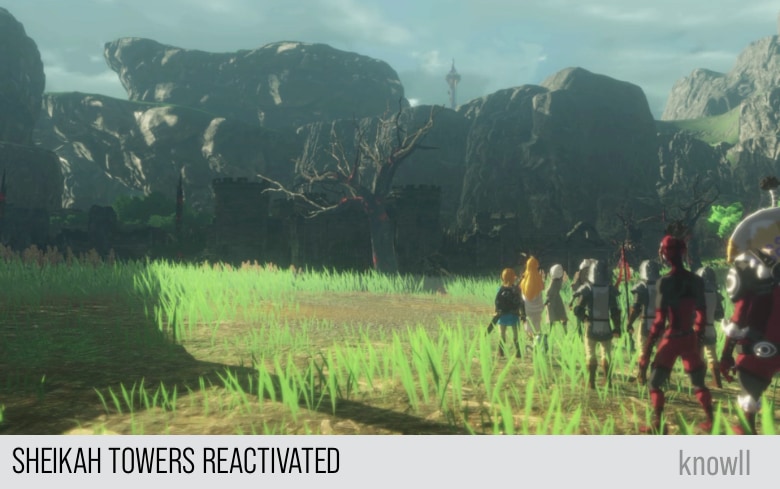
Purah: And, of course, I was successful! I managed to reactivate all of the towers! Impressive, right?!
Purah: Check it! Let's all hurry to the Sheikah Tower!
Impa: Huh? Why there?
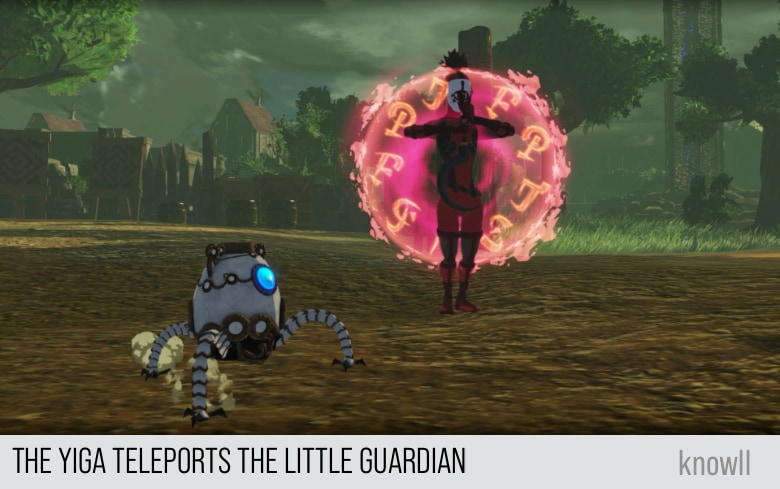
Purah: I also upgraded the teleportation functionality.
Impa: Just like that? Now that's a feat.
Purah: Well, to be fair, it's not all me. Thank the ancient tech built into our friend.
Purah: Anyway, now we should be able to travel to any tower in Hyrule in a flash! Or to anywhere, really!
Zelda: Let us go.
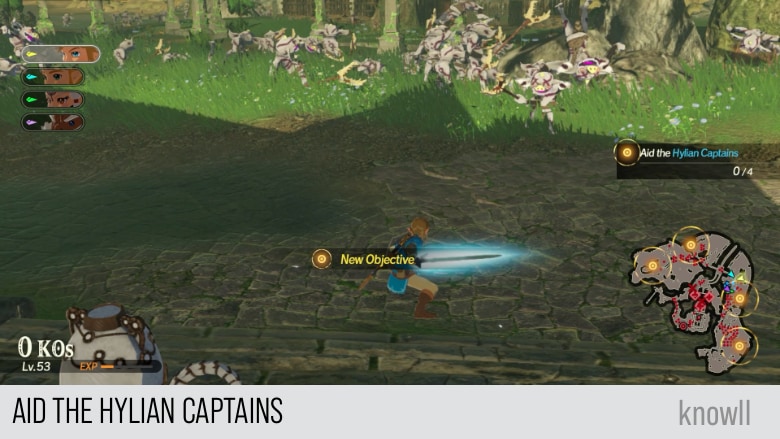
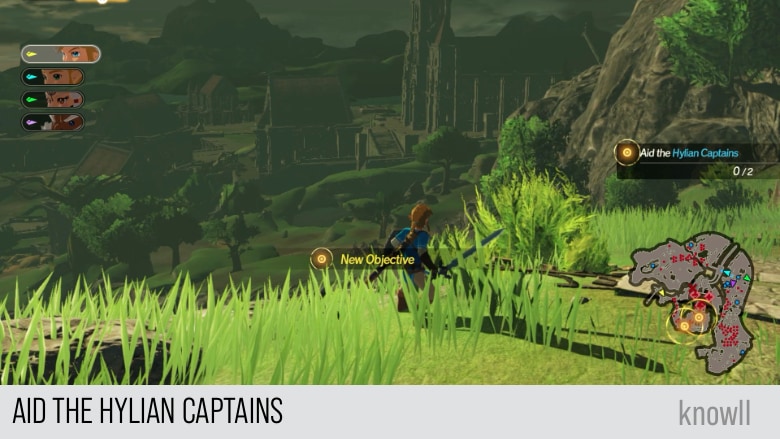
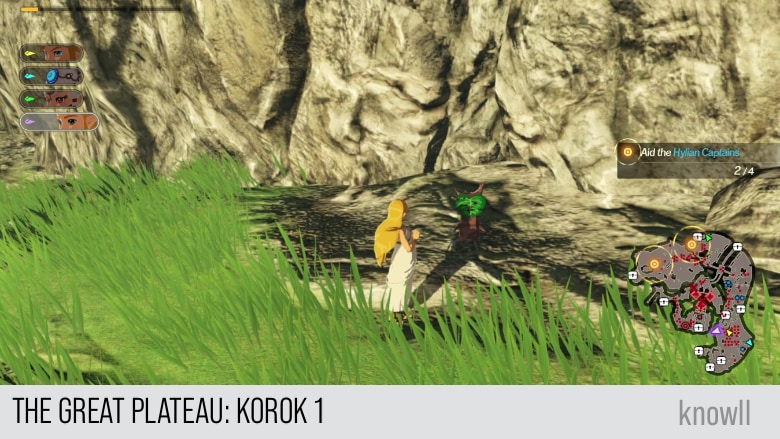
Objective: Aid the Hylian Captains
Zelda: Some troops are under attack in nearby outposts! Everyone, onward to their rescue.
Defeat the Guardian and key enemies, and rescue the Hylian Captains.
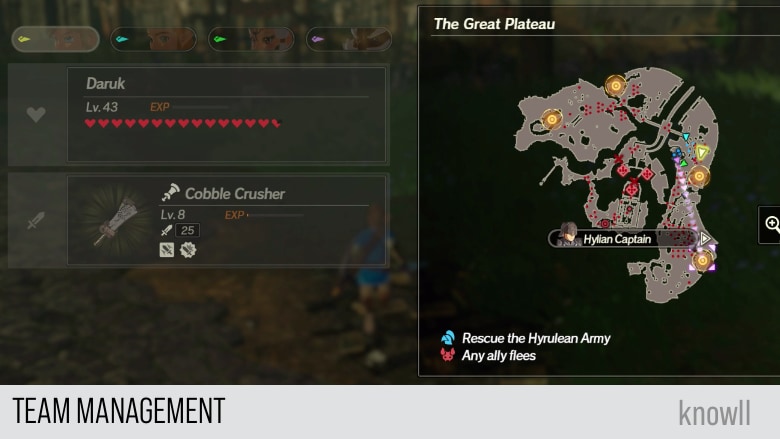
As there are four outposts to capture, it's best to do team management and assign one outpost per hero in your team.
There is nothing special with the outpost minibosses in this quest, they have all been covered in previous chapters. You can view our Enemies Guide for tips on how to handle each.
The minibosses in the four Outposts are:
- Ice Moblin
- Guardian
- Fire Wizzrobe
- Black Moblin
The Yiga Clan Shines
The main feature of this Chapter entry though is the Yiga Clan. Now that they have joined the Hyrulean army, the quest highlights how they can contribute and how useful they are with their unique strength.
You can observe this in the flow of conversations while capturing the outposts.
Capturing the First Outpost
Hylian Captain: We've lost contact with our other divisions. The Hyrulean army is in tatters.
Impa: It seems everyone is confused and unable to grasp the situation.
Master Kohga: Mmrgh... I don't like not knowing stuff. Underlings, go snoop around and tell us what you find.
Yiga Footsoldier: You got it, boss!
The Yiga Footsoldiers have begun scouting the enemy camp!
Capturing the Second Outpost
Yiga Footsoldier: We're back with a report. Soldiers are stuck in the temple, and rubble is blocking the way there.
Capturing the Third Outpost
Master Kohga: We Yiga could hop right over the rubble, but bringing everybody back... Phoo. That'd be tricky.
Purah: Aha, I know! How about we activate the Shrine of Resurrection and then use it as a travel gate?
Robbie: Stellar! We can approach the temple from another angle. Let's activate it using this Guardian.
Zelda: Master Kohga... Can you help us activate the shrine? It appears you are capable of crossing over that rubble.
Master Kohga: I feel kinda queasy about helping a member of the Hyrulean royal family, but... Sure. Yiga, roll out!
Impa: Wait! To activate the shrine, you must bring this with you.
Capturing the Fourth Outpost
Yiga Footsoldier: Gah! We're surrounded!
The Yiga Blademaster and their allies have engaged the Black Hinox and their allies!
Master Kohga: What? After all the tough scrapes we've been in, THIS is gonna stop you?!
Zelda: It looks like they're struggling to reach the shrine. Time for us to lend our aid!
Objective: Defeat the Black Hinox and Key Enemies
The two enemies are a Black Hinox and an Electric Hinox. View our Enemies Guide for tips on fighting Elemental and colored Hinoxes.
You will face a lot of Bokoblins on your way to the minibosses, defeat them to fill up your special attack gauge.
Yiga Blademaster: Now, take 'em down!
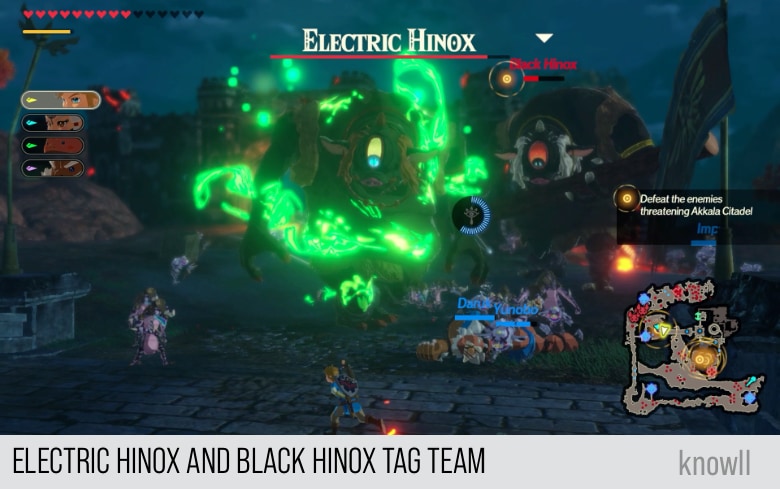
After you defeat the Electric Hinox and the Black Hinox, another stronger enemy will appear.
Yiga Footsoldier: Uh, th-thanks for the help! I'll head for the shrine!
The Yiga Clan has started moving again!
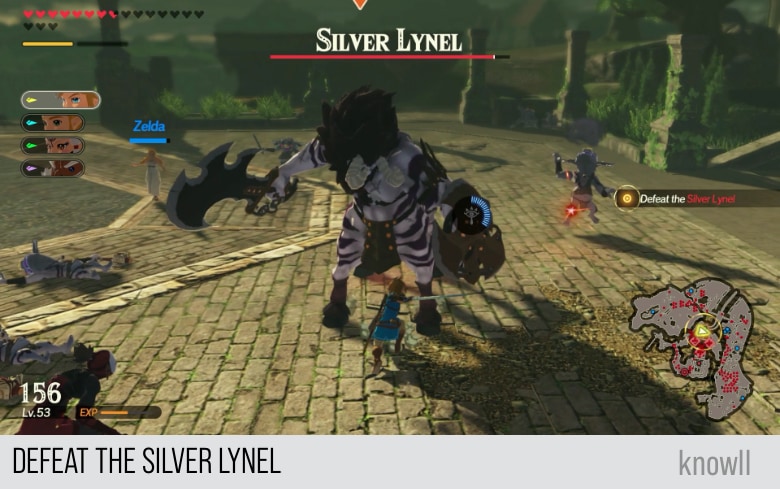
A Silver Lynel has appeared!
Zelda: This can't be!
Objective: Defeat the Silver Lynel
This is the first Silver Lynel you can face in the whole game. It has a similar moveset as the standard Lynels. You can view our Enemies Guide for tips on fighting Lynels.
This Lynel is having a sword-and-shield weapon, no different from the Red Lynel you first met at the entry Mipha, the Zora Princess.
Yiga Footsoldier: What the... Some new allies arrived, and they're taking down monsters left and right!
Impa: There aren't many with that level of skill, even in Hyrule. Wait! It can't be...
Once you defeated the Silver Lynel, you can progress with the next objective.
Yiga Footsoldier: The Shrine of Resurrection has been activated!
Zelda: And now, we head to the temple. You must hurry and provide assistance!
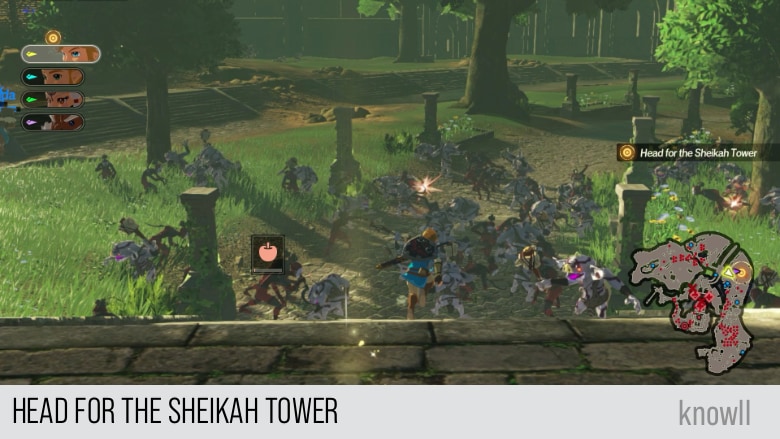
Objective: Head for the Sheikah Tower
While on the way, fill up your special attack gauges by defeating Bokoblins.
Zelda: Link! I am counting on you now!
Purah: Aw, yeah! Good going!
Zelda: We must hurry to their aid at once!
Objective: Aid the Hylian Captains
The Sheikah Tower will teleport you to the area where you started playing BOTW.
Defeat the Malice Guardian and key enemies, and rescue the Hylian Captains.
The two minibosses you will face in the outposts are a Malice Guardian and a Silver Moblin. You can view our Enemies Guide for tips on fighting them.
After defeating the Silver Moblin, a new batch of enemies will appear on the opposite side of your current hero.
The Electric Guardian and their allies have appeared!
Robbie: Aaagh, busted beakers! You gotta help me out! Enemies are closing in on the stronghold!
Master Kohga: You smell that? A fresh batch of baddies, just begging for a beatdown!
Objective: Defeat the Electric Guardian and Key Enemies
The arrival of new enemies will force you to switch to other heroes as the enemies are in the Allied Stronghold.
The enemies you will face are:
- Fire Hinox
- Silver Moblin
- Electric Guardian
- Flying Guardian
These enemies are all covered in our Enemies Guide.
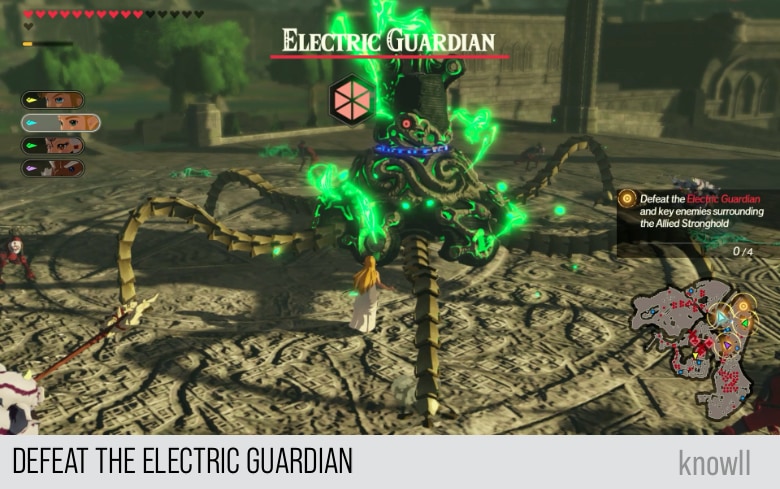
Go ahead and defeat all of them.
Purah: Phew, we made it through! Thanks for your help!
Impa: Princess! About that person who was said to be fighting the monsters earlier...
Zelda: Understood. I'll go to meet them.
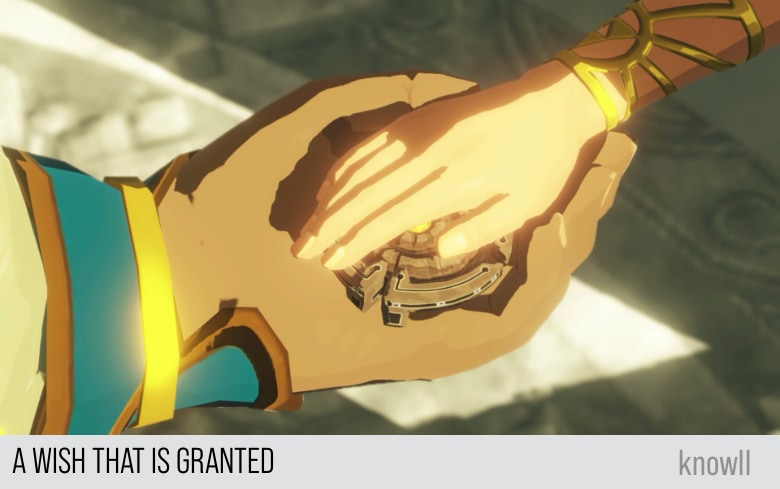
A Wish that is Granted
A father and daughter reunite within the Temple of Time. Tears of joy flow easily from the princess, and her father looks upon her with a newfound warmth. He admits it was the relic she gave him that saved his life.
Zelda: Father?
Zelda: But you're... you're all right!
King Rhoam: Hmm... It is all thanks to this.
Zelda: Huh?
King Rhoam: This little thing saved me.
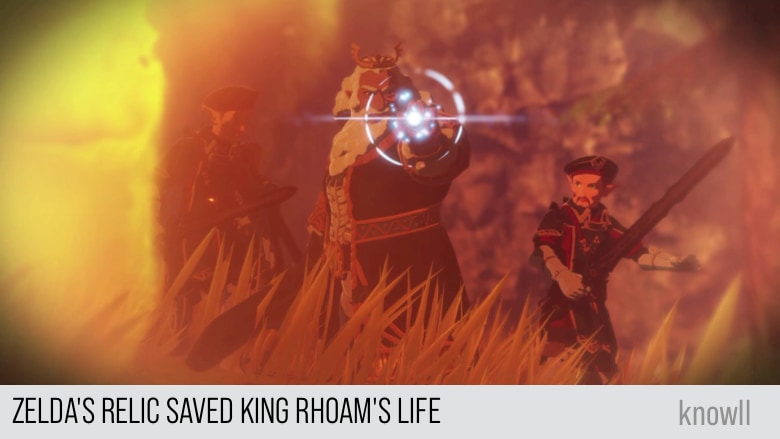
King Rhoam recounts how the relic saved their lives.
King Rhoam: Your heart... Your boundless compassion...
King Rhoam: With those precious gifts, you have saved my life. While I accused you of evading your duty... in truth, perhaps I was guilty of the same.
King Rhoam: Forgive me.
Zelda: That's not...
Zelda: Father... You've always loved me... Everything you've done has always been for me.
Zelda: The burden, the heavy load you've shouldered all this time... from now on, please, let me help you carry it.
King Rhoam: Zelda, you are my pride... and indeed, the pride of all Hyrule. With your power, I believe you will seal away Calamity Ganon.
King Rhoam: Now, let us rally our forces for a final push! Troops from all regions shall gather at Hyrule Field. Alongside our princess, we will retake Hyrule Castle!
Characters Unlocked
As you move through the Chapters and later on with the Challenges and Quests, you will be unlocking characters that you can use for your party. This Chapter entry that you just completed rewards you with King Rhoam.
If you would like to learn King Rhoam's moveset and combat guide, view our King Rhoam Guide.
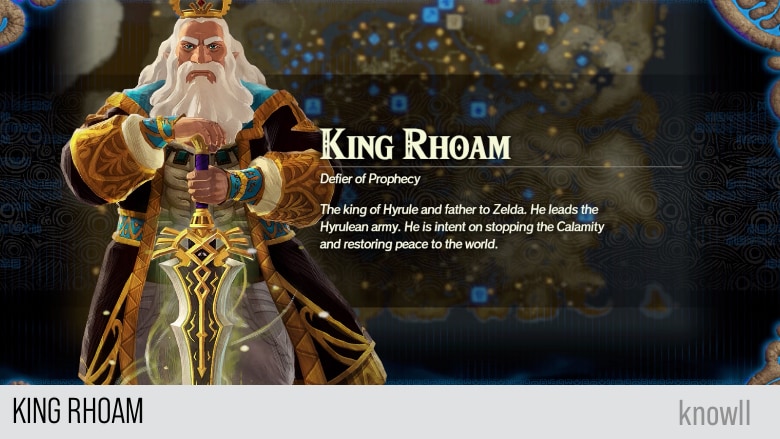
Defier of Prophecy. The king of Hyrule and father to Zelda. He leads the Hyrulean army. He is intent on stopping the Calamity and restoring peace to the world.
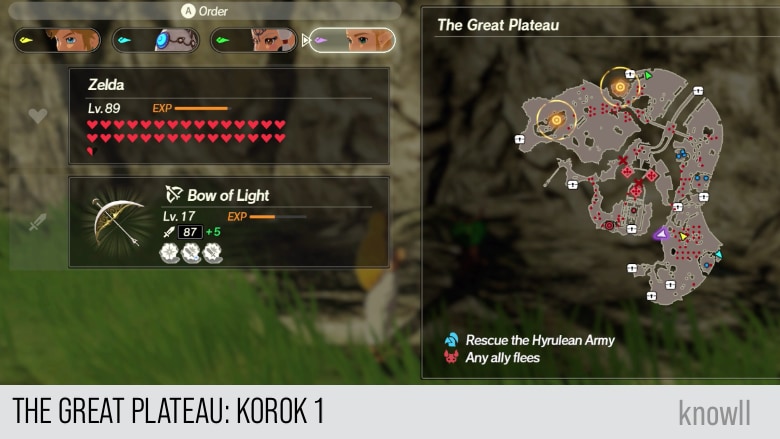
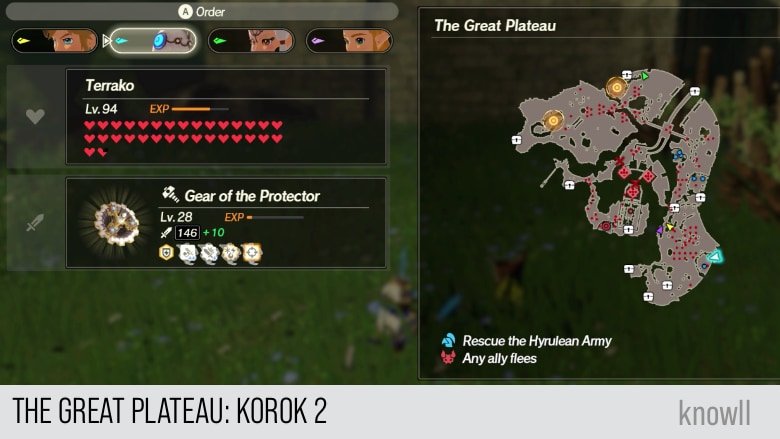
Korok Locations
Every Chapter in the game contains Koroks. The main challenge is that there is no feature in the game that will make them appear on the map.
Hence, we provide all their locations on the area as well as on the map.
Total Koroks: 7
The Great Plateau Korok 1
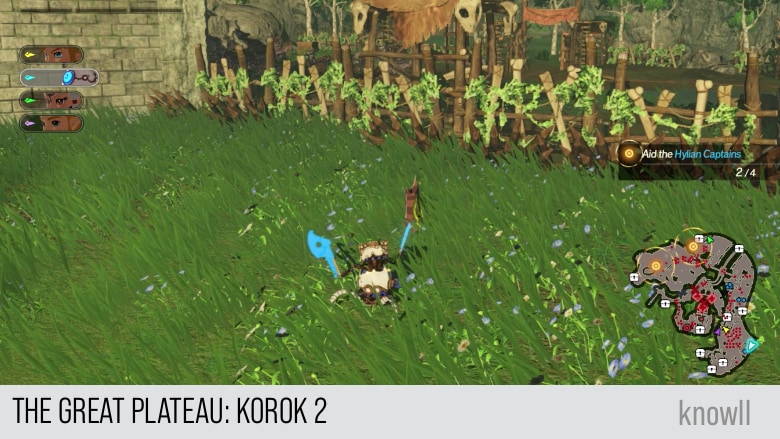
The Great Plateau Korok 2
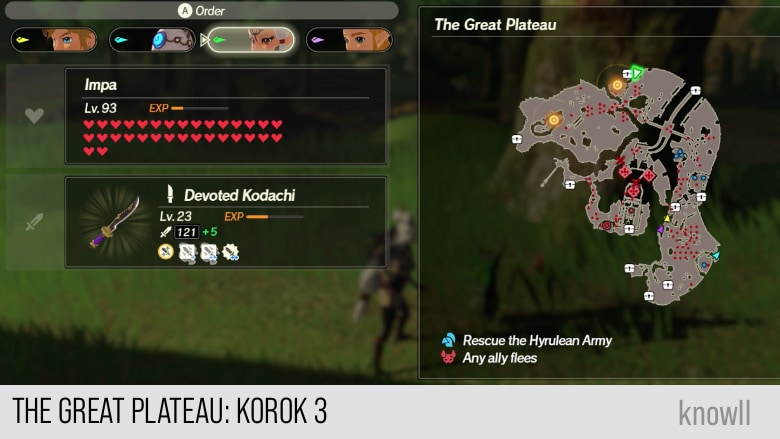
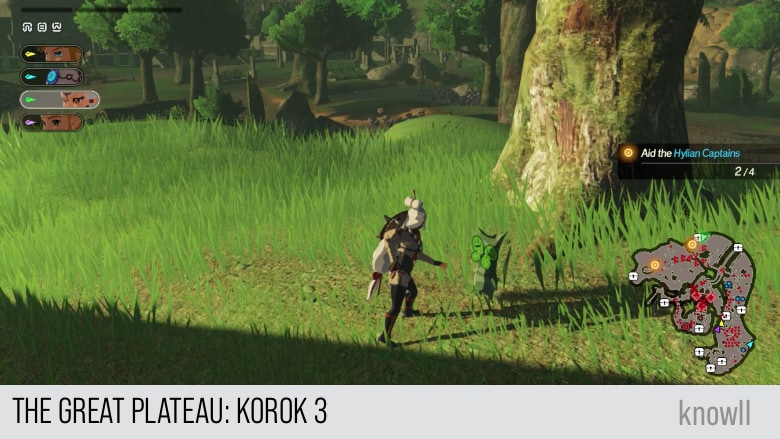
The Great Plateau Korok 3
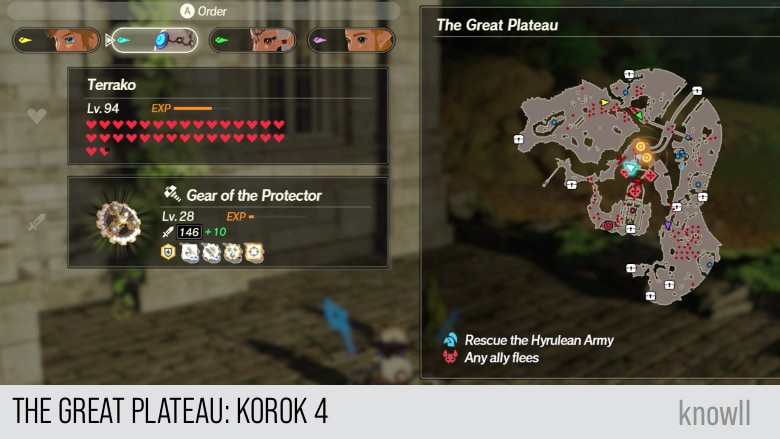
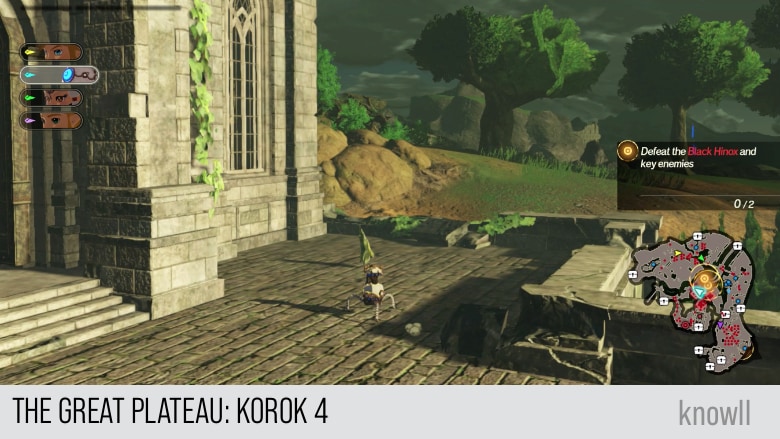
The Great Plateau Korok 4
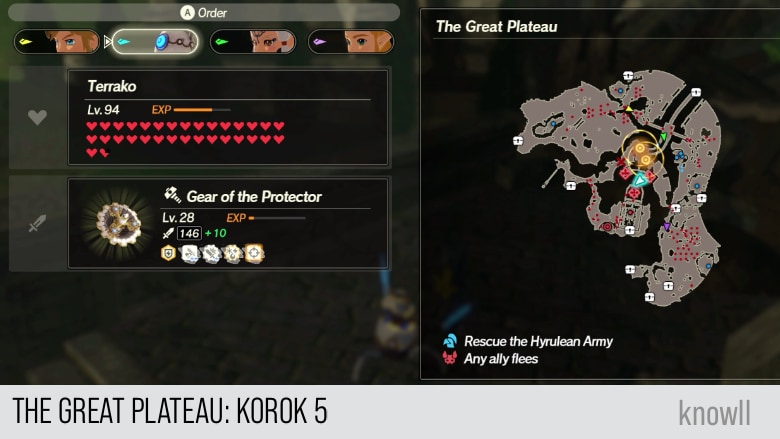
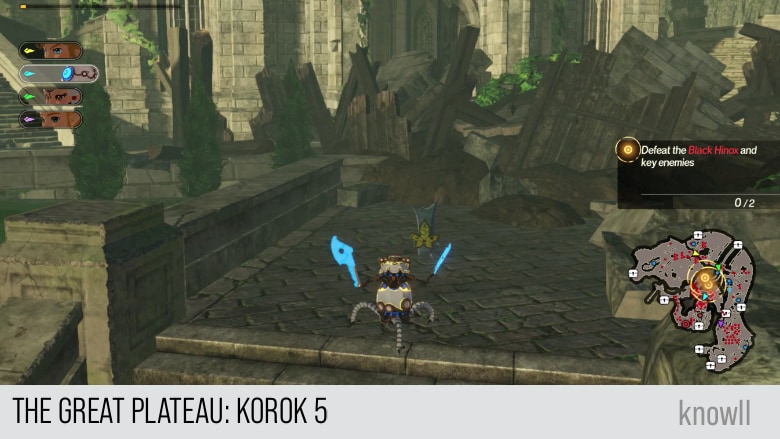
The Great Plateau Korok 5
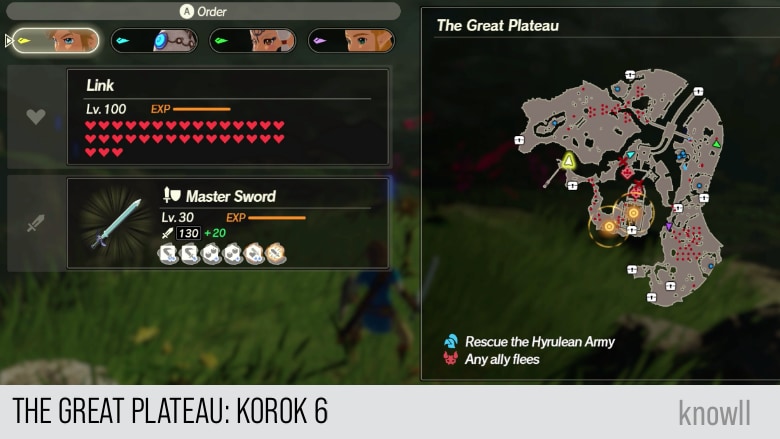
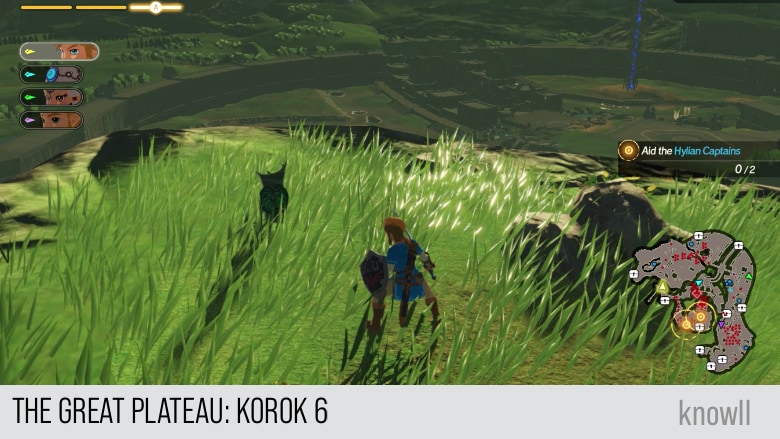
The Great Plateau Korok 6
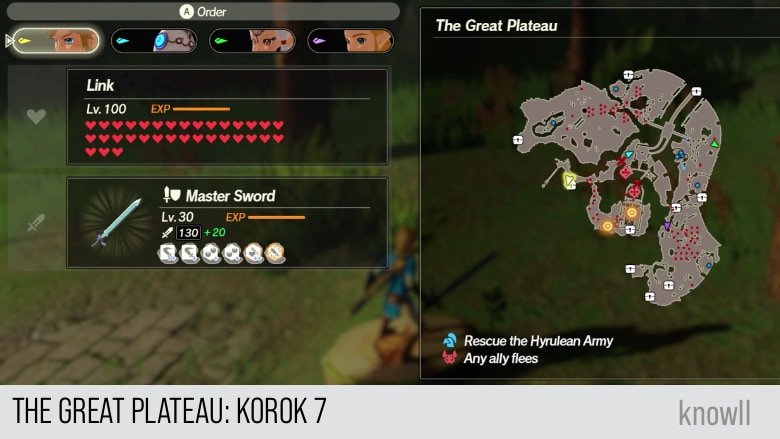
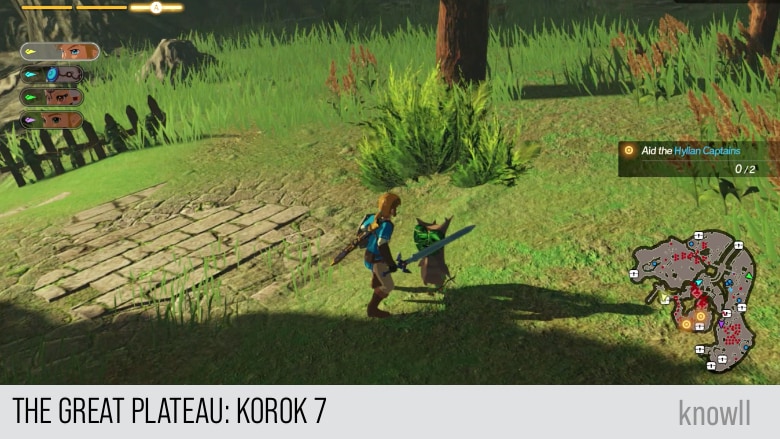
The Great Plateau Korok 7
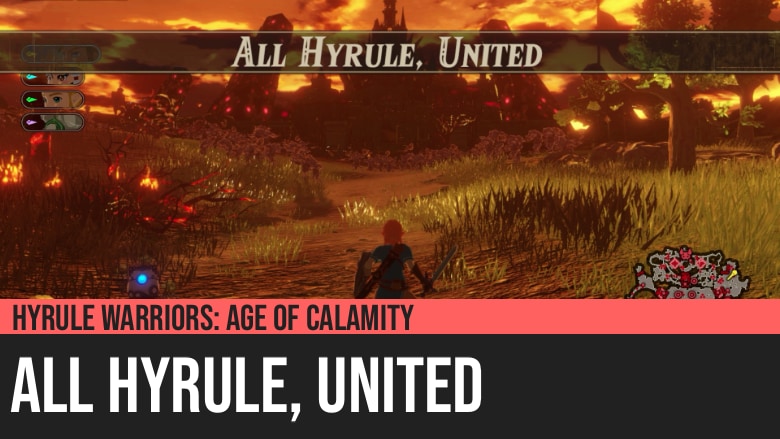
Continue the adventure with our next Chapter entry All Hyrule, United.