


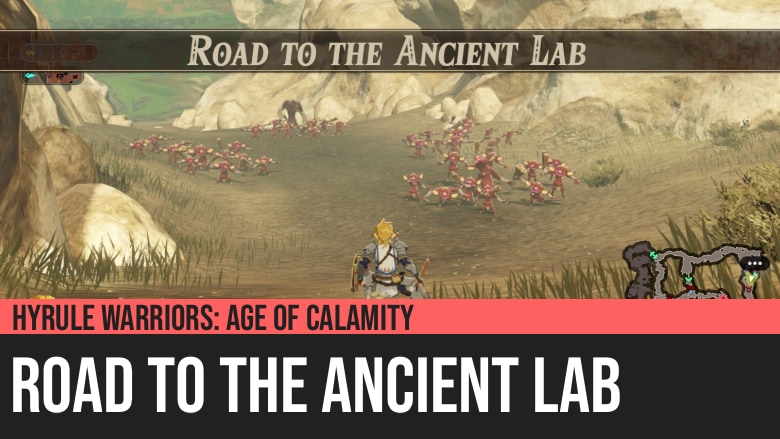
Hyrule Warriors: Age of Calamity - Road to the Ancient Lab
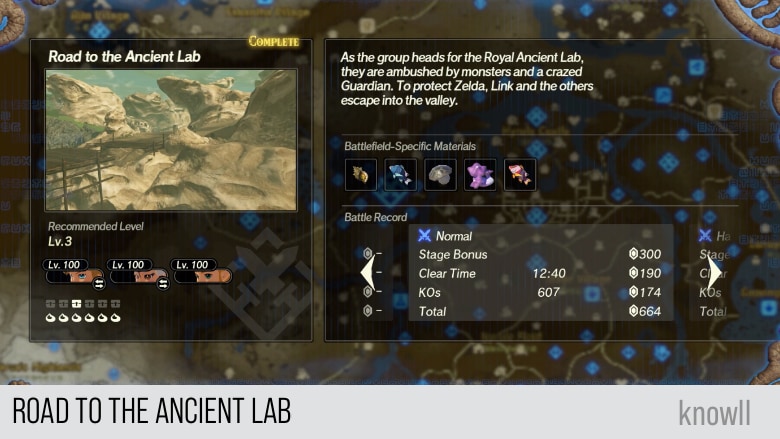
Hyrule Warriors: Age of Calamity - Road to the Ancient Lab is the second part of Chapter 1 of the game. As the group heads for the Royal Ancient Lab, they are ambushed by monsters and a crazed Guardian. To protect Zelda, Link and the others escape into the valley.
This Chapter entry unlocks Magnesis and Stasis, in addition to providing your first chance to acquire the Ice Rod and Lightning Rod in the game. Finally, it will unlock Zelda as a playable character.
Treasure Chests and Koroks
- 6 Koroks
- 6 Treasure Chests
Battlefield-Specific Materials
- Sneaky River Snail
- Armored Porgy
- Ironshroom
- Rushroom
- Mighty Porgy
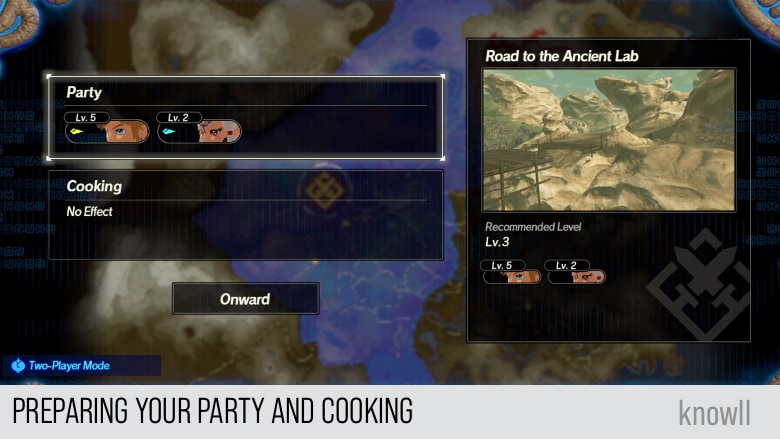
Preparing Your Party and Cooking
Now that you have completed your first Chapter, you have access to your Party setting and Cooking. Since you only have two unlocked characters so far, you can only use Link and Impa, but for future entries, you will have more choices of playable heroes.
Now might be the time to give Cooking a try. See our Cooking Guide to view the options you can take. This game mechanic is similar to eating a meal in Monster Hunter before going for a hunt.
With Cooking, you can earn more rupees, gain more experience, or increase offense and defense.
Journey to the Ancient Tech Lab
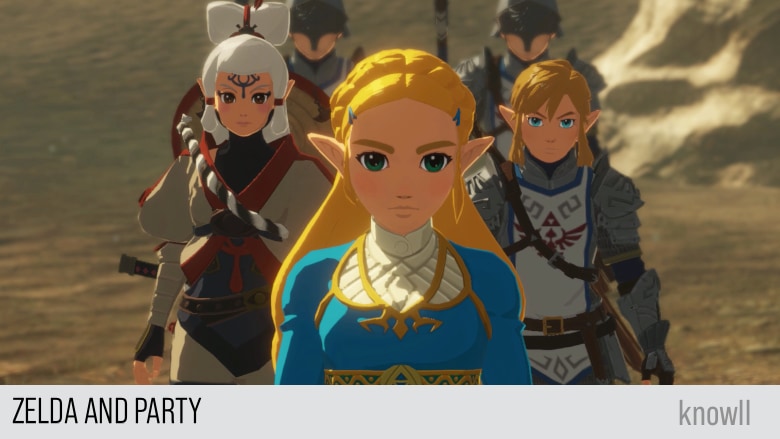
Zelda, curious about the diminutive Guardian, decided to accompany Impa on her journey to Purah's research facility in Hateno. With Link acting as bodyguard, they made their way to the Ancient Tech Lab.
After meeting the little Guardian in the last entry, it started following Zelda.
Zelda: Why is it so... attached to me? Whatever could you be, little one?
Zelda: I suppose all we can do is wait for Robbie and the others at the lab to analyze it.
Impa: Agreed, Your Highness.
The group gets surprised when a Guardian comes alive and fires a laser beam on Zelda. Fortunately, Links shields up and protects Zelda.
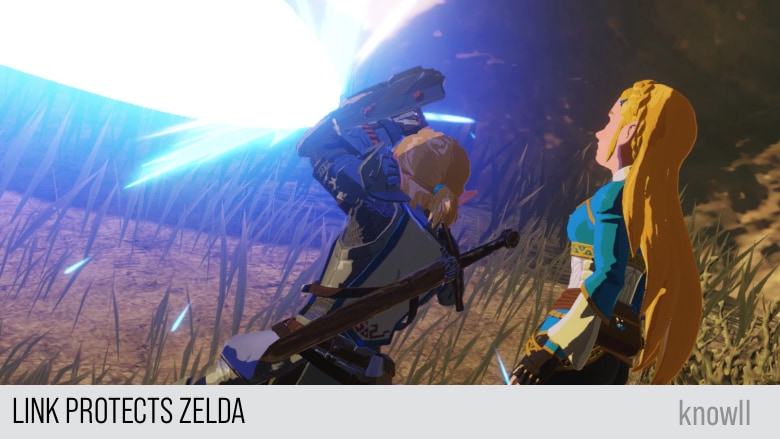
Impa: A Guardian? But why?!
Impa: And monsters too. Now, of all times!
Objective: Support Zelda's Escape to the Targeted Position
The first major objective is to escape the rampaging Guardian. You can fight all the other monsters you see. Just avoid the Guardian.
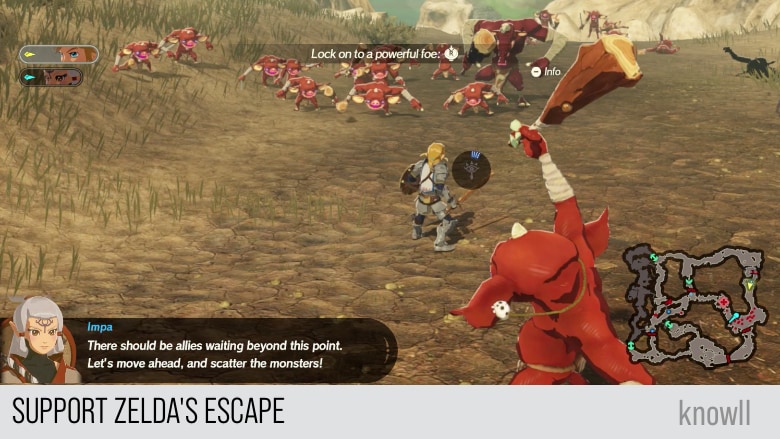
Zelda: The Guardian may come after us. We must leave.
Impa: There should be allies waiting beyond this point. Let's move ahead, and scatter the monsters!
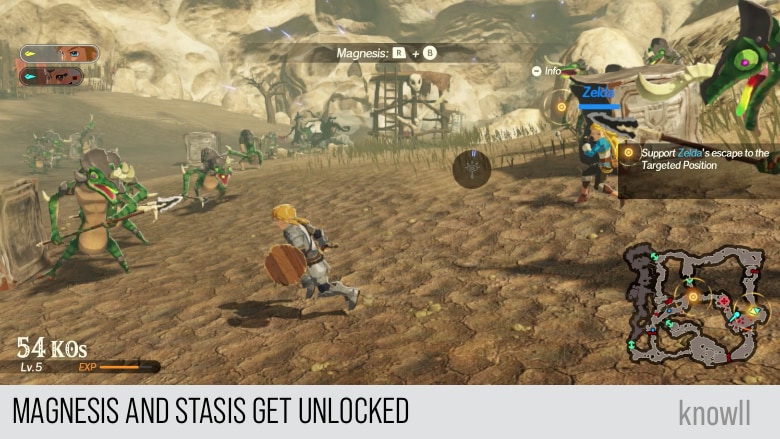
Magnesis and Stasis Get Unlocked
Once you have reached the area where there are many Lizalfos, Zelda will inform you that the Sheika Slate unlocked two additional runes: the Magnesis and Stasis.
Zelda: The Sheikah Slate is responding again?
Zelda: A new power... It seems like there's more than just the one.
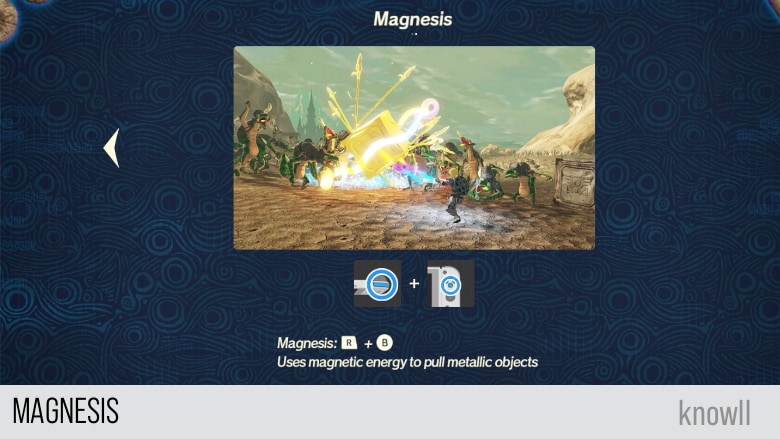
As shared in our Game Mechanics Guide, you can initiate the Magnesis through R + B. Notice the area you are currently fighting the Lizalfos. It is full of metal boxes, which you can use with Magnesis to do large AOE damage on them.
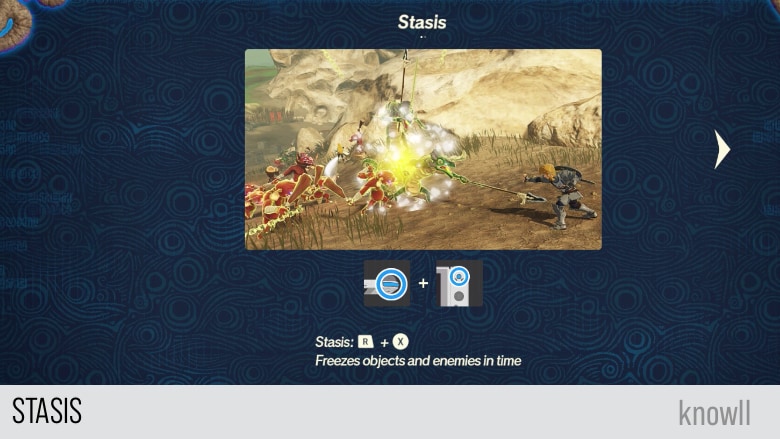
You can initiate Statis using R + X. You will definitely use this soon, as one of the minibosses you will meet is best countered with Stasis.
Your First Ice Wizzrobe
Moving a few steps from the Lizalfos, you will meet your first Ice Wizzrobe enemy. You can check our Combat Guide for dealing with Wizzrobes.
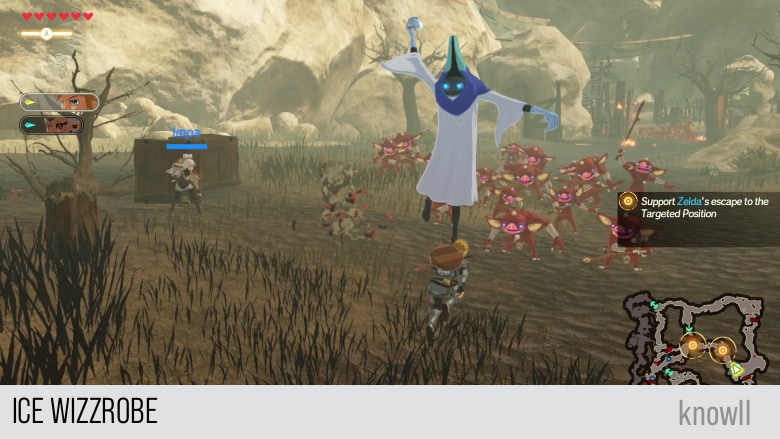
A quick and easy way to defeat this Wizzrobe is to unleash your Special Attack on it, which will most probably one-hit him. Also, you can use your Fire Rod, which you acquired in the last Chapter entry.
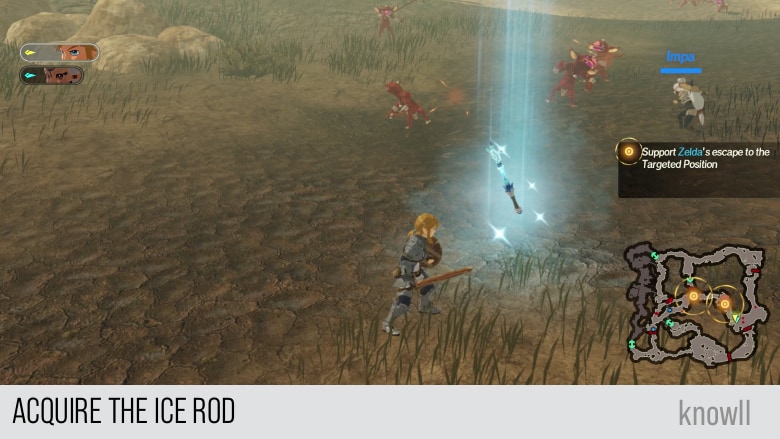
Acquire the Ice Rod
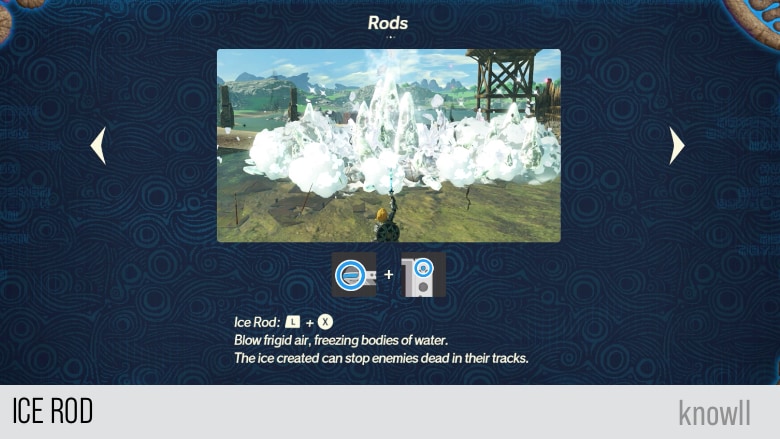
After defeating the Ice Wizzrobe, it will drop your very first Ice Rod. Remember, the rods in the game are of infinite use and do not break. However, you must have an elemental crystal to keep on using them. Every Wizzrobe drops around 3 elemental crystals.
You can initiate an Ice Rod attack using L + X.
In the next section, as you progress for the objective, you will enter an enemy outpost with a large pool of water in the middle. This is a good chance for you to experiment with using the Ice Rod.
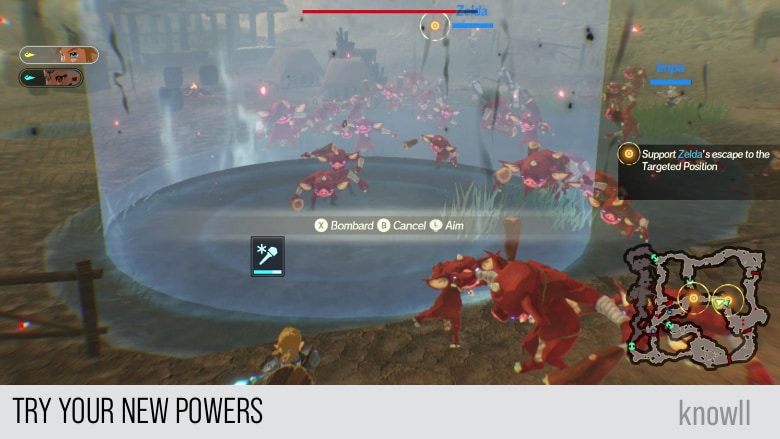
You will notice the large AOE effect it will cause on the pool of water. If this is a grass area or group, the AOE radius will not be as large.
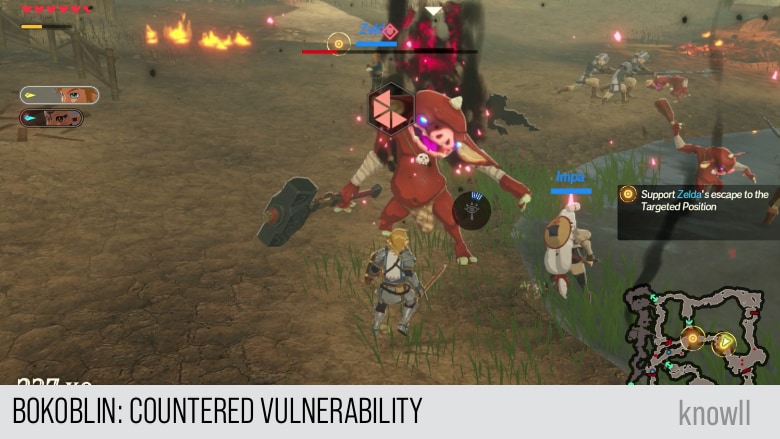
Magnesis Versus Enemies with Metal Weapons
The miniboss in the current enemy outpost uses a metallic weapon, which will be hurled and thrown at you by the Bokoblin.
You will notice that his throw attack gives a telegraph, which you can counter using magnesis.
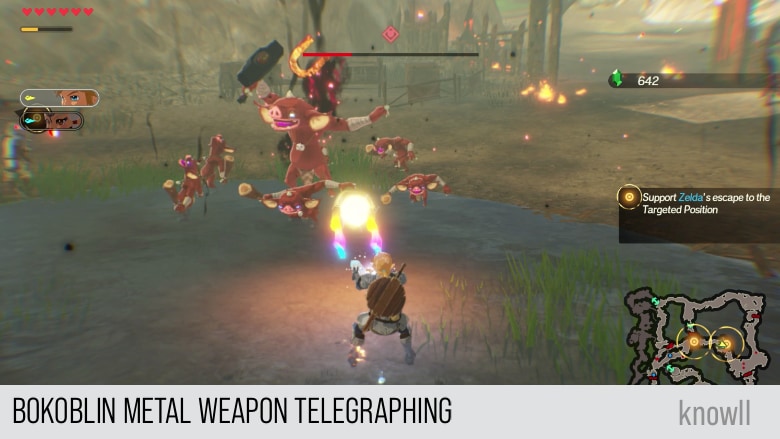
If you use Magnesis to counter his throw attack, the metallic weapon will get captured by the Magnesis and get thrown back at the Bokoblin, which will be in a state of vulnerability. This is your chance to reduce his WPG (Weak-Point Gauge).
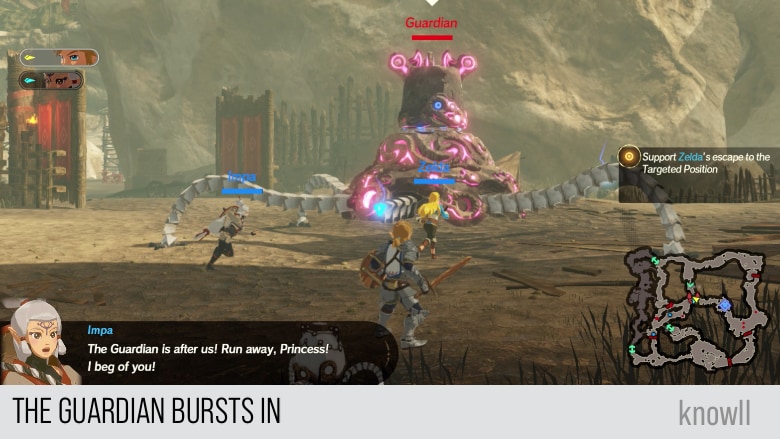
Attack of the Rampaging Guardian
If you move a few more steps forward, you will reach the target area, where the rampaging Guardian will burst out.
Impa: The Guardian is after us! Run away. Princess! I beg of you!
As stated in the conversations, do not fight the Guardian yet. You will engage it later, but not for now.
Zelda: Do not engage the Guardian! Its power is too great. It won't end well if we fight it.
Impa: What can be done? That thing is relentless!
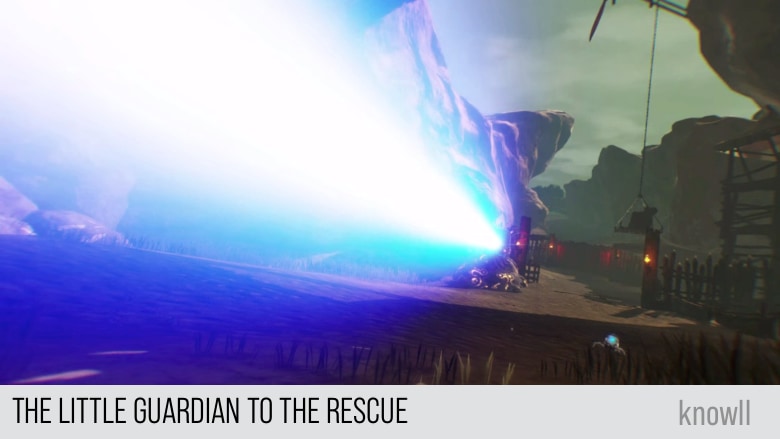
Little Guardian to the Rescue
Run towards the target area to get the cutscene where the little Guardian controls the stationary Guardian and blasts a laser beam on the rampaging Guardian.
Impa: There are more Guardians nearby! Perhaps we can activate them too?
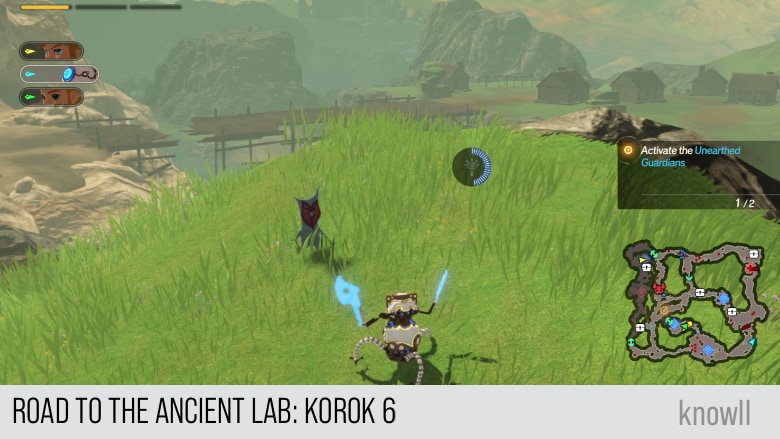
Objective: Activate the Unearthed Guardians!
With the newly discovered power of the little Guardian, your new objective is to activate the two other stationary Guardians. You can use character switching to save time running to the target positions.
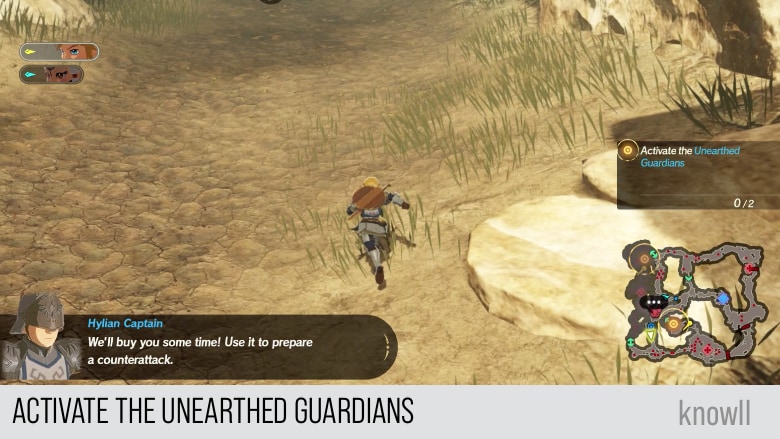
Hylian Captain: We'll buy you some time! Use it to prepare a counterattack.
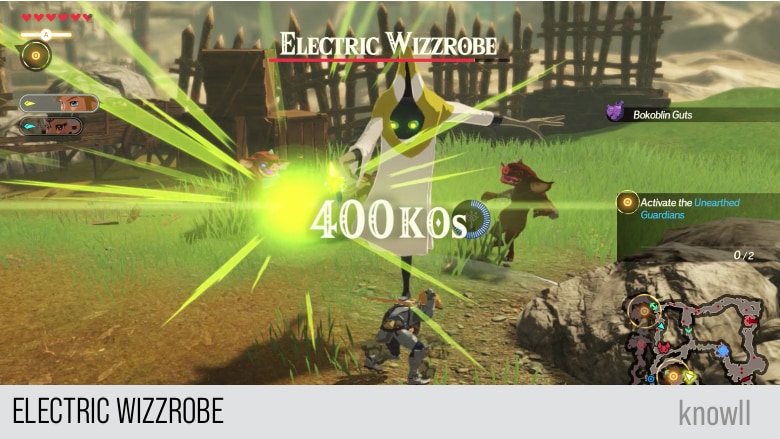
Your First Electric Wizzrobe
On your way to the first stationary Guardian, you will face your first Electric Wizzrobe.
You can check our Combat Guide if you need more tips on how to defeat the Wizzrobes.
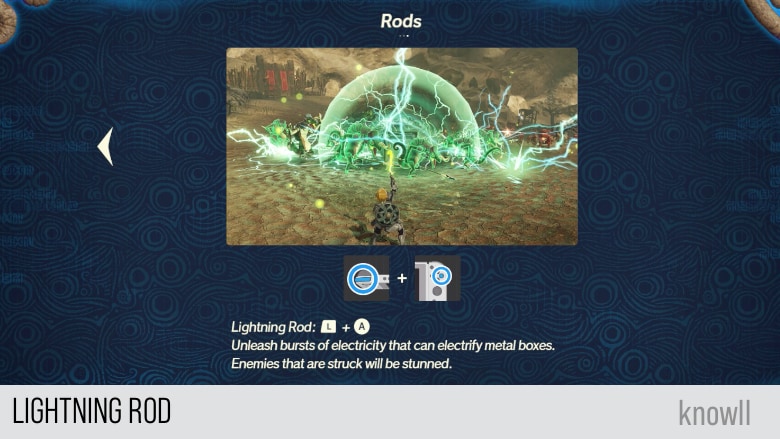
Acquire the Lightning Rod
After defeating the Electric Wizzrobe, you can acquire your very own Lightning Rod.

You initiate attacks with the Lightning Rod using L + A. It's very effective when the environment is raining or when there is a body of water or metal boxes near the enemies.
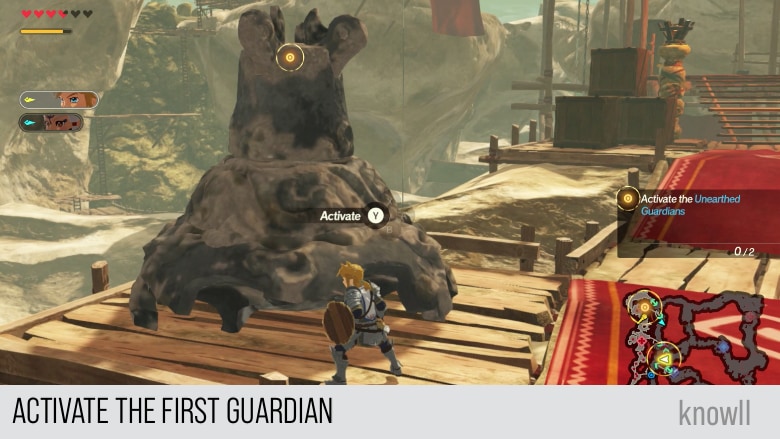
Activate the First Guardian
After reaching the first target position, you can activate the stationary Guardian. This, in turn, will blast a laser beam on the rampaging Guardian.
Zelda: Wonderful! The attacks are having an effect!
Impa: There are even more monsters on the road to the lab now... We can't make it through like this.
Zelda: I will fight too! I cannot simply stand by and watch!
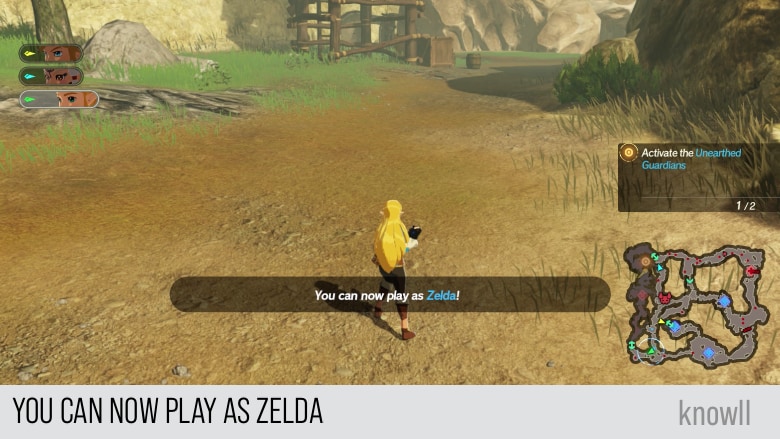
Zelda Gets Unlocked
At this stage of the quest, Zelda becomes playable. You can switch to her and start learning her attacks and combos.
Zelda: If I use the Sheika Slate creatively, I'll be able to fight by your side!
Interestingly, Impa will give this dialog, showing how much Impa cares about protecting Zelda.
Impa: Link! Don't let the princess out of your sight!
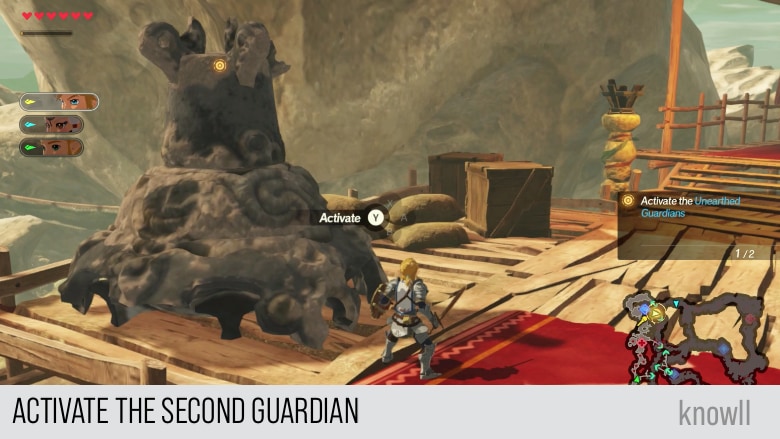
Activate the Second Guardian
Go ahead and move to the next target position. You can use any of the playable heroes. Also, don't forget that you can command them to move to target areas if you want.
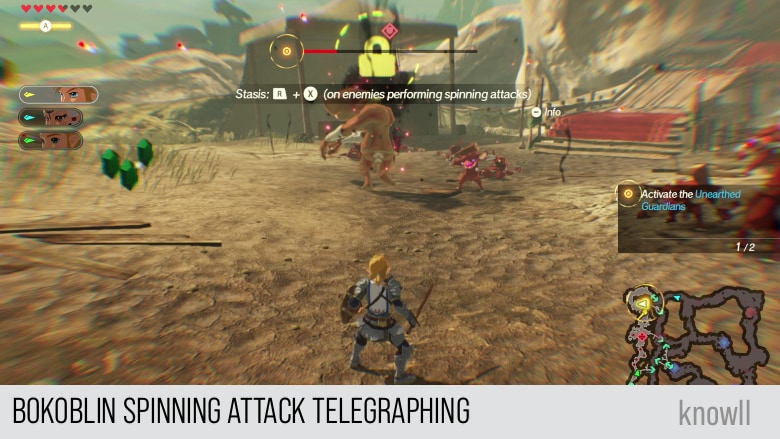
Fight the Spinning Bokoblin
While going to the next Guardian, you will meet a miniboss Bokoblin that uses a spinning attack. This is a good chance for you to practice countering this attack telegraph.
Once successfully countered with a Stasis, the Bokoblin will go into a state of vulnerability.
After defeating the miniboss, go ahead and activate the second stationary Guardian.
Impa: Preparations are complete! However, the target is currently out of range...
Zelda: We have but one option - lure the enemy into range. Let's do so, but carefully.
Objective: Guide the Guardian
As shared by the conversation above, lure the Guardian but do not fight it yet. Run towards it and get its attention. Then move back to the target position.
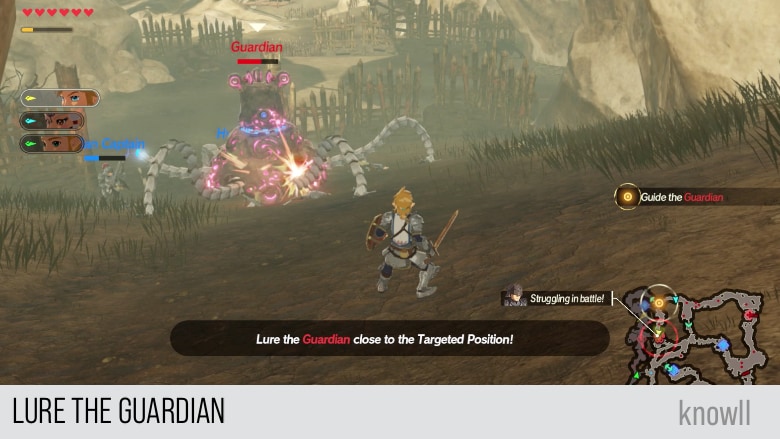
After reaching the target area, the earlier stationary Guardian will blast it with a laser beam, reducing its health even more.
Zelda: The Guardian's armor is weakened. If we strike directly now, we should be able to topple it!
Objective: Defeat the Guardian
Now that the earlier objectives are satisfied, it's finally time to fight the Guardian. Note that you can complete this quest without activating any of the stationary Guardians and just directly fighting the rampaging Guardian.
However, this is not the most optimal way to do it, as you will miss the flow of the quest and miss fighting the minibosses and Wizzrobe.
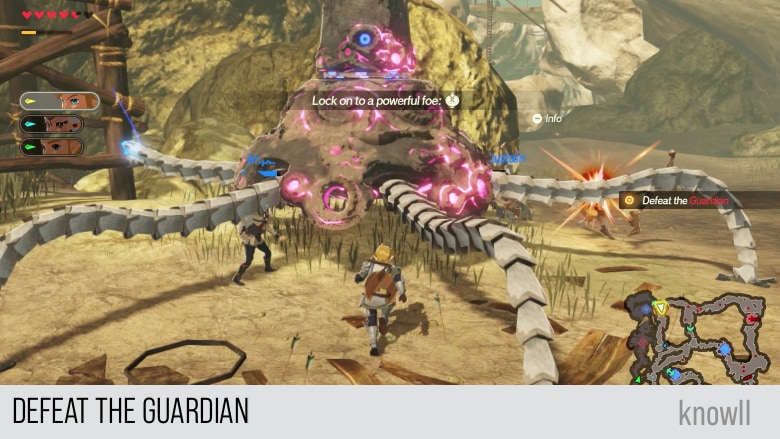
Even though the Guardian has been blasted twice with laser beams, it is still tanky. Take note of the attacks he will keep on doing to minimize the damage that you get.
Guardian Attacks
- Jump Attack - the Guardian will repeatedly make a ground slam attack. You can bait and fish for Flurry Rushes by doing backflips via dodging.
- Leg Swipe Attack - once in a while, the Guardian will move one leg and swipe you with it. You can use the dodge as well to avoid it.
- Laser Beam Attack - This is the most dangerous attack of the Guardian, but you can negate it by just blocking. Do not worry, as all of your three available characters can block and will not take any damage when hit.
- Spinning Attack - All Guardians make a spinning attack, which you can counter with Stasis. This will make it vulnerable afterward, as well.
If you need more tips, you can see our Combat Guide for handling Guardians.
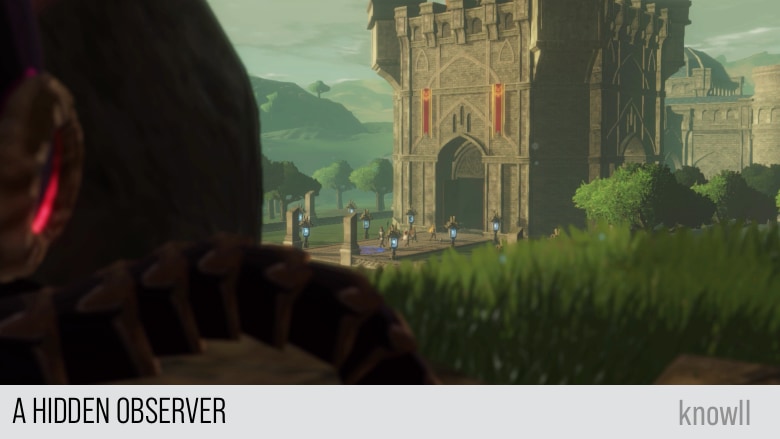
A Hidden Observer
After narrowly escaping the rampaging Guardian and the monsters, Zelda and the others celebrate their safety. Meanwhile, an ominous figure observes them from hiding.
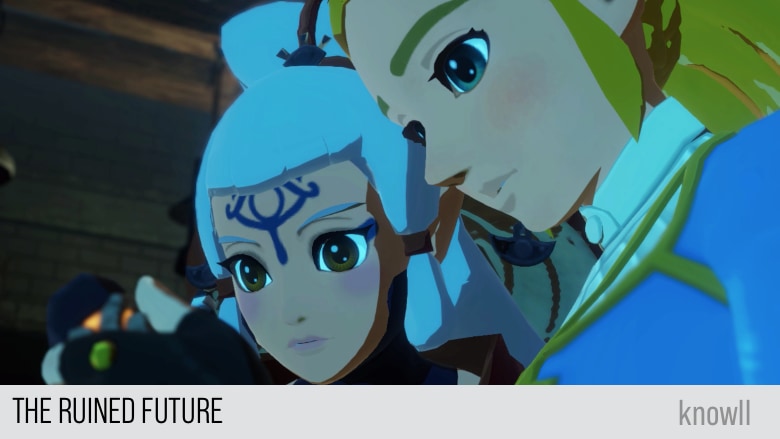
The Ruined Future
Carefully analyzing the little Guardian from the future reveals it to be a completely new model built from unknown technology, and stored within it are detailed records of the events at Hyrule Castle after Calamity Ganon's revival.
Meet Robbie and Purah
Now that you have reached the Ancient Lab, it's time to meet its two geniuses: Robbie and Purah. We have met them previously in BOTW, but this time, we see them while they are much younger.
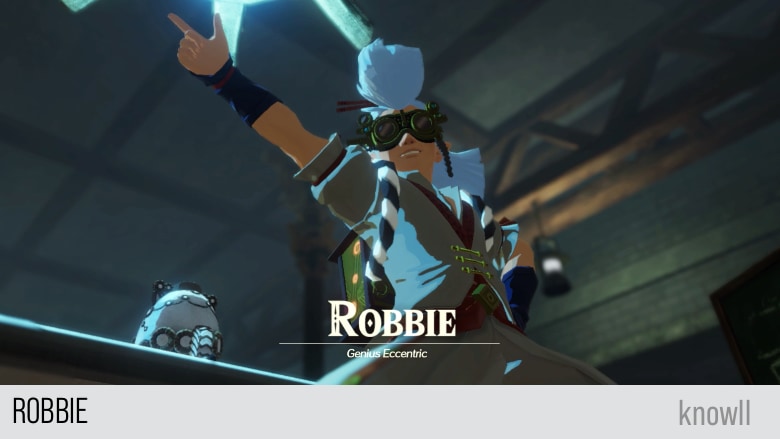
Robbie: This is technology the likes of which I've never laid eyes on! Which means... we've got a brand-new, never-before-witnessed GUARDIAN MODEL!
Robbie: Devices like the Sheikah Slate, which are amplified by the power of such ancient relics, are but a meager fragment of such technology.
Impa: I see... That explains why all of us were able to use the Sheikah Slate.
Robbie: In addition... this here doohickey is loaded with data - information we can't even fathom!

Purah: Aw, yeah! Check it!
Purah: I extracted some visual data from the Guardian's memory.
Zelda: Is that...
Purah: Yup, no doubt about it. Hyrule Castle after Calamity Ganon has been revived.
Robbie: As you can see, we managed to extract some of the data, but much of it was fragmented. Even so, if I analyze what we received, I may be able to make sense of more of it.
Zelda: This is... the ruin the Calamity will bring upon all of Hyrule. If we allow this to pass, I fear all hope will be lost.
Impa: Even everything we've done up until now... likely won't be enough...
Zelda: If I don't succeed... at sealing the Calamity... Never. This will not come to pass.
The Path to Defeat Calamity Ganon
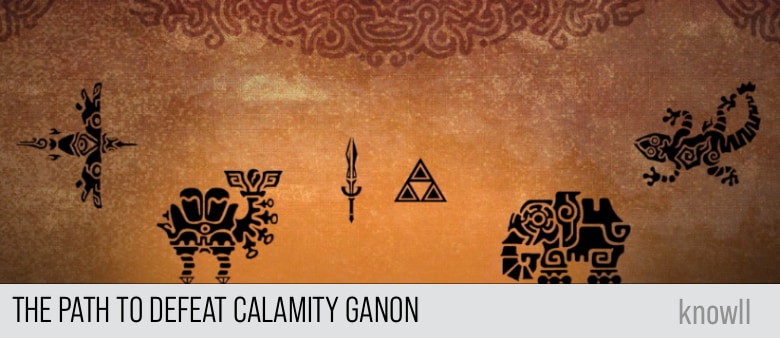
To stop Calamity Ganon, it was crucial that they possess the sword that seals the darkness, the latent power dwelling within the princess of Hyrule, and the might of the four Divine Beasts unearthed from across the land.
However, the path to victory was strewn with obstacles. Korok Forest, where the legendary sword slept, had been overrun by monsters, and the princess of Hyrule's power showed no signs of awakening.
Lamenting the kingdom's plight, King Rhoam sent his daughter to gather pilots for the Divine Beasts. Alongside Link - whose brave conduct had earned him a role as her knight - Zelda would meet with each of the four candidates.
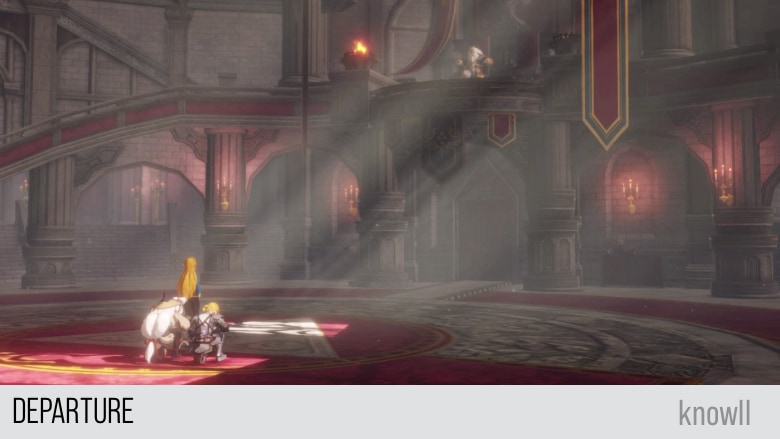
Departure
Zelda, Link, Impa, and the others prepare to depart Hyrule Castle on orders from the king to recruit pilots for the Divine Beasts. The king stops them, however, when he recognizes the Guardian at Zelda's feet and gives her a stern admonition.
King Rhoam: You intent to let this... relic follow you around, hmm?
Zelda: Yes. After talking to Purah and Robbie, we thought it would be best.
King Rhoam: I will remind you once again. Above all else, your duty is of the utmost importance. Are we clear?
Zelda: Yes, we are clear. I understand. And I will honor my duty.
Characters Unlocked
As you move through the Chapters and later on with the Challenges and Quests, you will be unlocking characters that you can use for your party. This Chapter entry that you just completed rewards you with Zelda.
If you would like to learn Zelda's moveset and combat guide, view our Zelda Guide.
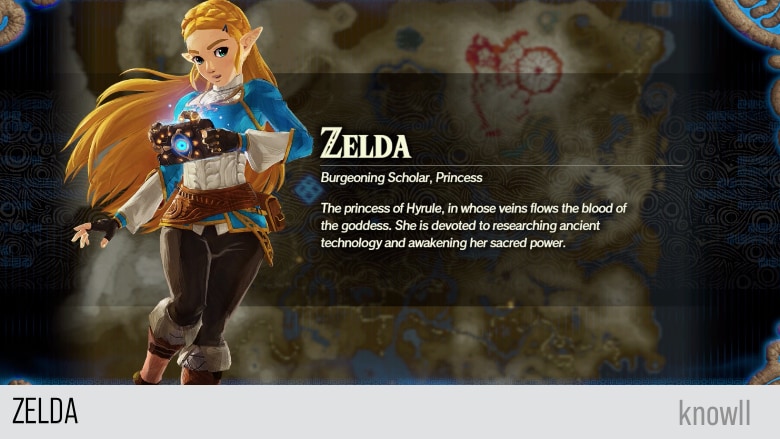
Burgeoning Scholar, Princess. The princess of Hyrule, in whose veins flows the blood of the goddess. She is devoted to researching ancient technology and awakening her sacred power.
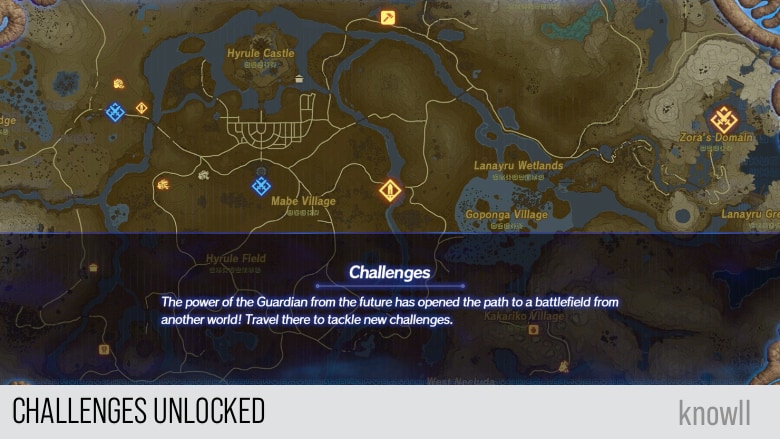
Challenges Unlocked
After the two entries of Chapter 1, the Challenges get unlocked and start showing on your map. These are side quests that you can play repeatedly.
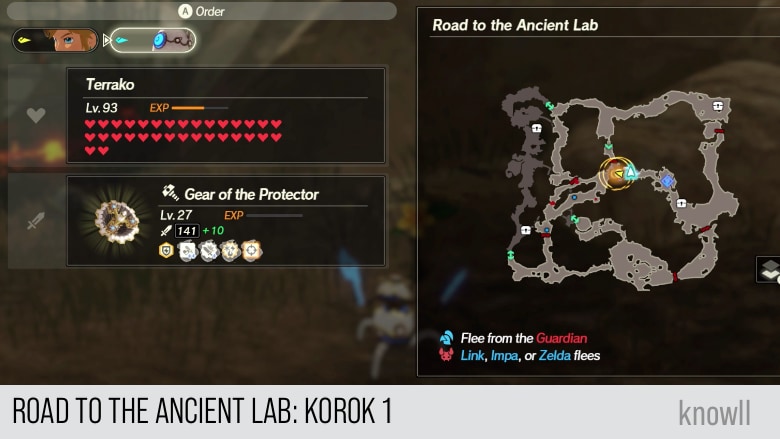
Korok Locations
Every Chapter in the game contains Koroks. The main challenge is that there is no feature in the game that will make them appear on the map.
Hence, we provide all their locations on the area as well as on the map.
Total Koroks: 6
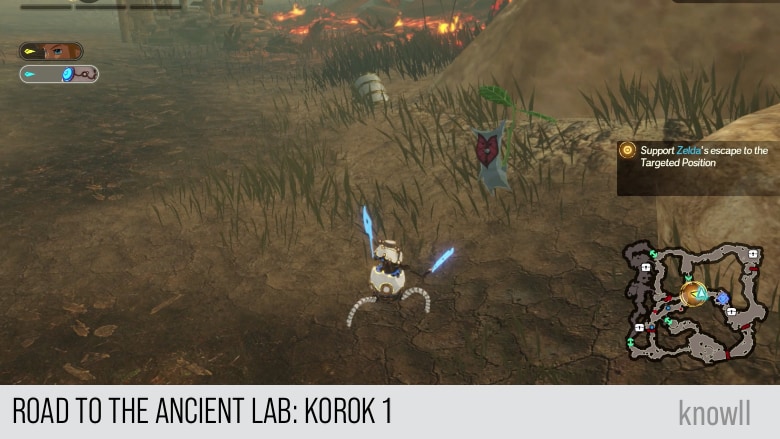
Road to the Ancient Lab Korok 1
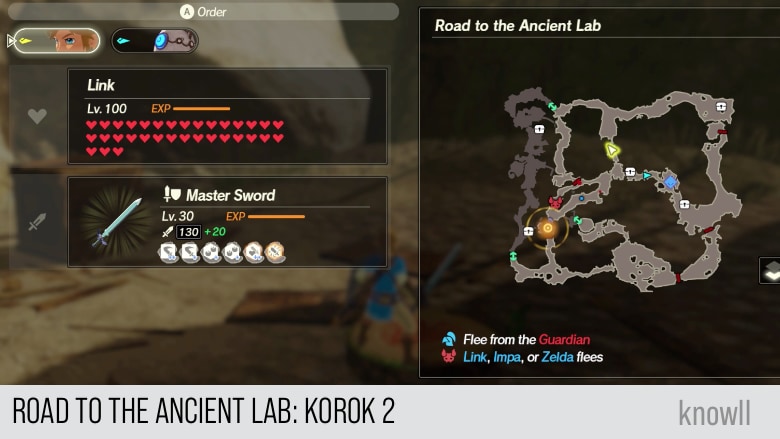
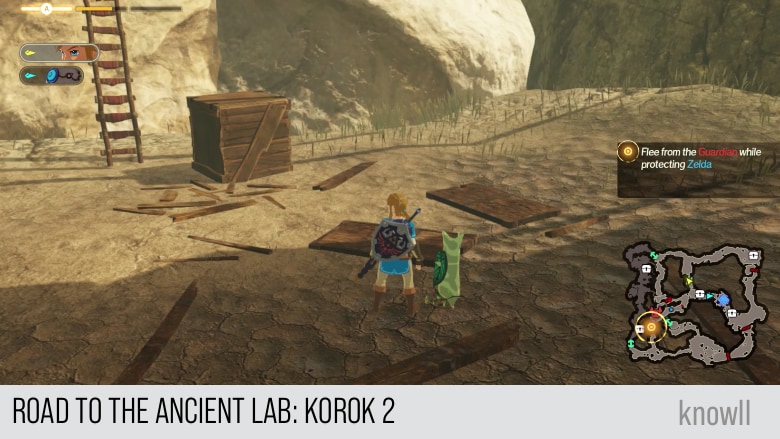
Road to the Ancient Lab Korok 2
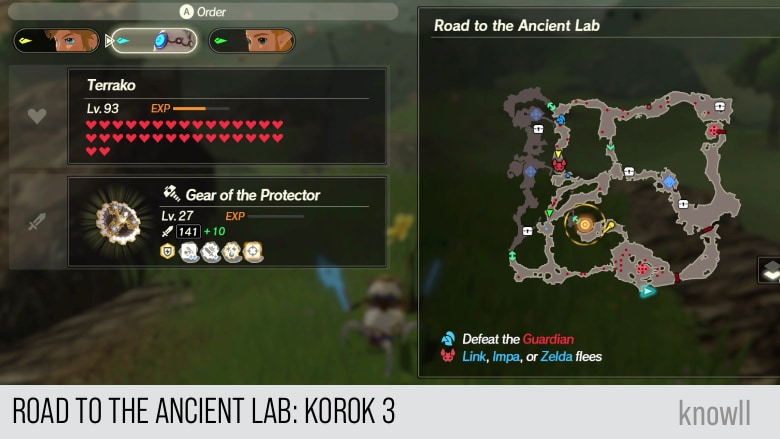
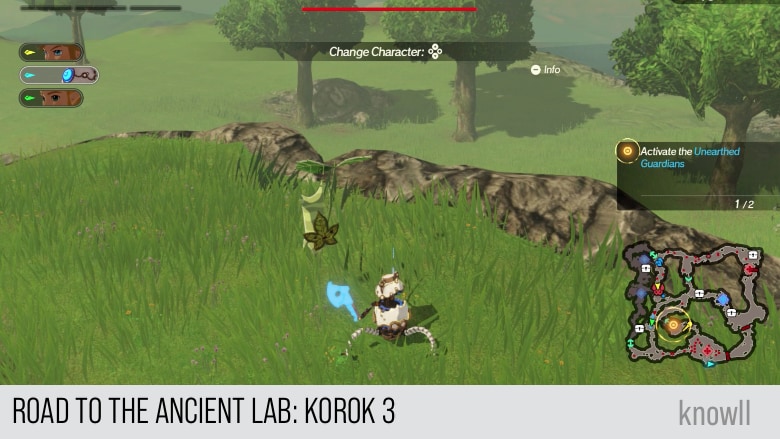
Road to the Ancient Lab Korok 3
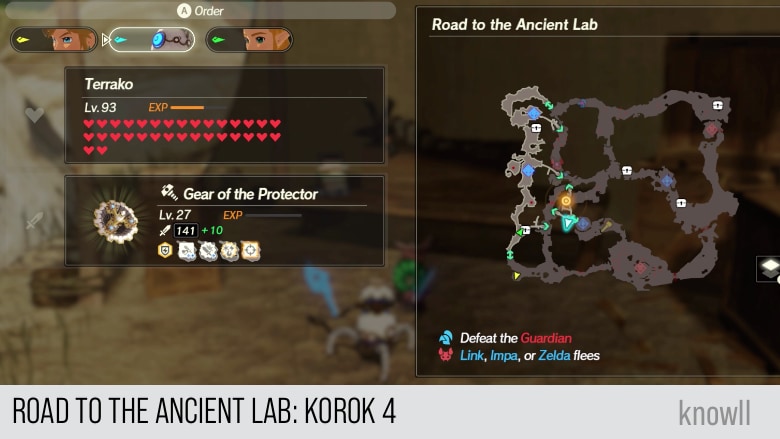
Road to the Ancient Lab Korok 4

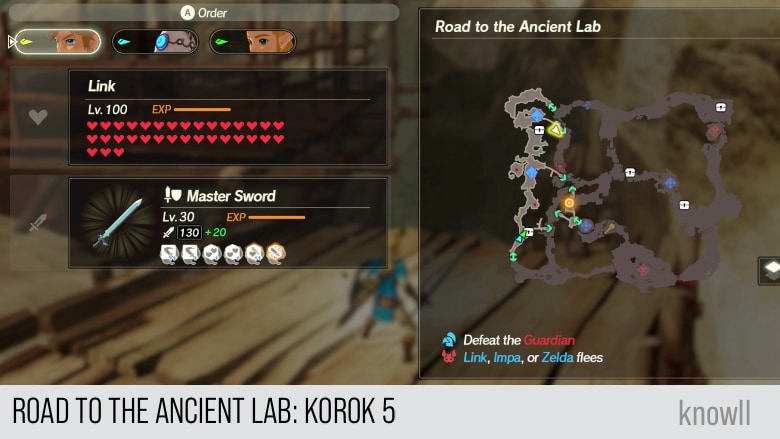
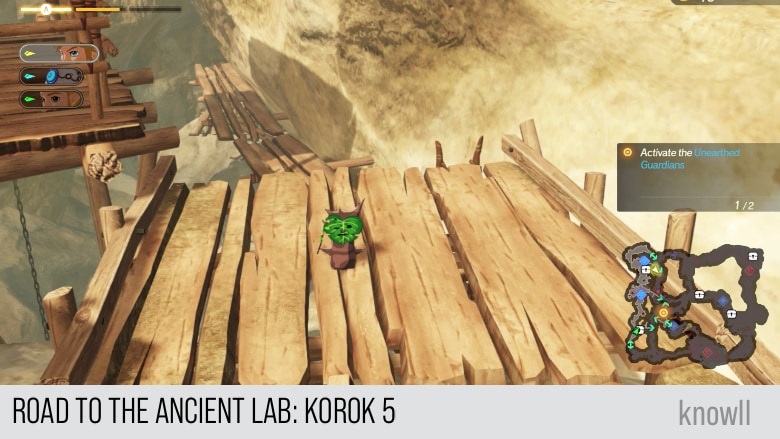
Road to the Ancient Lab Korok 5
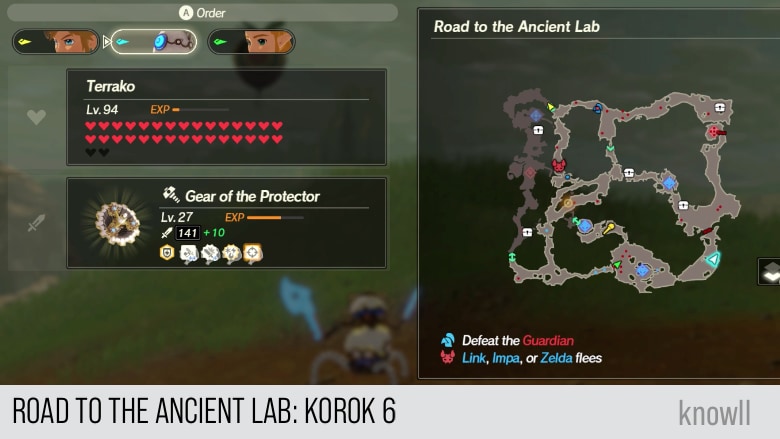
Road to the Ancient Lab Korok 6
Continue the adventure with our next Chapter entry Mipha, the Zora Princess.