

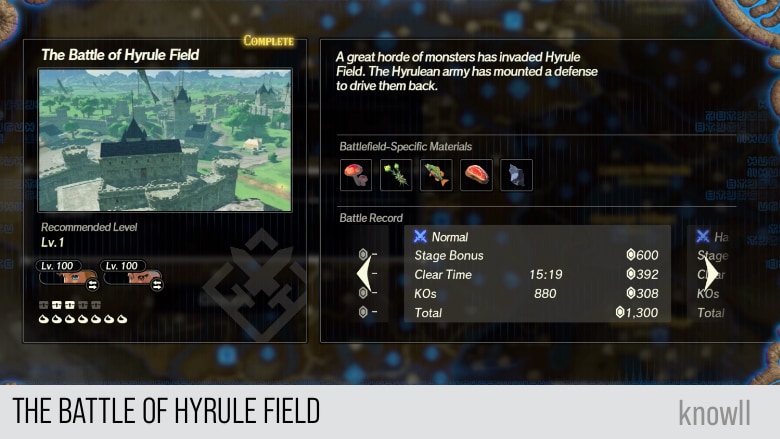
Hyrule Warriors: Age of Calamity - The Battle of Hyrule Field
Hyrule Warriors: Age of Calamity - The Battle of Hyrule Field is the first part of Chapter 1 of the game. A great horde of monsters has invaded Hyrule Field. The Hyrulean army has mounted a defense to drive them back.
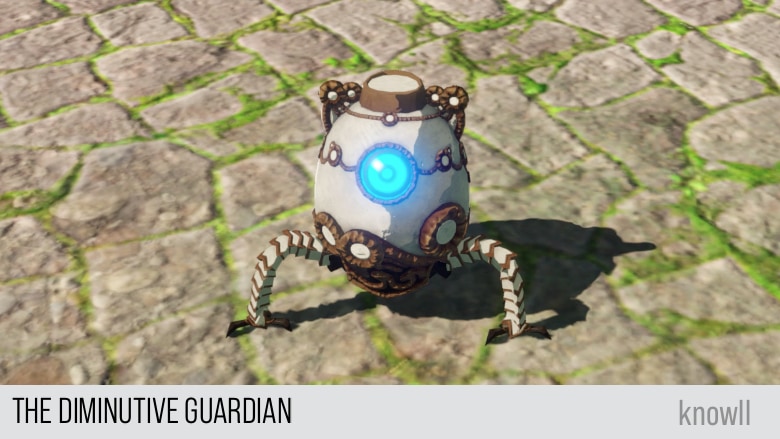
In this entry, the game introduces the major characters Link, Impa, King Rhoam, Zelda, and the little Guardian who traveled through time.
Treasure Chests and Koroks
- 7 Koroks
- 5 Treasure Chests
Battlefield-Specific Materials
- Hylian Shroom
- Hyrule Herb
- Hyrule Bass
- Raw Meat
- Flint
Across Time
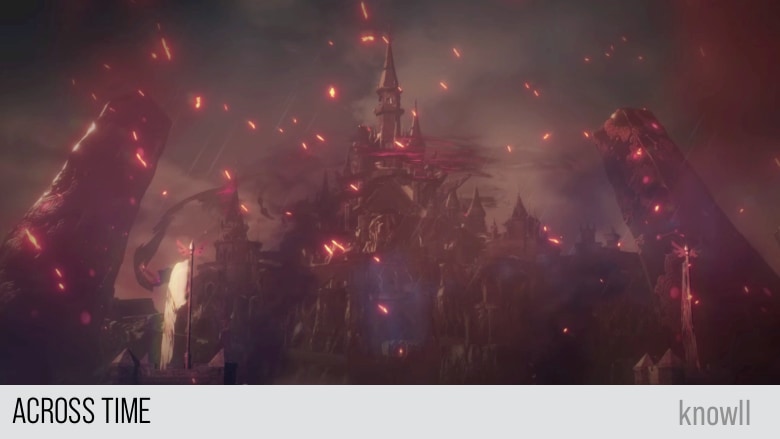
Since ancient times, Calamity Ganon has threatened the land of Hyrule. As Hyrule Castle falls to his devastating assault, a lone Guardian reacts to Princess Zelda's desperate plea and embarks on a journey through time to save her.
Zelda: I must protect... everyone!
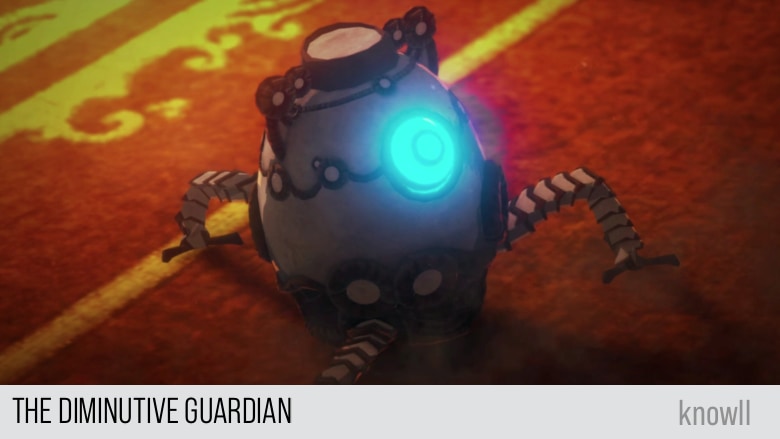
A tale of the Champions... a diminutive Guardian who traveled backward through time... and the Great Calamity they faced.

King on the Eve of Battle

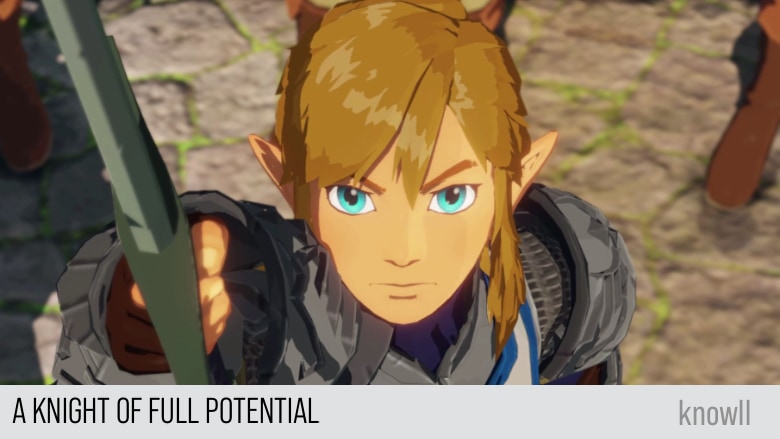
The King of Hyrule, preparing for the revival of Calamity Ganon, attempts to eliminate the monsters running rampant. Standing among the troops assembled for battle is the fateful knight Link.
King Rhoam: Listen well, soldiers of Hyrule. In our long history, we have scarcely faced a threat of this magnitude. The years have passed quickly since Calamity Ganon's revival was prophesied.
King Rhoam: Yes, we have unearthed the Divine Beasts and filled volumes with our knowledge of ancient relics. But a barricade of books will not protect us. Because this way surges a horde like we have never faced before. Even now the enemy is clawing for our throat - for Hyrule Castle itself.
King Rhoam: We must exterminate the monsters roaming Hyrule Field. Thus will begin our renewed effort to stop the Calamity! Here, now, go forth! And be brave for your kingdom!
The Battle for Hyrule Field
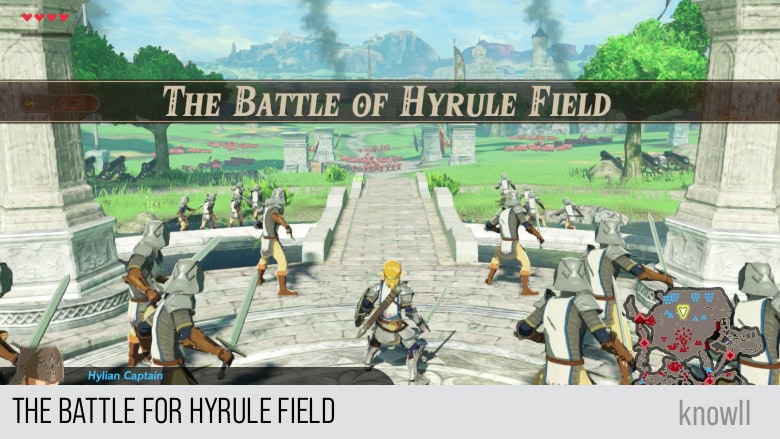
Hylian Captain: Fire the cannons - now! Blast those monsters off the plain!
Hylian Captain: Knights, keep the throng at bay while we reload the cannons!
Learning the Basics
As this is your first foray into the combat of the game, remember the basics shared in our Game Mechanics Guide. And even if you forget them, the game will still show you the basics of Regular Attacks and Strong Attacks.
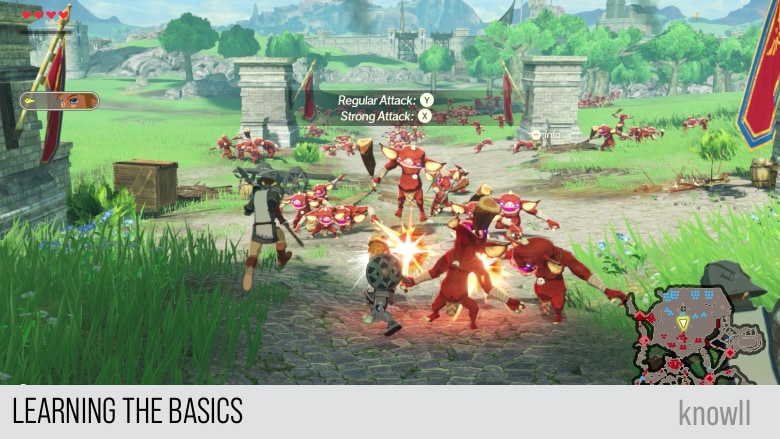
The first thing you will notice is that the combat in the Age of Calamity is more expressive, stylized, and varied compared to BOTW. You can see it from the animation of the attacks of Link itself.
Note that at this stage of the game, the only available weapon type for you is a one-handed weapon, the sword. Later on, Link will have access to two-handed weapons and spears. Each weapon type of Link will have different behavior for its Regular Attack, Strong Attack, and Unique Action.
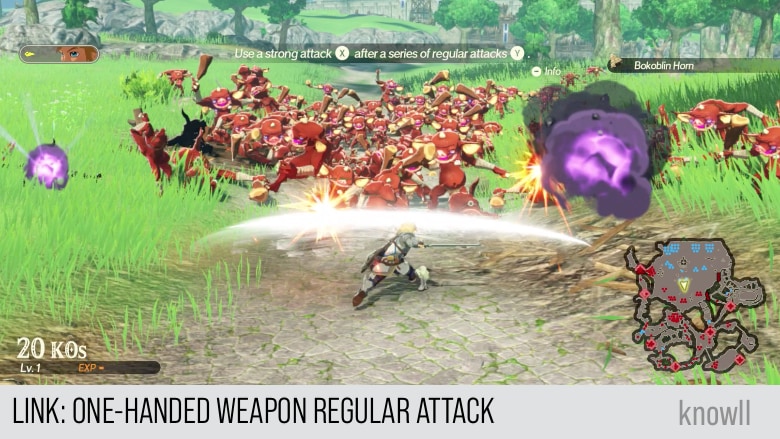
Link's One-Handed Weapon Regular Attack
The one-handed regular attack of Link consists of 90 and 180-degree swipe attacks.
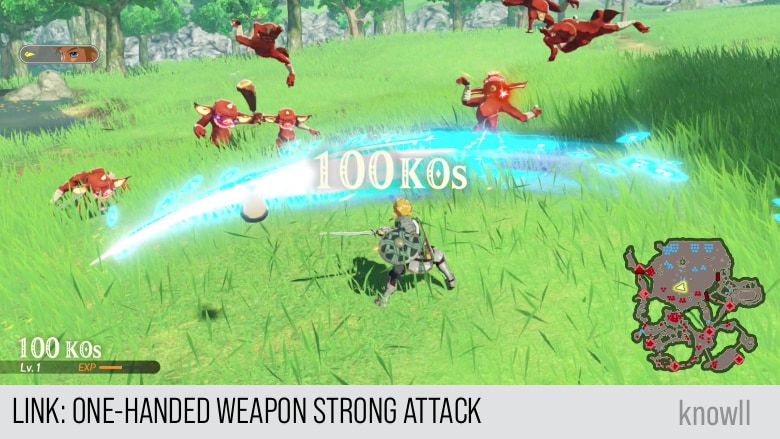
Link's One-Handed Weapon Strong Attack
The strong attack of Link is a charged 360-degree swipe attack.
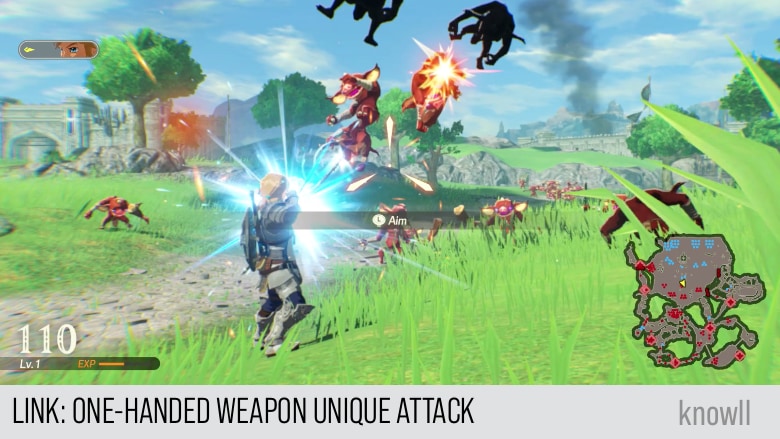
Link's One-Handed Weapon Unique Attack
Link's unique attack consists of arrows that you can aim at the enemies.
Hylian Captain: Shut the gate! Prevent their retreat!
King Rhoam: It seems we have purged the horde from the castle. Well fought, all!
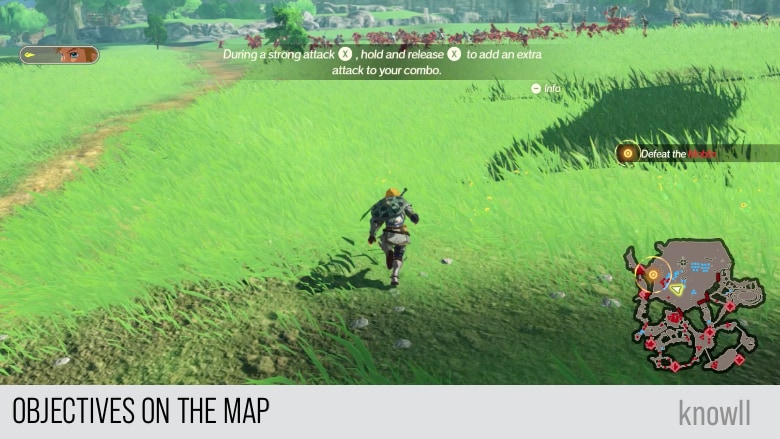
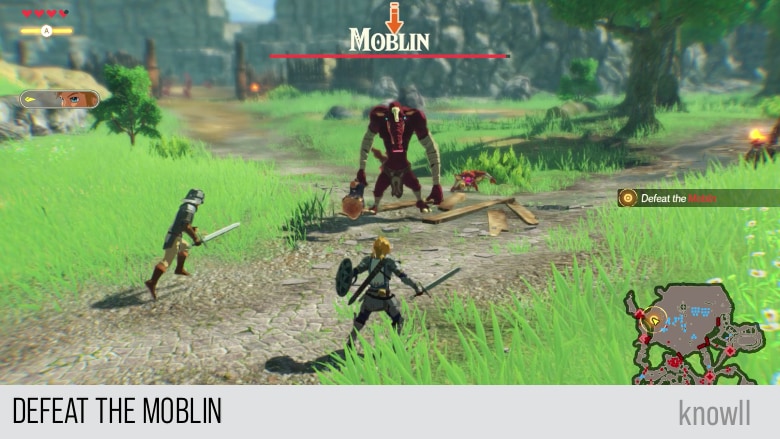
Objective: Defeat the Moblin
The first objective of this Chapter quest is to defeat a miniboss Moblin.
Hylian Captain: More foul beasts?! Gah! We mustn't falter! Hold strong!
Following the map, you can quickly reach the Moblin.
Hylian Captain: These foes are strong. Stay on your guard!
Moblin Combat Guide
The Moblin is one of the basic enemies you will find in the game. We provided detailed guides in our Enemies Guide. You can view it to get more Moblin details, it's attack patterns, and weaknesses.
Moblin: Attack Wind Up
The Moblin you will meet in this objective carries a two-handed weapon, hence, it has a tendency to do an overhead, wind-up attack, which you can easily exploit.
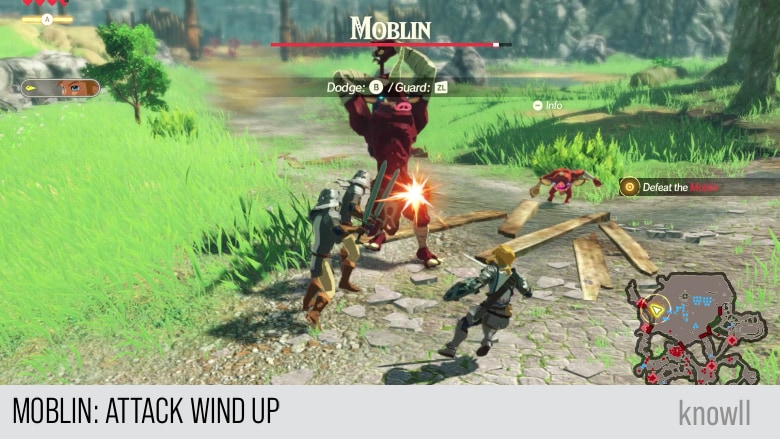
You can either wait for his attack and then dodge or just move while he is doing his wind up animation.
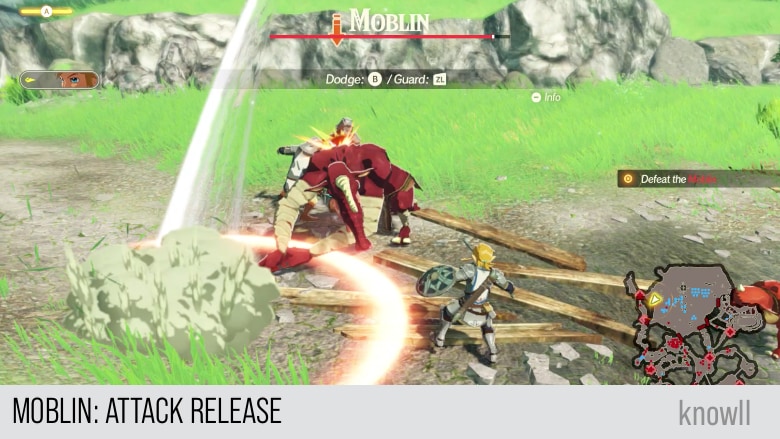
Moblin: Attack Release
Slow attacks in the game typically have a larger impact, which causes the enemy to also have a larger recovery time.
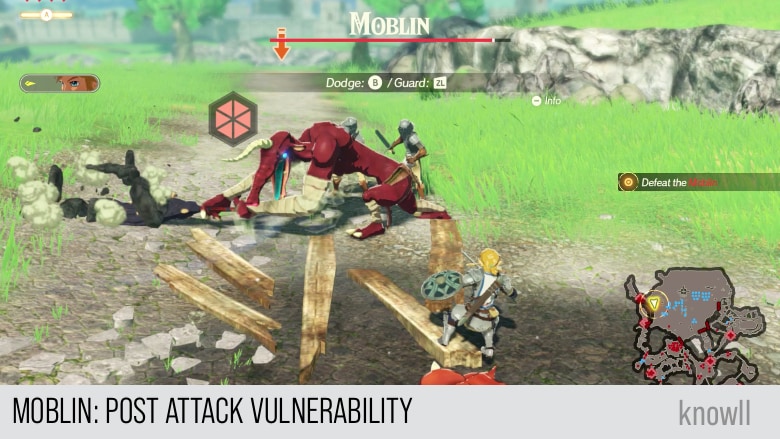
Moblin: Post Attack Vulnerability
After such a strong attack, the enemy stays temporarily in a state of vulnerability. It will show its Weak-Point Gauge, which you must exploit and try to clear as much as you can.
Flurry Rush Baiting
Alternatively, without waiting for the strong overhead attack, you just easily fish for flurry rushes. The two-handed Moblin has a tendency to do repeated swipe attacks, which you can easily dodge using the backflip.
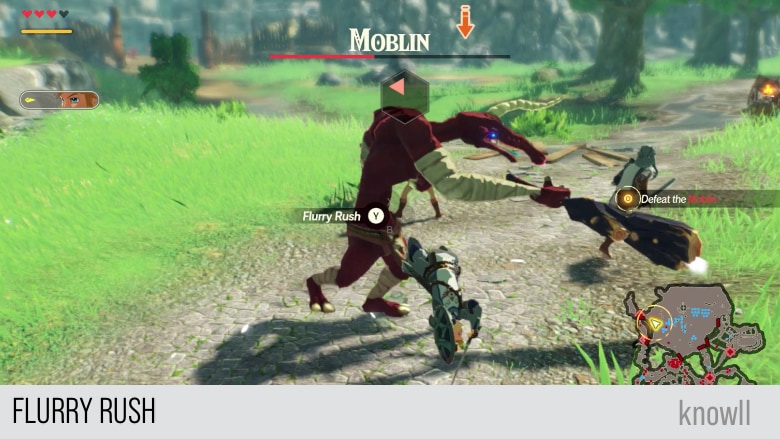
The backflip is the default dodge of Link, that is, pressing only B, and without any other controls.
Weak-Point Smash
Once you have cleared the WPG (Weak-Point Gauge) of the Moblin, you can do the devastating attack, the WPS (Weak-Point Smash).
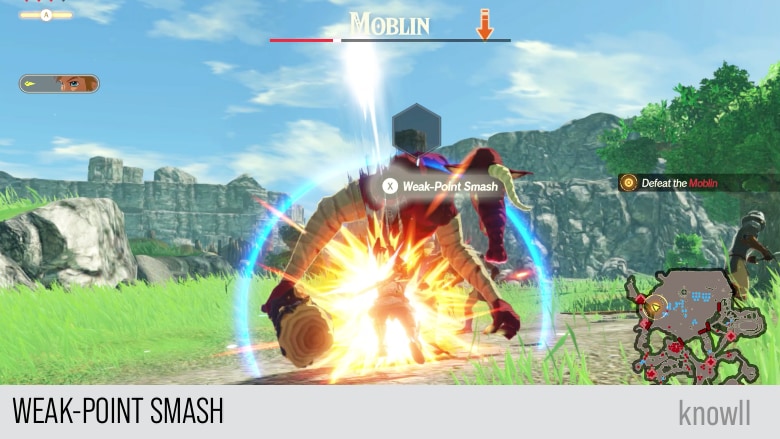
One WPS is enough to finish this Moblin.
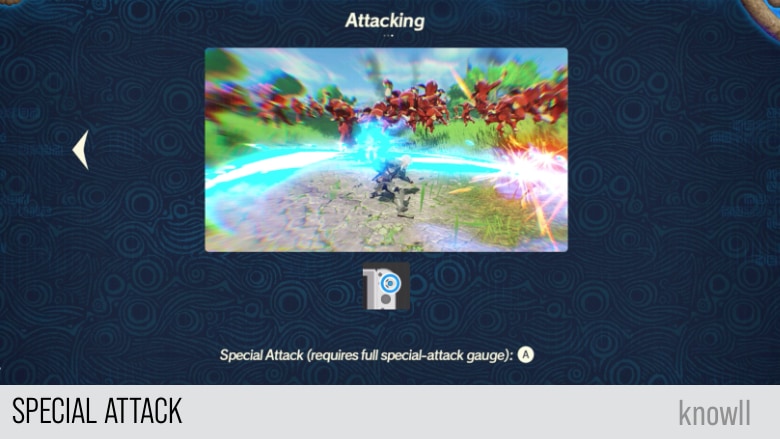
Link's One-Handed Weapon Special Attack
If you prefer to make the fight faster with the Moblin, without too much dodging and doing flurry rushes, you can just activate your Special Attack by pressing A. This will consume your special-attack gauge but will cause large damage on the Moblin.
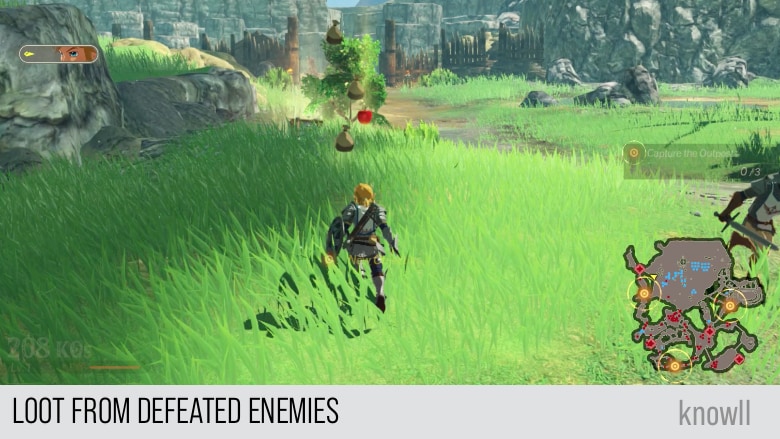
Loot from Defeated Enemies
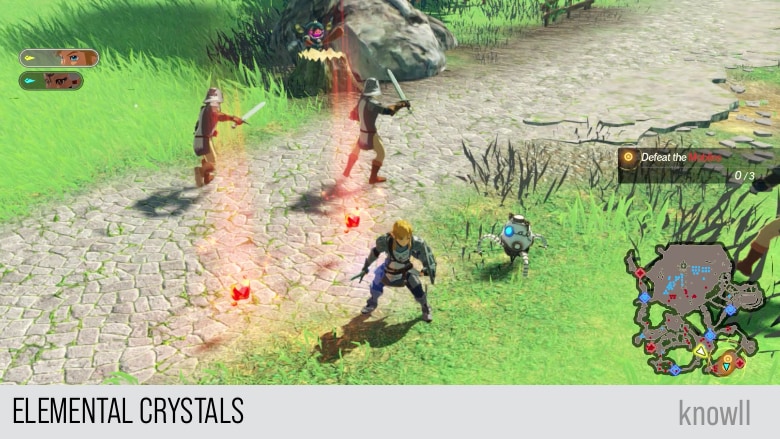
After defeating a miniboss in the overworld, you will typically get monster parts, a chest, and an apple. Later on, when you start facing elemental enemies, you will also get elemental crystals.
Hylian Captain: Great Job! Let's use this momentum to take back the outposts.
King Rhoam: Well, well! We have a Moblin slayer among us.
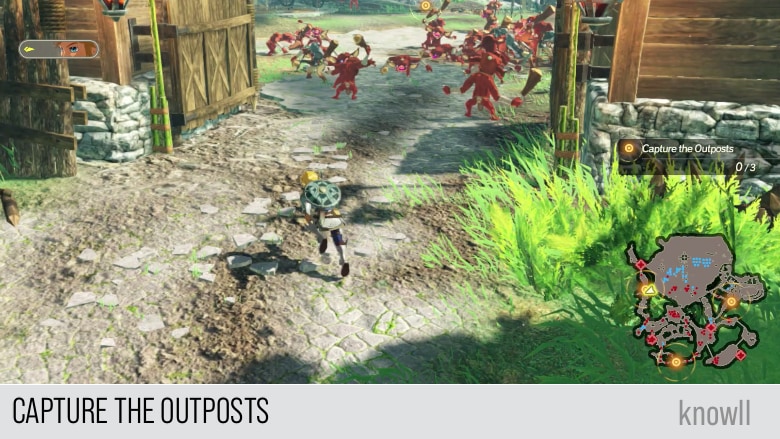
Objective: Capture the Outposts
The next objective is for you to capture three enemy posts that are highlighted on the map. This is a classic part of every Warriors game. Note that there are more than three outposts in this quest, but you only need to capture the three highlighted.
When you enter an enemy outpost, the entrance and exits become blocked, and you can only unlock them after capturing the outpost. Your progress is shown on the outpost's gauge, which is colored red at the start.
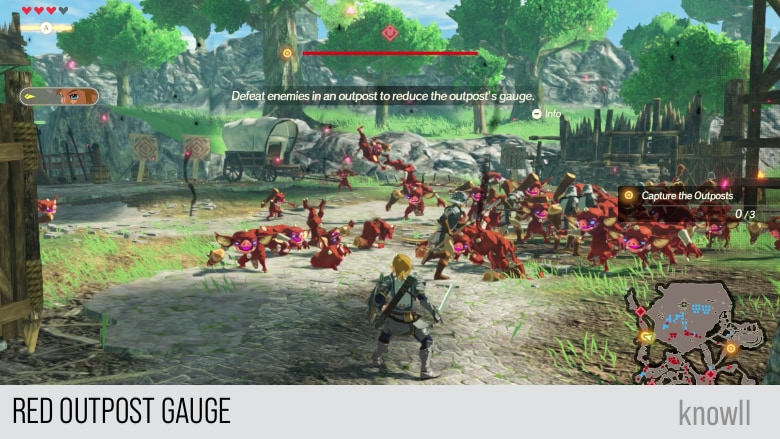
By defeating enemies inside and the minibosses, you will be able to gradually reduce the red gauge.
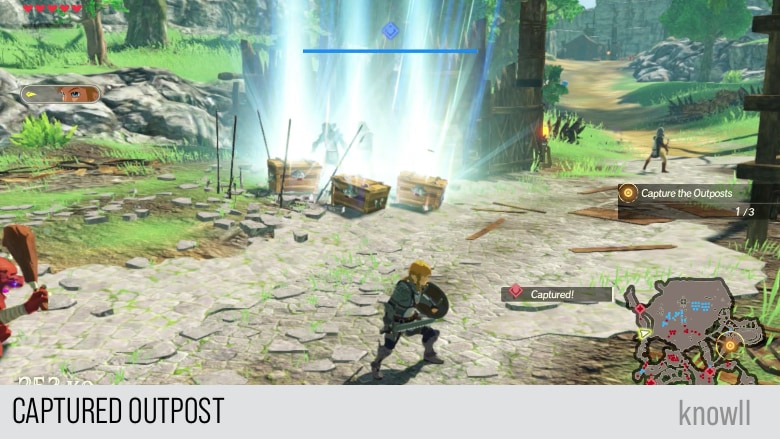
After clearing the gauge, you will be rewarded with one or more treasure chests. You do not need to open these chests as their contents will automatically go to you. The only chests you need to manually open in this game are those that are that in fixed locations, and hence, are meant to be discovered.
Leveling Up
While defeating enemies, you will naturally level up in the game. The moment you level up, all of your hearts will be replenished, as well as your special attack gauges. You currently only have one, but they will increase later on.

The Central Tower
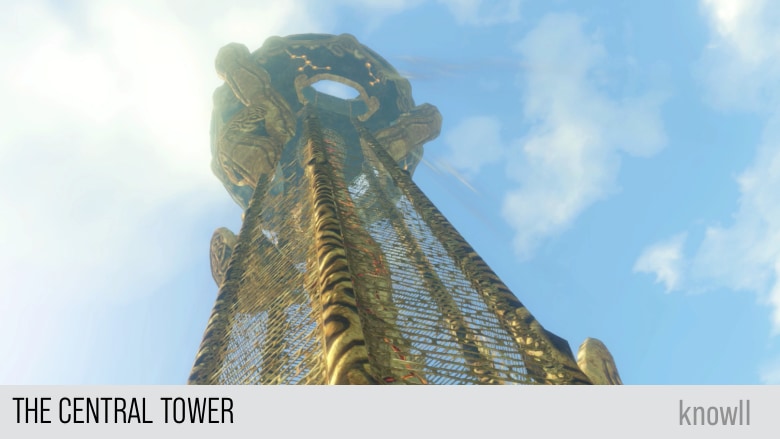
The mysterious Guardian that Link discovered during the battle reacts to the Sheikah Slate Impa has in her possession. Just as the Guardian reacts, a mysterious tower erupts from the ground.
Impa: It's...a tower?
Impa: What is THAT? But no, first I must deal with these enemies.
Impa: You there - thanks for the help. Now, let's carve our way out.
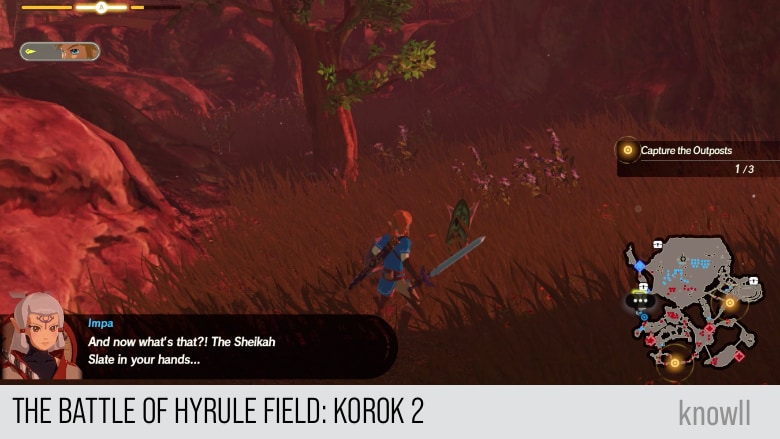
Impa: And now what's that?! The Sheikah Slate in your hands...
Impa: It's been activated! Purah said the slate might have powers to help our fight!
Sheika Slate Attacks
After meeting Impa and the little Guardian, you will be able to start using the Sheika Slate for rune attacks.
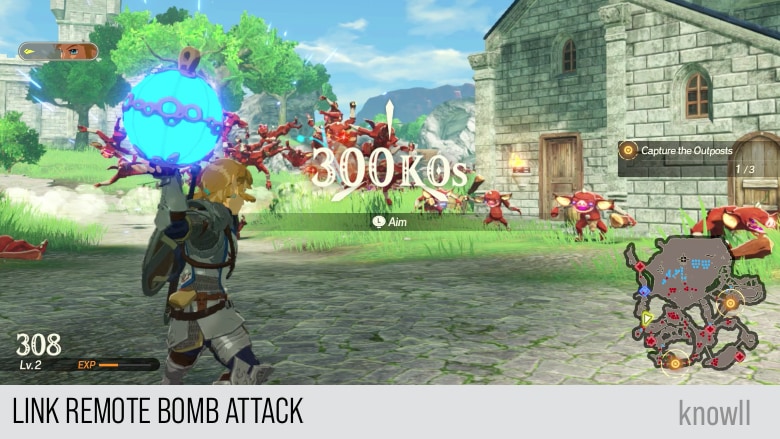
At this stage of the game, you have only unlocked two runes: Remote Boms and Cryonis. Later on, the rest will be unlocked.
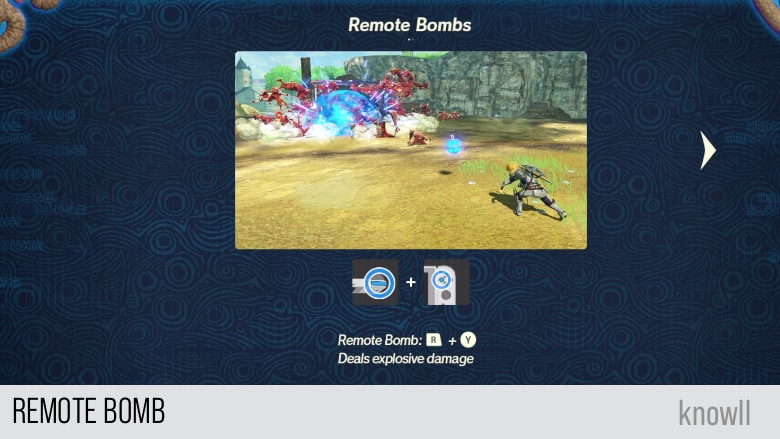
You attack with the Remote Bomb using R + Y.
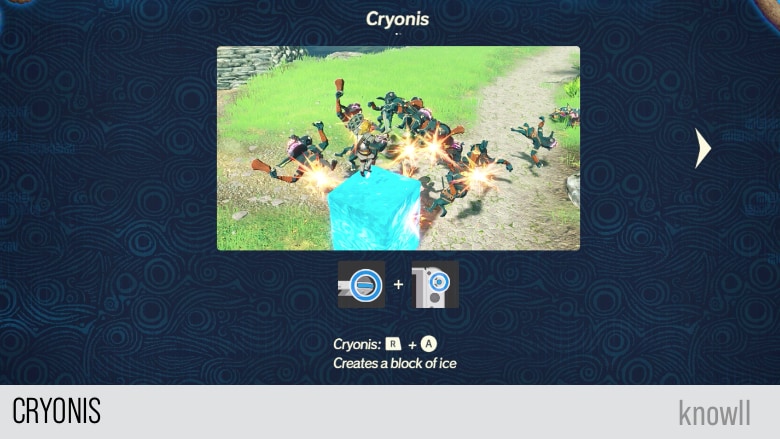
You create ice pillars with Cryonis using R + A.
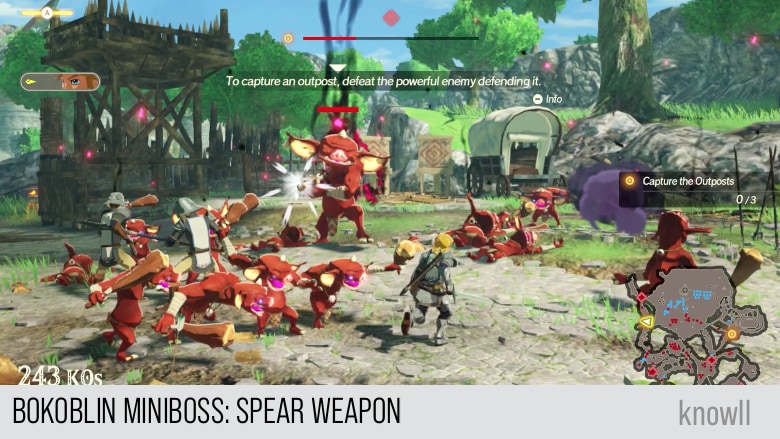
You might want to start getting familiar with the Cryonis, as all of the minibosses in the outposts are spear-wielding enemies. That means, they will telegraph a thrusting attack that you can easily counter with an ice pillar using Cryonis.
You can view our Combat Guide to learn more about attack telegraphing.

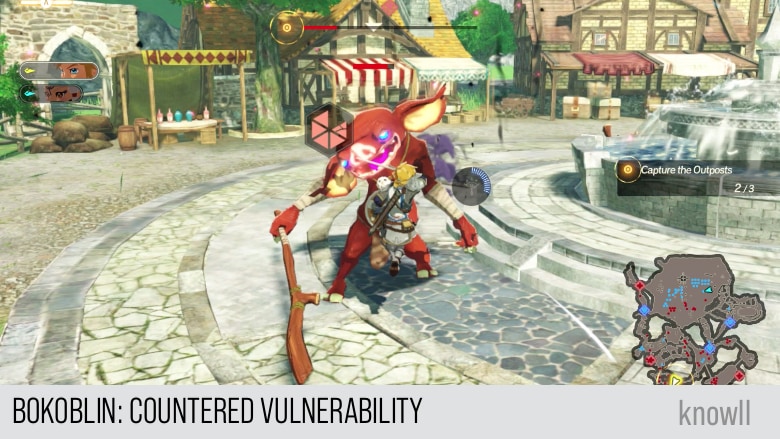
Once the telegraphed attack got countered, the enemy will go into a vulnerable state, where you will have the chance to reduce his WPG (Weak-Point Gauge).
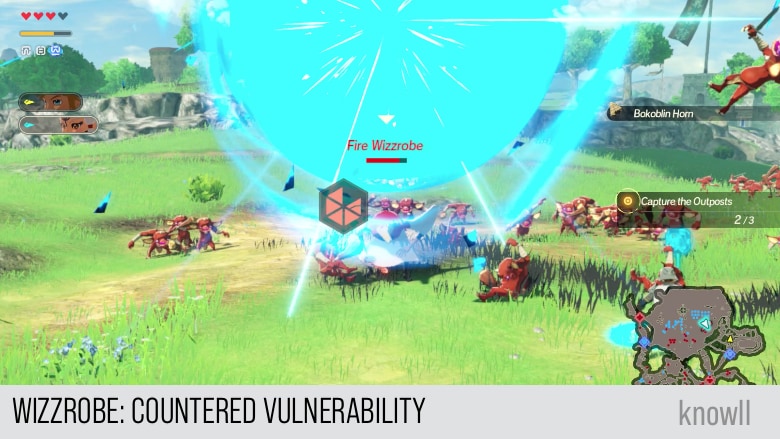
A Fire Wizzrobe Appears!
Impa: A fearsome monster has appeared. Please, let me handle this!
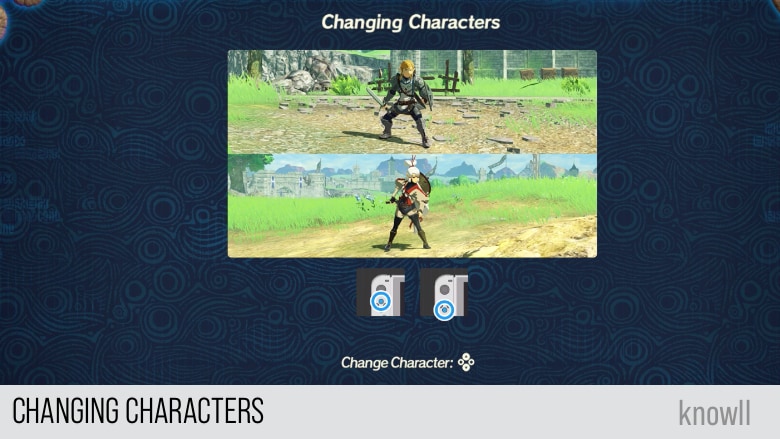
After the Wizzrobe appears, you will be able to start playing as Impa. Using multiple heroes is one of the basics of playing a Warriors game. You do it by using the Up or Down button.
Wizzrobe Combat Guide
A Wizzrobe is an example of an elemental enemy. That means, it has an elemental vulnerability and elemental immunity. As this is your first Wizzrobe, you will not be able to attack the Fire Wizzrobe with any other elements.
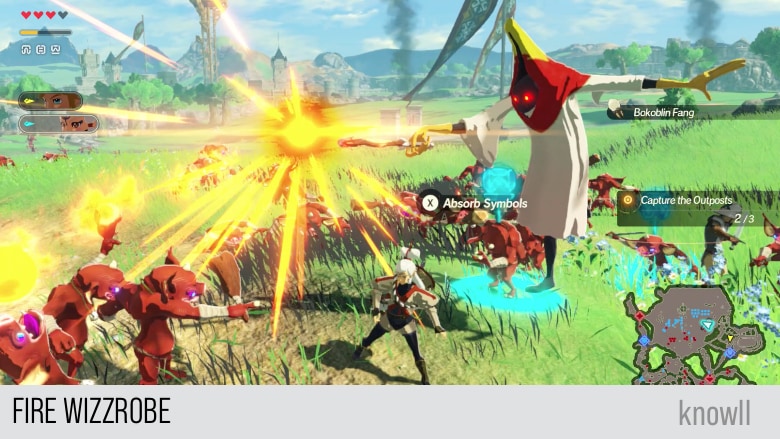
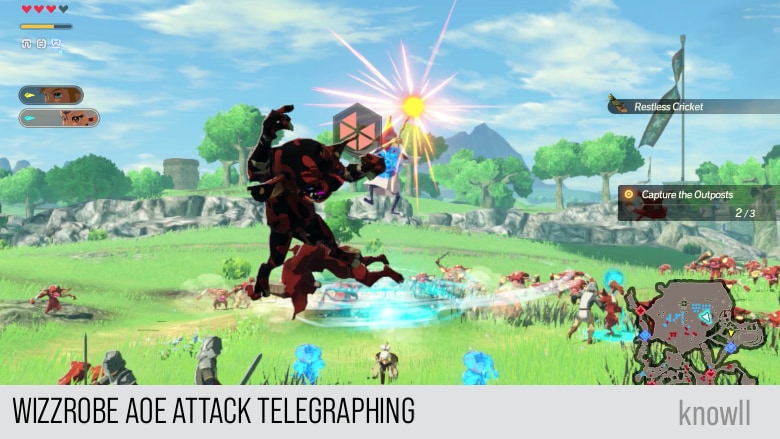
You will be able to counter his telegraphed attack though. He does the telegraphed attack when he is about to do an AOE attack. As shown in the image below, you must counter with a Remote Bomb.
Once countered, the Wizzrobe will go on a stage of vulnerability, giving you the chance to clear his WPG.
Acquire the Fire Rod
Impa: Hm? That item on the ground... Perhaps an enemy dropped it.
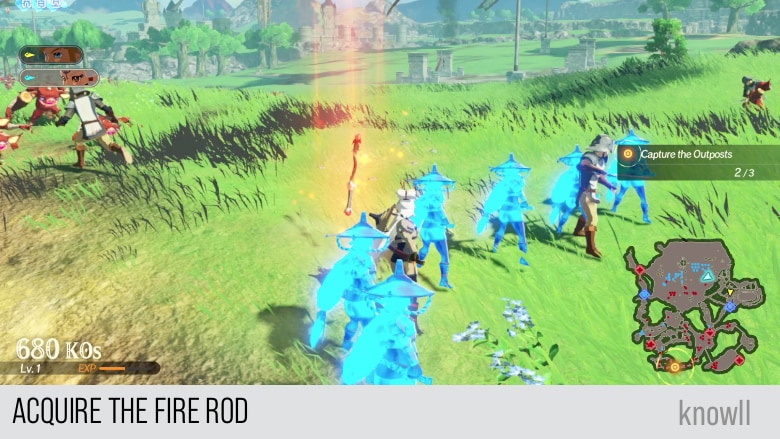
After defeating the Fire Wizzrobe, you will acquire your first-ever Fire Rod. Now you will be able to use this for doing Fire elemental attacks.
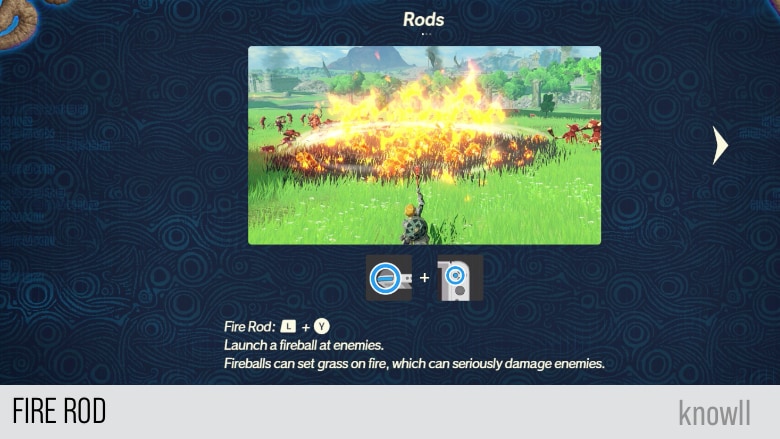
Note that you are limited in the number of usages for any rod. As long as you have an elemental crystal, you can perform an attack for that element.
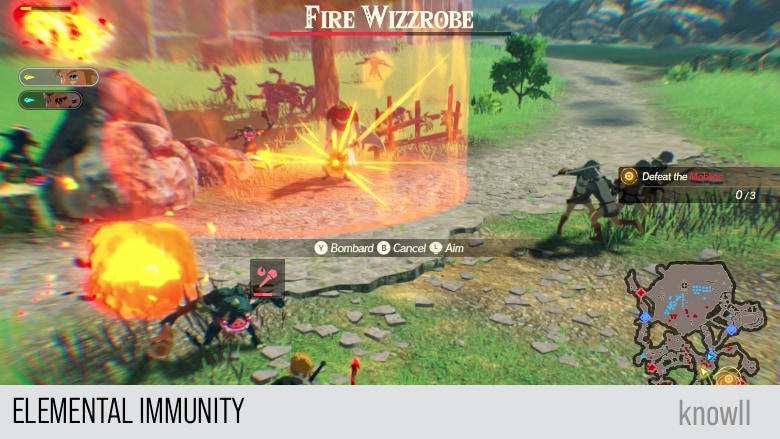
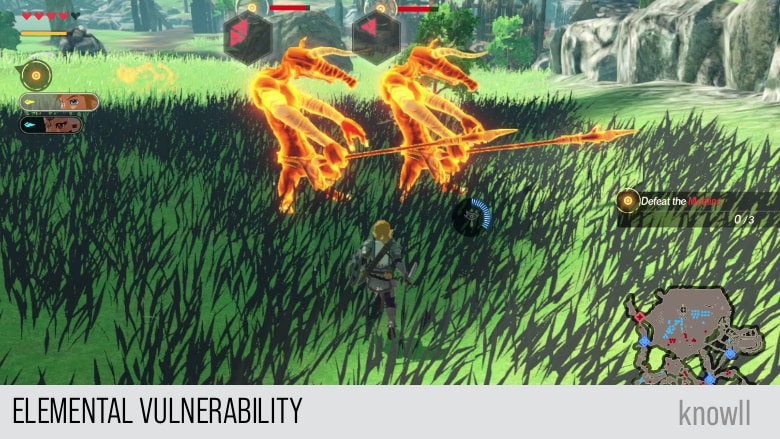
Elemental Immunity
Now that you have a Fire Rod, if you try to attack the second Fire Wizzrobe that will appear later, then you will be surprised to find out that he does not take any damage. Enemies with the same type of element as an attack have immunity to them.
Elemental Crystals
After defeating any elemental enemy, you will get their elemental crystals. In this example, the Fire Wizzrobe will drop Fire crystals. Each Wizzrobe typically drops exactly 3 crystals.
Completing the Objective
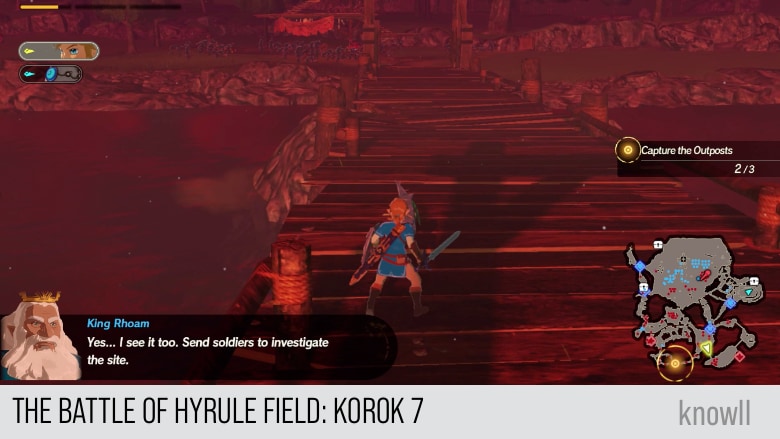
Hylian Captain: Your Majesty, report from our forces to the west! A giant tower of some kind has appeared.
King Rhoam: Yes... I see it too. Send soldiers to investigate the site.
Once all the outposts are captured.
Impa: The tide of battle has been decided. Let's finish this in one fell swoop.
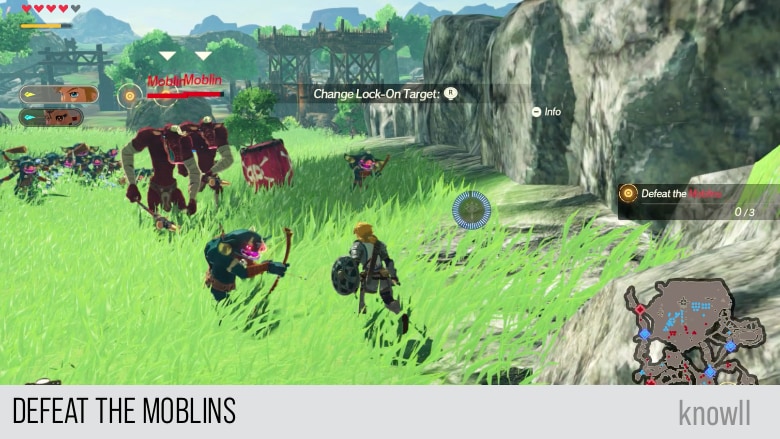
Objective: Defeat the Moblins
Hylian Captain: It's bad. Real bad! A troop of Moblins has appeared!
Impa: That IS bad. But somehow, we must find a way to stop them.
Giving orders and moving characters to various locations on the map is another mechanic in Warriors games.
Learn to be familiar with this so you can avoid manually running and going to locations and easily switch to characters, saving you time and effort.
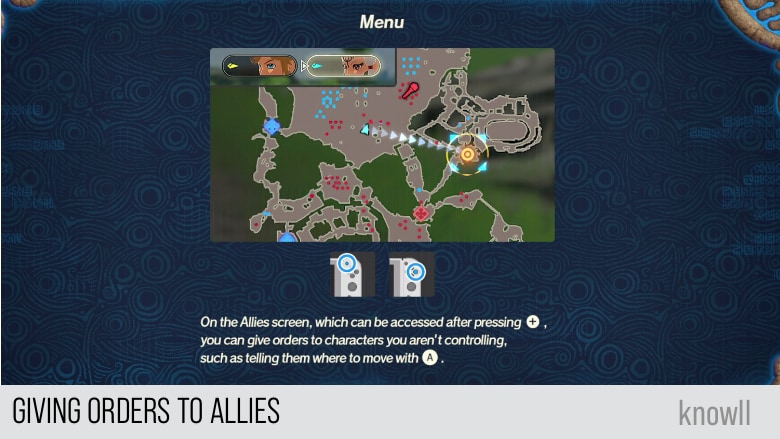
You can either use Link or Impa to defeat the three Moblins. Use whichever is nearer, and make your other hero go to that location as well, so you have two heroes fighting the enemies.
Make use of the explosive strategically placed near the Moblins, so you can easily reduced their WPG. Note that enemies under elemental vulnerability have a weaker WPG, that is, their WPG will break and get cleared easily.
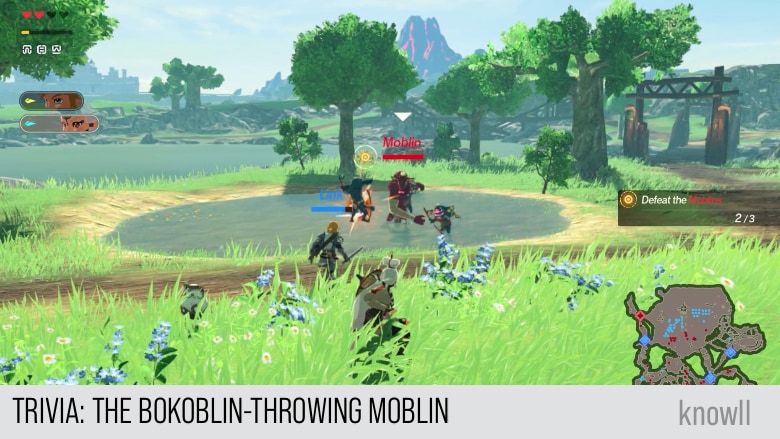
You will find the third Moblin in a small pool of water. An interesting trivia: this Moblin will always pick a nearby Bokoblin and throw it as an attack. In the image below, he throws it to Link, and he gets hit.
Once you have defeated the three Moblins, then you have completed the quest.
King Rhoam: You fought well, and victory is your reward. Savor it!
King Rhoam: That young knight served his kingdom well. Perhaps an official appointment is in order...
Completing the Objectives
Completing Chapter objectives reward you with rupees, experience, materials, and weapons.
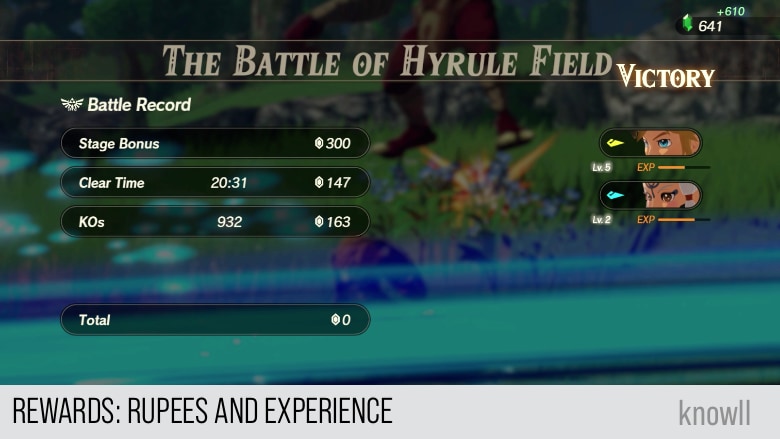
Rewards: Rupees and Experience
The amount of rupees and experience you get is proportional to the number of enemies you defeat, so do not skip large groups of enemies.
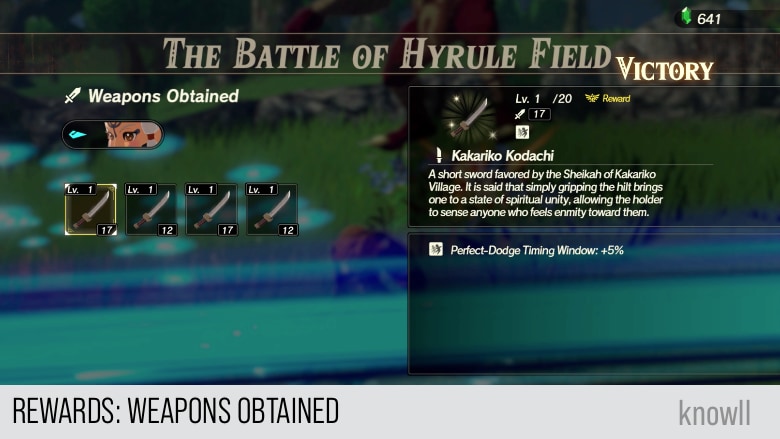
Rewards: Weapons Obtained
Every playable character you have in your party gets a reward. So later on, be strategic in choosing which characters you want to get weapons for.
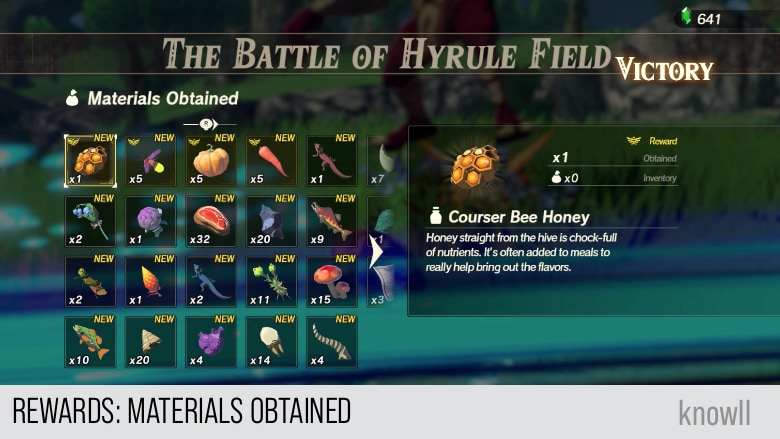
Rewards: Materials Obtained
You will soon find these materials as extremely useful and even mandatory, as they are needed not just for cooking, but for unlocking Services and Quests.
The Diminutive Guardian
Impa racks her brain over the mysterious, diminutive Guardian and the tower that suddenly appeared. Meanwhile, the Guardian spots Hyrule Castle and, ignoring Impa's shouts, rushes toward it as fast as it can.
Impa: Hmm... An inexplicable Guardian... and a mysterious tower. I hate to say it, but we have little hope of figuring this out on our own.
Impa: Hey, what are you... No. Stop right there!
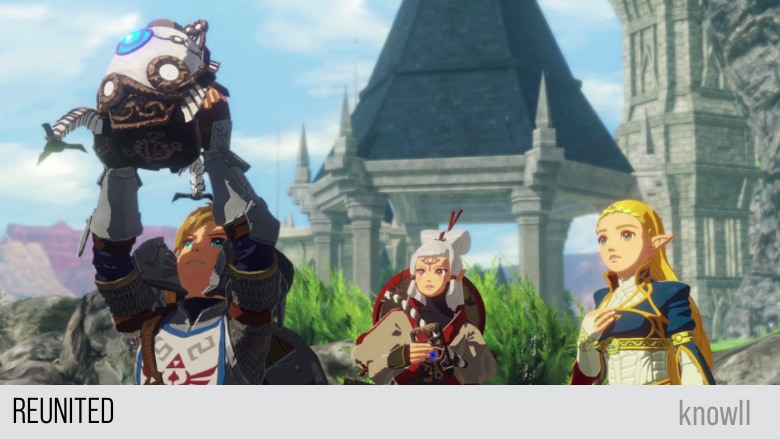
Reunited
Link and Impa pursue the Guardian, arriving at Hyrule Castle and meeting Zelda. As Zelda expresses her joy at their safe return, the small Guardian dashes up to her, seemingly desperate to convey something.
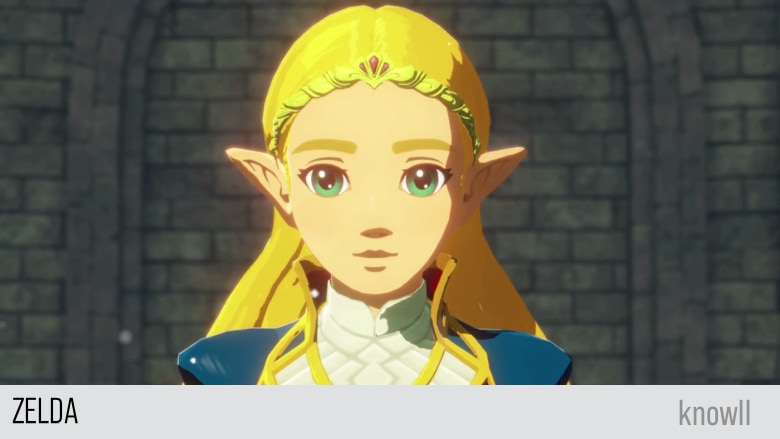
Zelda: You made it! I'm glad you're safe, Impa.
Impa: Yes, Your Highness. And I've received the Sheikah Slate from Purah!
Zelda: Ah... What is that?
Impa: Hm? Your Highness!
The Little Guardian's Purpose
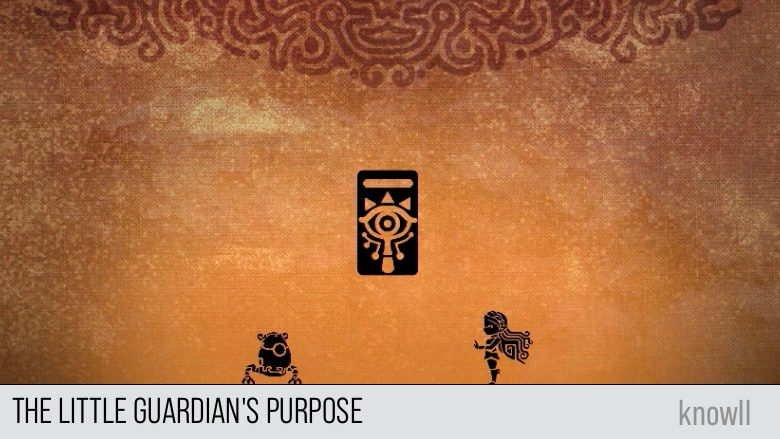
The Sheikah Slate Conveyed the little Guardian's purpose. This anomalous visitor had traveled from a future of ruin - a time in the midst of the Calamity - to save Princess Zelda.
Impa proposed recruiting Purah and Robbie, renowned researchers of ancient technology, to study the Guardian and investigate the mysterious tower that had appeared on Hyrule Field. King Rhoam of Hyrule gave his assent.
Characters Unlocked
As you move through the Chapters, and later on with the Challenges and Quests, you will be unlocking characters that you can use for your party. This Chapter entry that you just completed reward you with two characters, Link and Impa. They are among the most versatile and powerful characters in the whole game.
Link Unlocked
As the main hero of the game, Link is the first character you unlocked. If you would like to learn his moveset and combat guide, view our Link Guide.
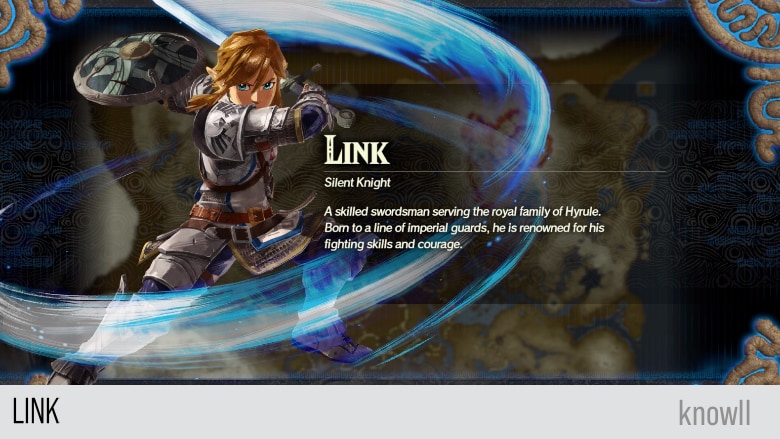
Silent Knight. A skilled swordsman serving the royal family of Hyrule. Born to a line of imperial guards, he is renowned for his fighting skills and courage.
Impa Unlocked
As Zelda's close friend and advisor, Impa is the second character you unlocked. If you would like to learn his moveset and combat guide, view our Impa Guide.
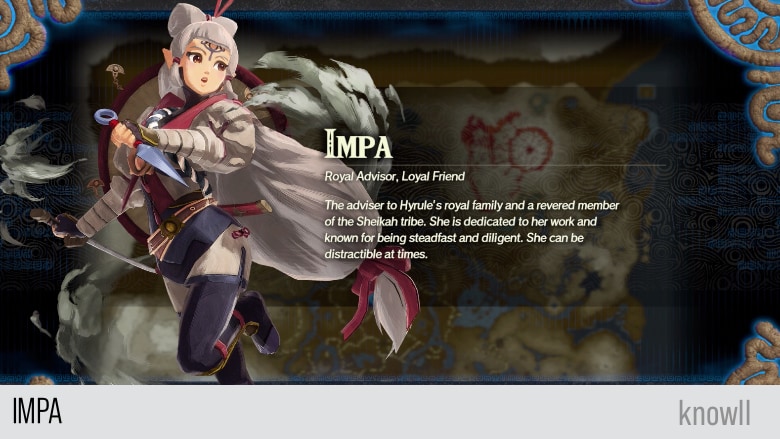
Royal Advisor, Loyal Friend. The adviser to Hyrule's royal family and a revered member of the Sheikah tribe. She is dedicated to her work and known for being steadfast and diligent. She can be distractible at times.
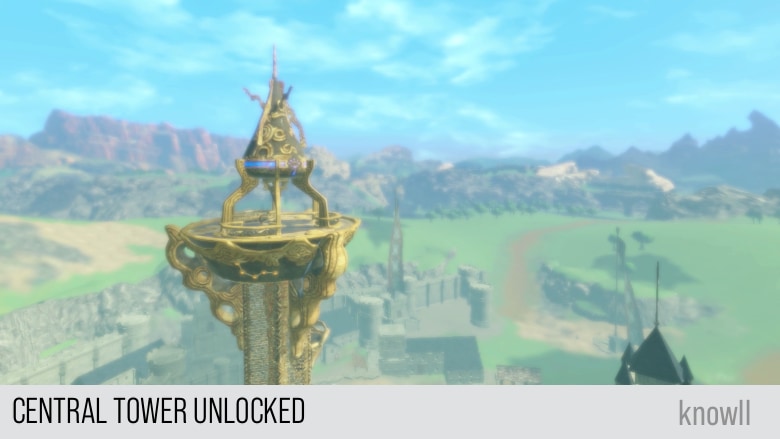
Central Tower Unlocked
After completing the first Chapter entry, game features become unlocked as well. You can now access the Central Tower, which is the main interface you use to navigate the Chapters, Challenges, and Quests of the game.
This is also the Title Screen of the game.
An order for Link, the Hylian knight:
You must guard the mysterious tower that has appeared. I'm told that may be important.
As for this time-hopping Guardian... Is it truly deserving of our trust? You must discern this beyond any doubt, with the aid of the researchers.
May the Goddess Hylia watch over you, always.
- Rhoam Bosphoramus Hyrule
Map of Hyrule Unlocked
As part of unlocking the Central Tower, you can now access the Map of Hyrule. View our Map Guide and Services Guide to see all the available features.
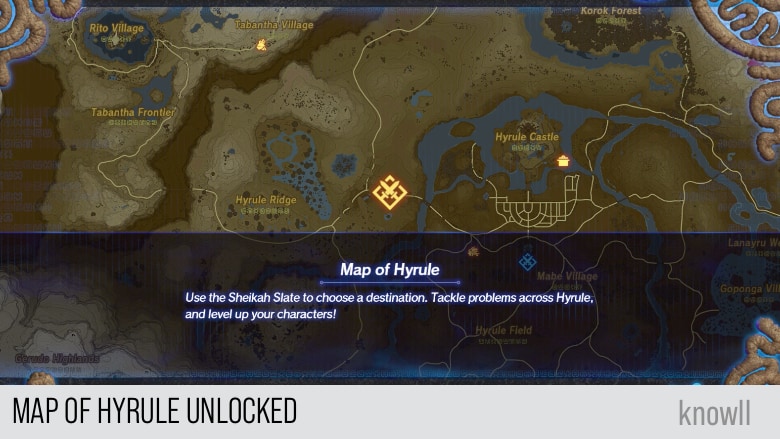
Use the Sheikah Slate to choose a destination. Tackle problems across Hyrule, and level up your characters!
Bonus Weapon: Training Sword
If you have the game The Legend of Zelda: Breath of the Wild installed in your Switch, you will receive a bonus weapon, the Training Sword. This is one of the best weapons for Link at the early stage of the game.
Save data for "The Legend of Zelda: Breath of the Wild" was found on your system. You acquired a bonus weapon!
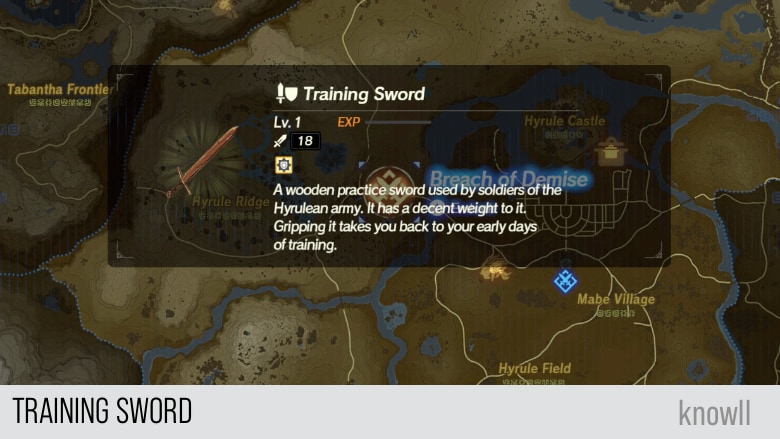
A wooden practice sword used by soldiers of the Hyrulean army. It has a decent weight to it. Gripping it takes you back to your early days of training.
- Bonus: Chance to Automatically Guard: +10%
Korok Locations
Every Chapter in the game contains Koroks. The main challenge is that there is no feature in the game that will make them appear on the map.
Hence, we provide all their locations on the area as well as on the map.
Total Koroks: 7
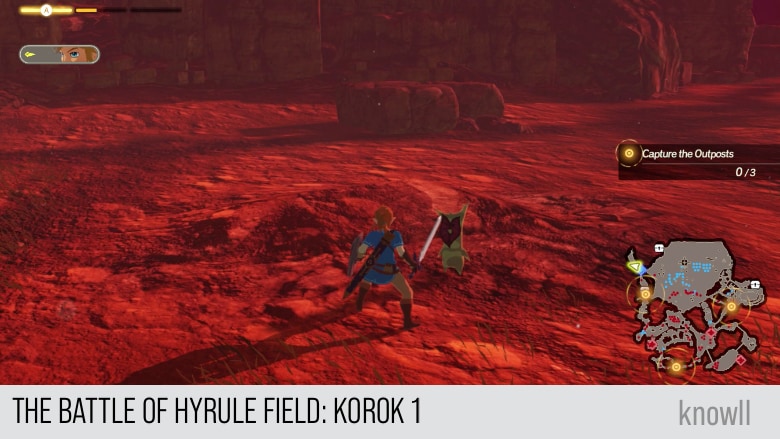
The Battle of Hyrule Field Korok 1

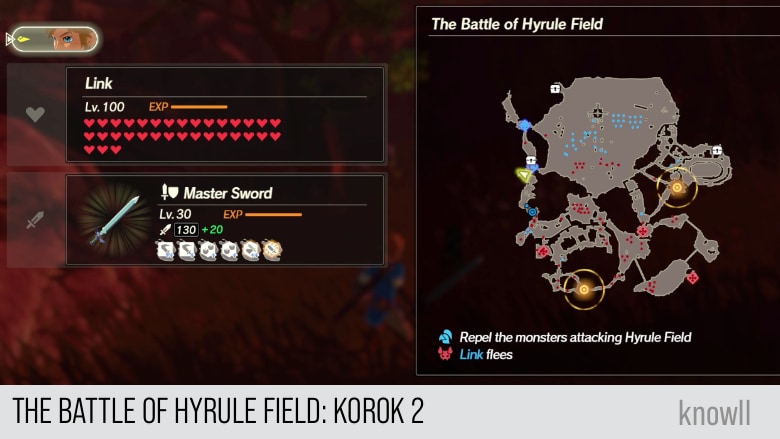
The Battle of Hyrule Field Korok 2
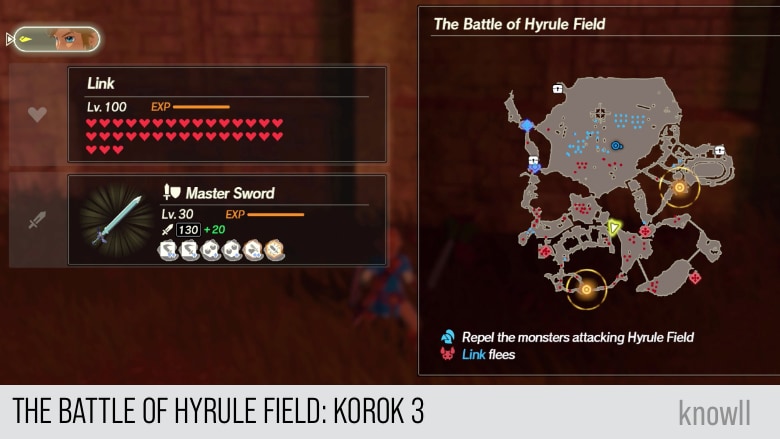
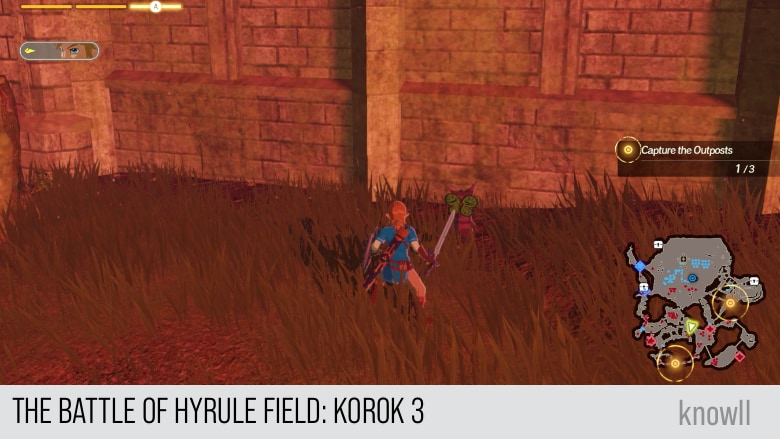
The Battle of Hyrule Field Korok 3
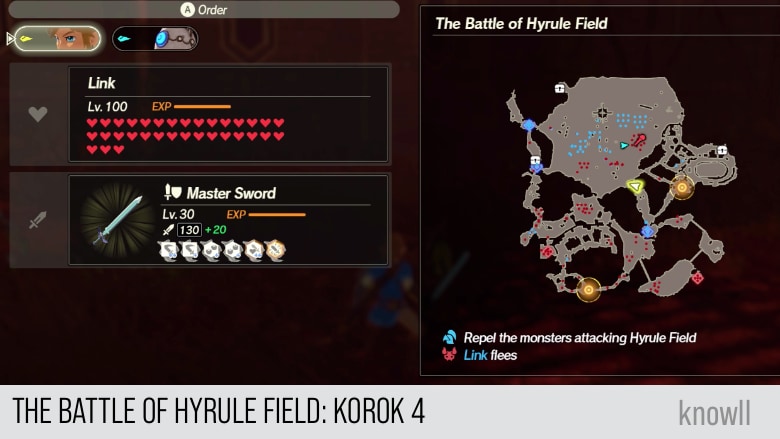
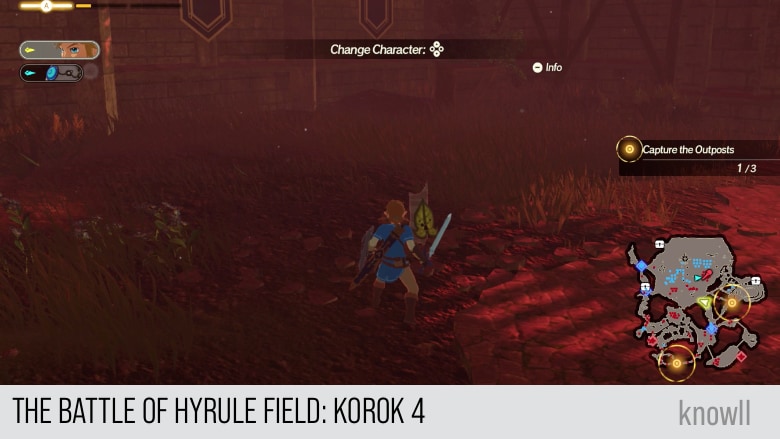
The Battle of Hyrule Field Korok 4
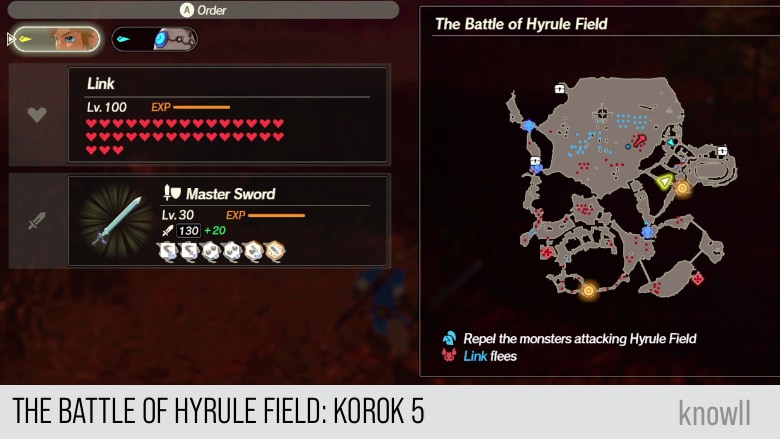
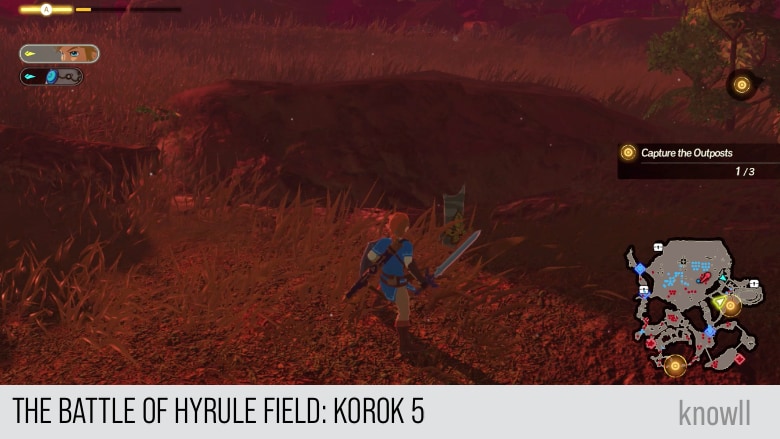
The Battle of Hyrule Field Korok 5
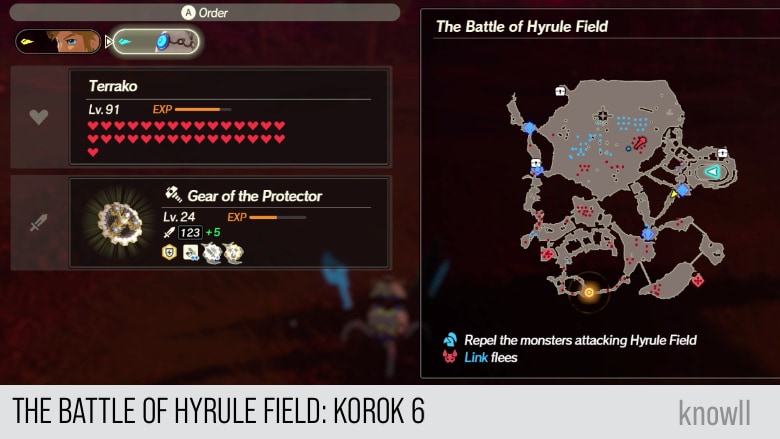
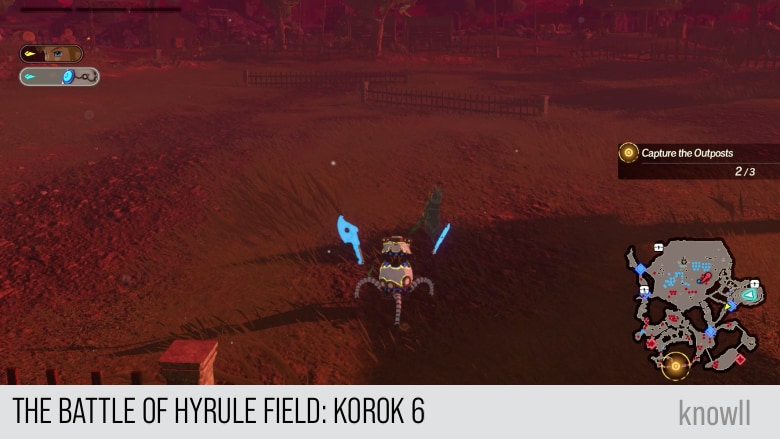
The Battle of Hyrule Field Korok 6
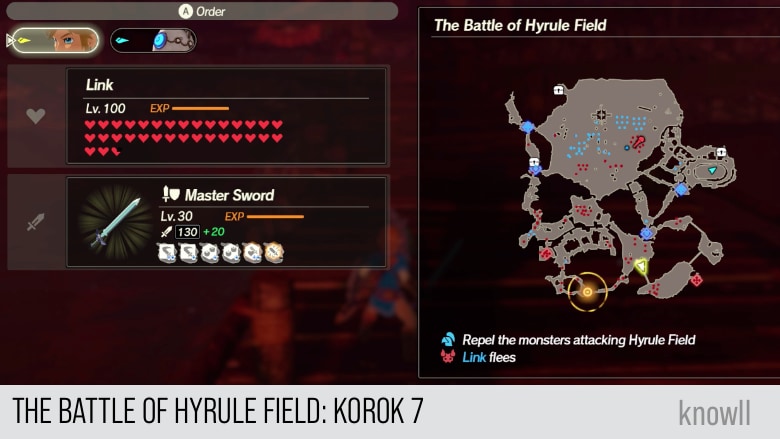
The Battle of Hyrule Field Korok 7
Continue the adventure with our next Chapter entry Road to the Ancient Lab.