
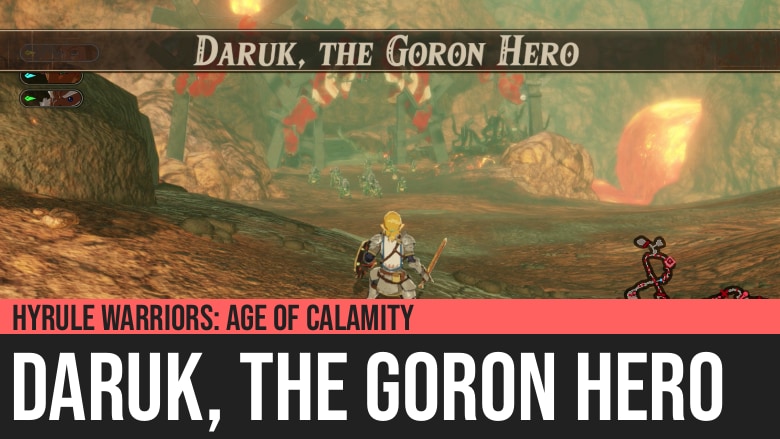
Hyrule Warriors: Age of Calamity - Daruk, the Goron Hero
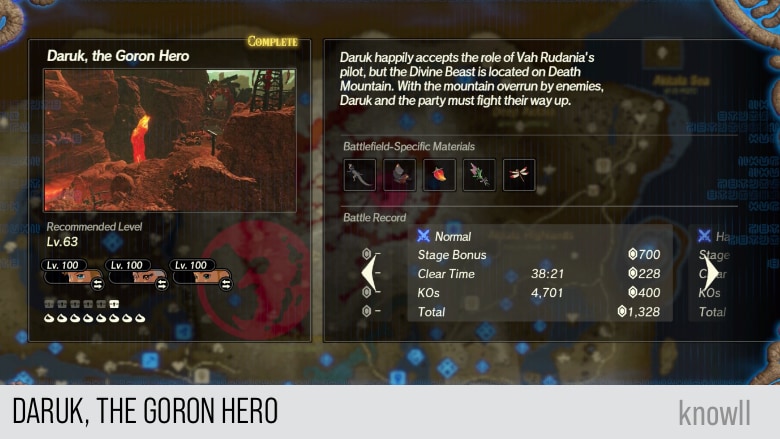
Hyrule Warriors: Age of Calamity - Daruk, the Goron Hero is the second part of Chapter 2 of the game. Daruk happily accepts the role of Vah Rudania's pilot, but the Divine Beast is located on Death Mountain. With the mountain overrun by enemies, Daruk and the party must fight their way up.
This Chapter entry gives us one of the early Divine Beast fights in the game using Vah Rudania, as well as the new elemental enemies like Fire Moblin, Fire Keese, Fire-Breath Lizalfos, Rock Octorok, and Igneo Pebblits. It will also unlock Daruk as a playable character.
Treasure Chests and Koroks
- 8 Koroks
- 6 Treasure Chests
Battlefield-Specific Materials
- Fireproof Lizard
- Smotherwing Butterfly
- Spicy Pepper
- Warm Safflina
- Warm Darner
Special Rewards
Daruk, the Goron Hero
The rugged Gorons lived in Goron City, a town carved into Death Mountain. They were forged in volcanic heat, their bodies as hard as stone.
Daruk, a brave Goron whose power of Protection could repel the mightiest of blows, was deemed the best candidate to pilot Divine Beast Vah Rudania.
The princess and her entourage ventured to Goron City in hopes of securing Daruk's cooperation.
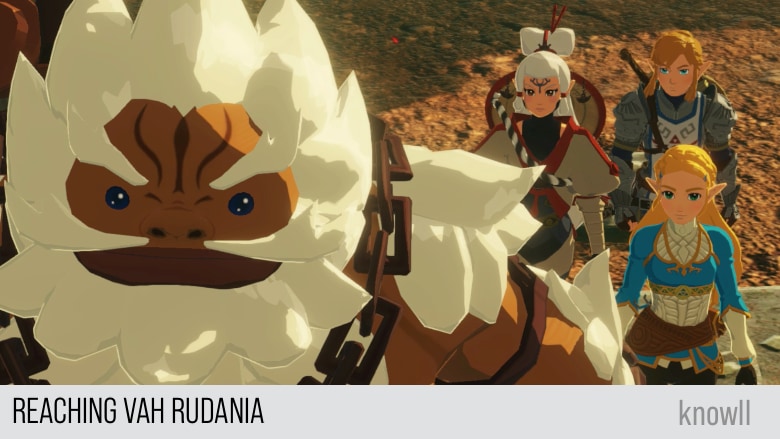
Reaching Vah Rudania
Daruk agrees to become the pilot of a Divine Beast, but it is revealed that a swarm of monsters has overrun Death Mountain, the location of Vah Rudania. Daruk makes for the mountain with the rest of the party in tow.
Daruk: What you'll learn about me is that I never refuse a sincere request. So, of course, I'm on board with your plan!
Daruk: Hmm... Except... There is one problem.
Zelda: Ohh?
Daruk: Well, it's just Vah Rudania is in a difficult spot right now. The Divine Beast was found pretty high up on Death Mountain. A lot of monsters have been crawling around lately, so even getting close to ol' Rudania is a big pain.
Daruk: Only the bravest go up there now... So that's why it's a good thing it's gonna be us!
Zelda: Oh, um, of course...
Daruk: Come on! Death Mountain won't climb itself!
Objective: Aid the Goron Captains
Your first objective is to reach the target areas on the map. Once you reached them, the specific enemies you need to defeat will show up.
Daruk: Now, all we've gotta do is get climbin'. Backup should be on the way soon.
Goron Captain: Lord Daruk! Monsters are on the attack!
Daruk: Monsters?! Guessing that means our backup is backed up. Looks like our climb's delayed.
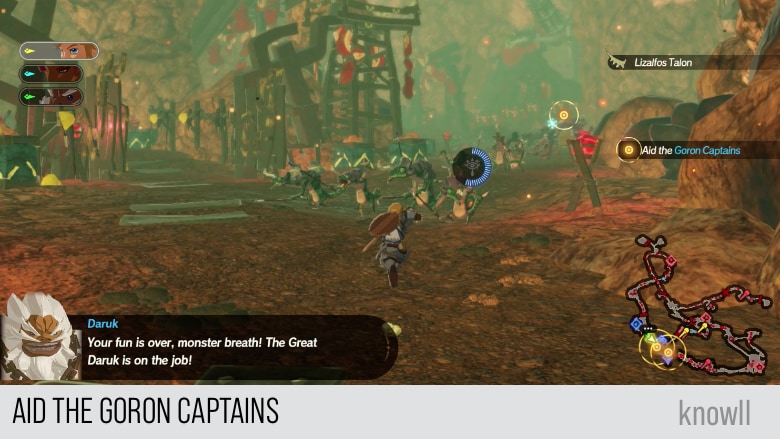
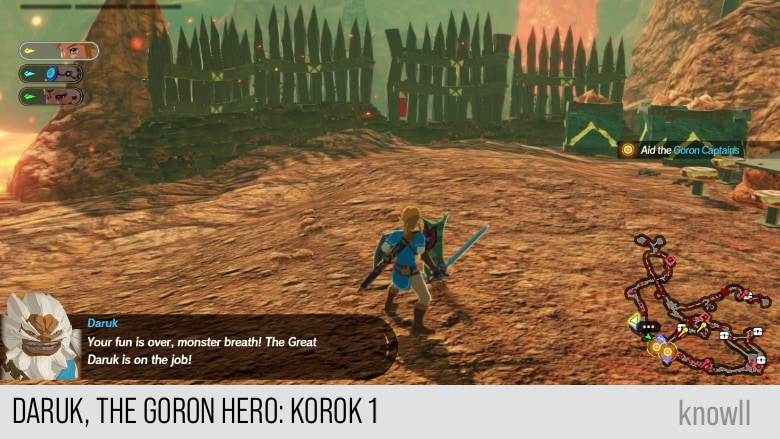
Daruk: Your fun is over, monster breath! The Great Daruk is on the job!
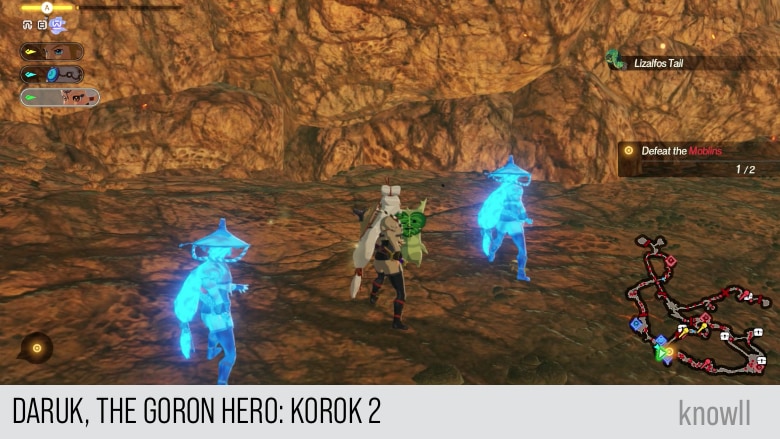
Objective: Defeat the Moblins
The first Moblins you will face are of the normal variety. Go ahead and beat them.
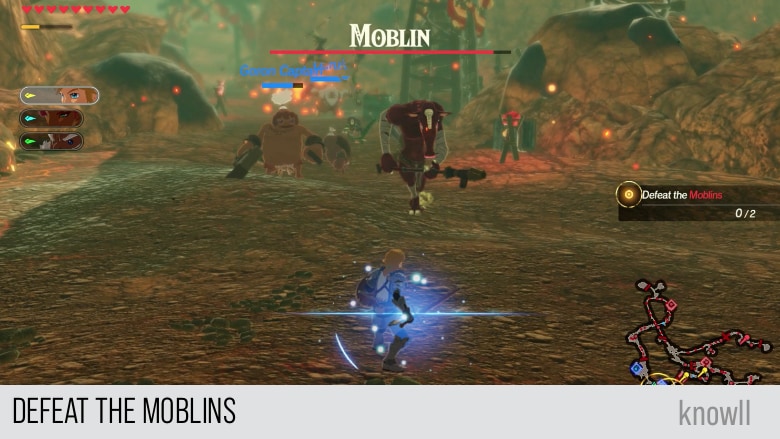
After defeating the two Moblins, it is time to capture three outposts.
Daruk: Great work! Knew I was right about you. A Goron's gut is never wrong.
The monsters have begun moving to assault the Southern Mine!
Daruk: More company? Fine by me! Let's split up and drive the monsters back.
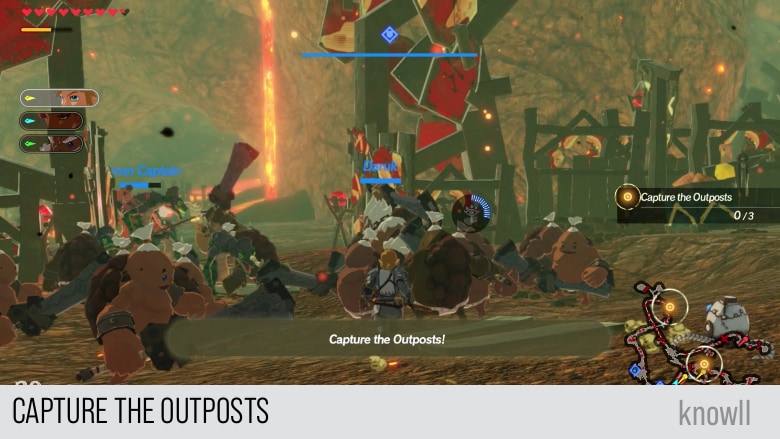
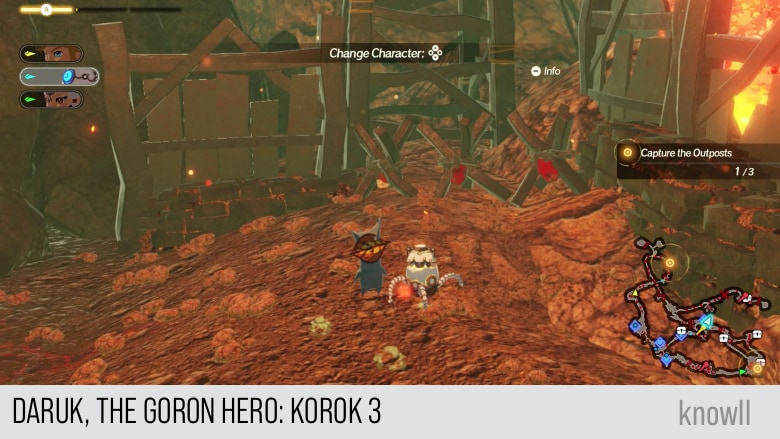
Objective: Capture the Outposts
As the map is large and there are lots of enemies between them, you might want to assign some outposts to other heroes instead of using Link to handle them all.
Magma bombs have spawned!
Daruk: Whoa, there! I'm fine, but you folks had better be careful! Maybe I should go to the south side...
As shared above, use proper team management to minimize spending time running from one outpost to another. This will help you become familiar as well with other characters.
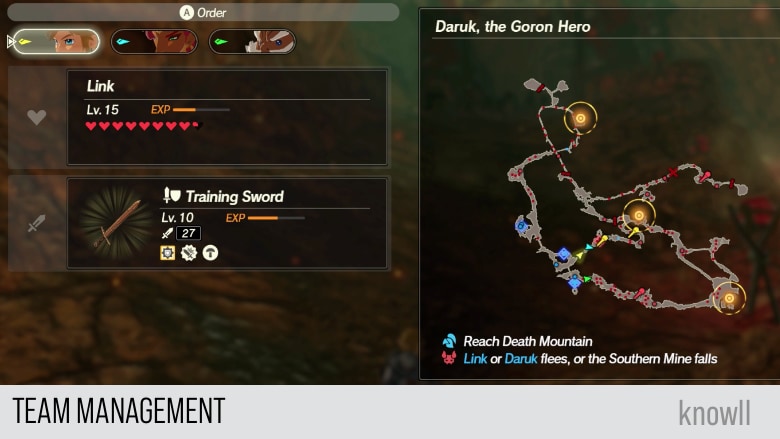
Assign your other two heroes to two outposts, then use your active one to clear the remaining outpost.
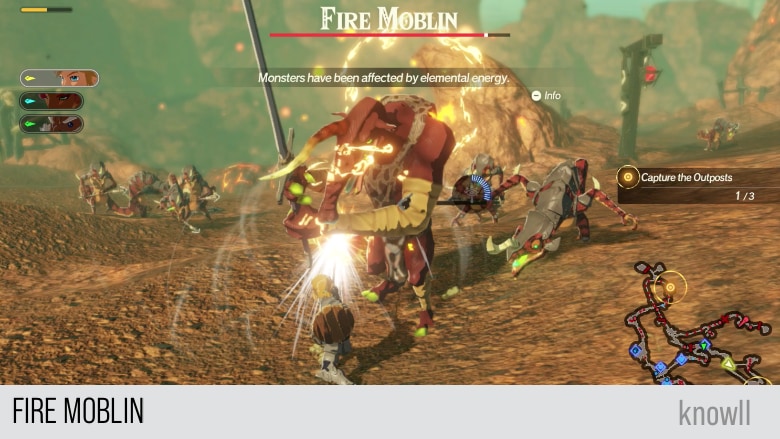
Fighting a Fire Moblin
While capturing the outposts, you will surely face the new elemental enemy, the Fire Moblin. In addition to its normal moves, it gains two new elemental attacks:
- Fire Slam Attack
- Sword Beam
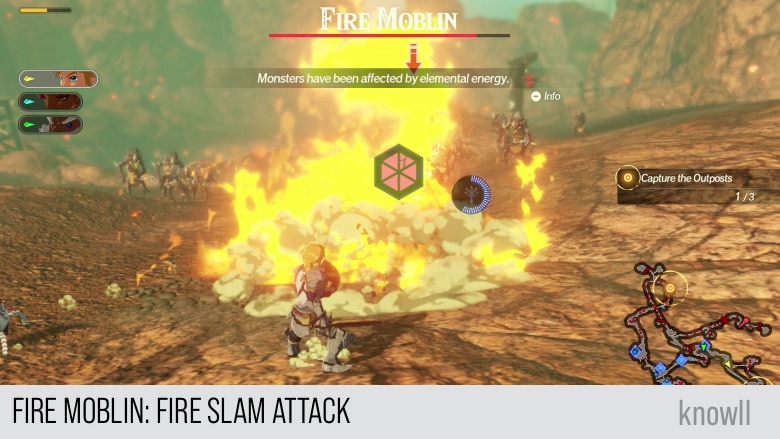
Fire Slam Attack
Beware of its Fire Slam attack, as it can take one full heart from your character. This is the attack where the Moblin slams its two-handed weapon on the ground, causing a large AOE impact. This will cause a burning effect as well.
Sword Beam Attack
Equally dangerous is its Sword Beam attack. This one takes preparation and has a long wind up. Hence, it takes large damage, as well.
You will notice that it is being prepared when the Moblin poses like it's going to hit a baseball using his sword as the bat. This is the windup. Unfortunately, it does not have any rune telegraph, aside from this unique pose.
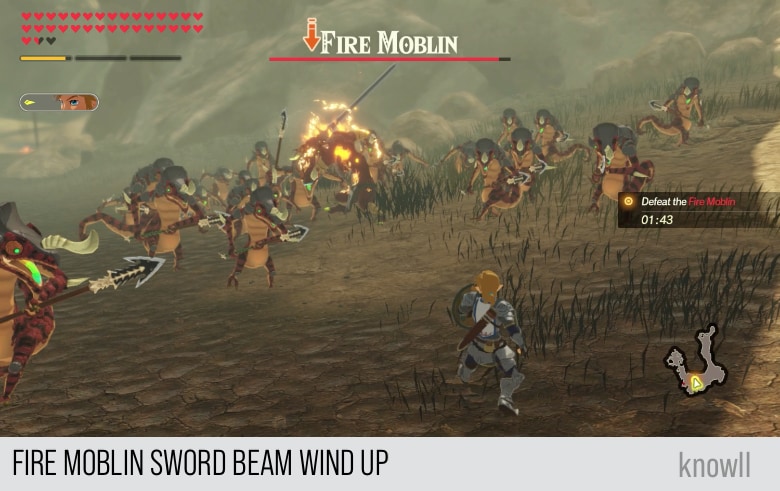
Once you see this pose, it's to guard with your shield. This attack will produce a sword beam that will reach you, similar to the beam from a Yiga Blademaster.
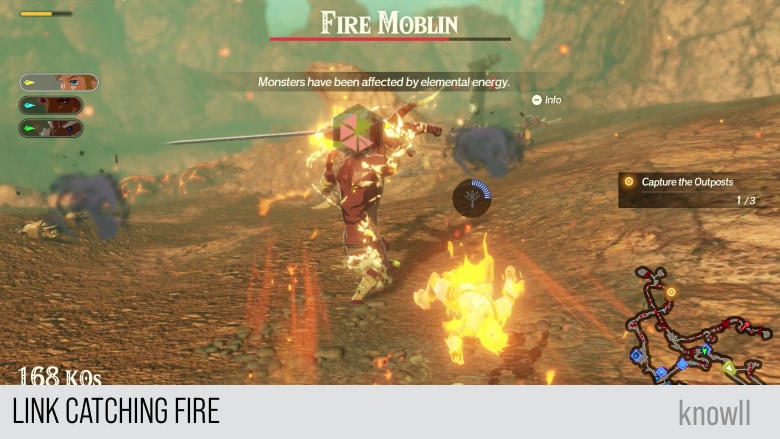
Note that it will cause a burning AOE, even breaking your guard after it hits you.

If you didn't guard with your shield, it will damage you and give a burning effect.
Daruk: Oh yeaaaah! That takes care of that.
Objective: Defeat the Monsters
After capturing the three outposts, you have to defeat the monster at the new target area. While you are on your way to this target, you will face many monsters having a fire-theme.
Daruk: MORE monsters?! Persistent little beasties, aren't they?
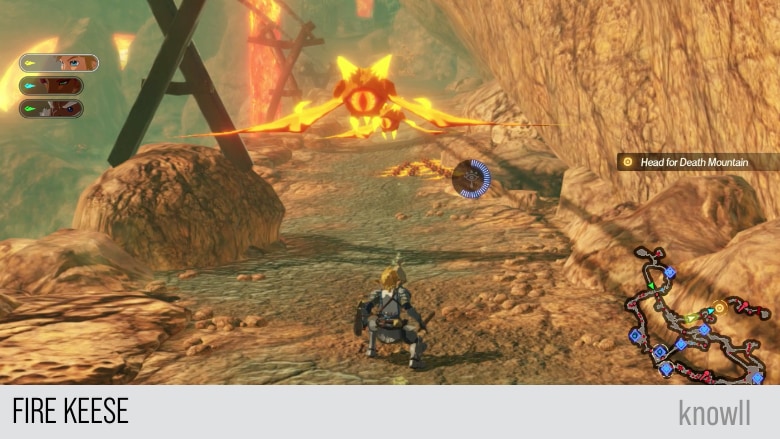
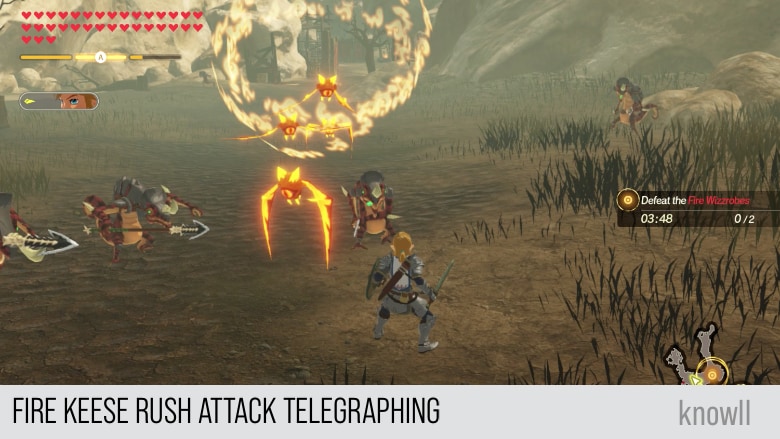
Fire Keese
The Fire Keese is like the normal Keese, except it gives a burning effect after its rush attack.
Fire Keese Rush Attack
The Fire Keese causes a burning effect in its rush attack if you don't guard against it.
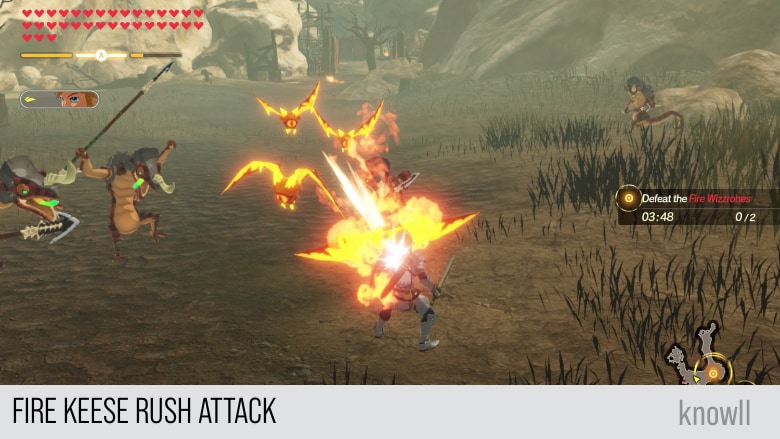
Just take note of its telegraph before doing the rush attack, as shown in the large sphere below.
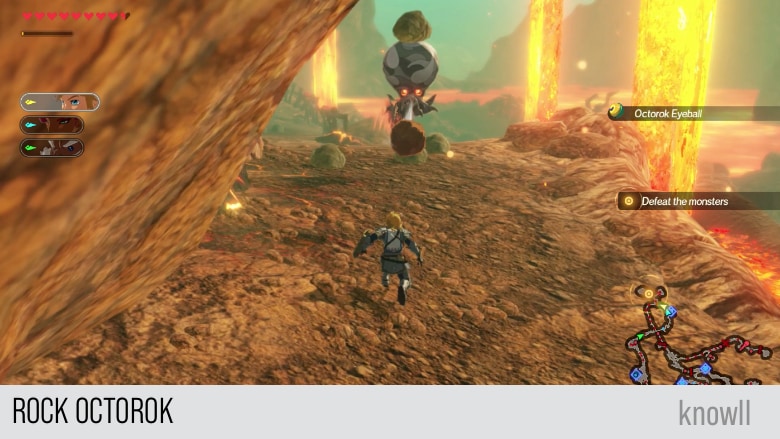
Rock Octorok
There are plenty of Rock Octoroks on your way to your target area. They are mostly annoying, as they rarely miss when they target you.
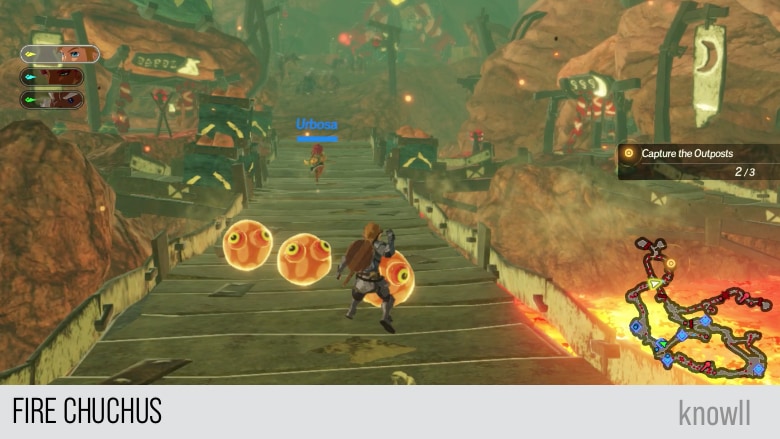
Fire Chuchus
You will also face Fire Chuchus, which you can just ignore most of the time.
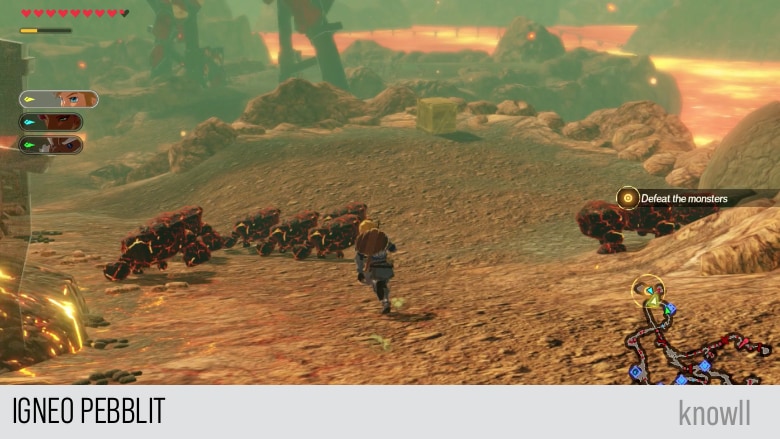
Igneo Pebblits
You will face a lot of Igneo Pebblits the nearer you get to the main target area. It's best to fight them as they are needed for some Quests later on.
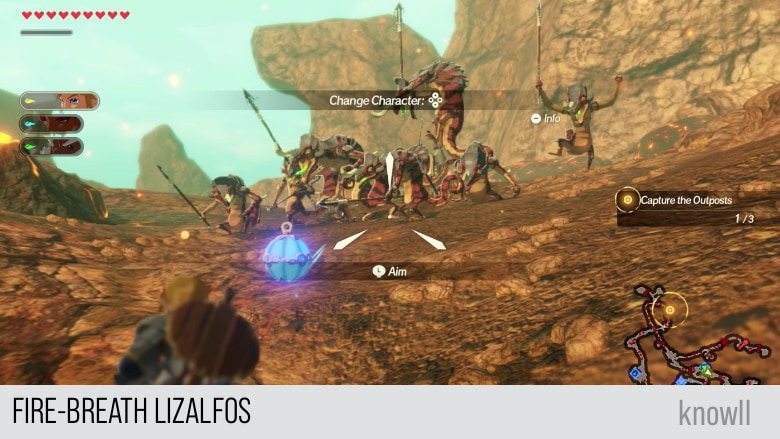
Fire-Breath Lizalfos
Finally, the most common enemies you will face in this region are the Fire-Breath Lizalfos. They are similar to the normal Lizalfos, except they gain new attacks:
- Fire Breath
- Fire Ball
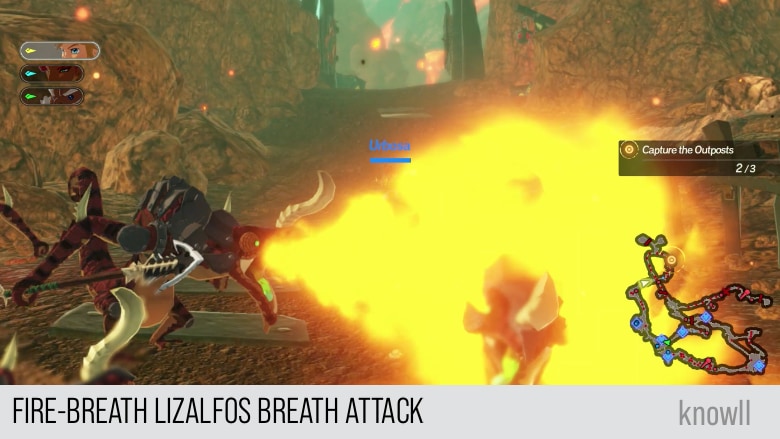
Fire Breath
Once they start this attack, it's hard to go on a melee distance from them. Stop their attack using your Remote Bomb or your arrows if playing as Link.
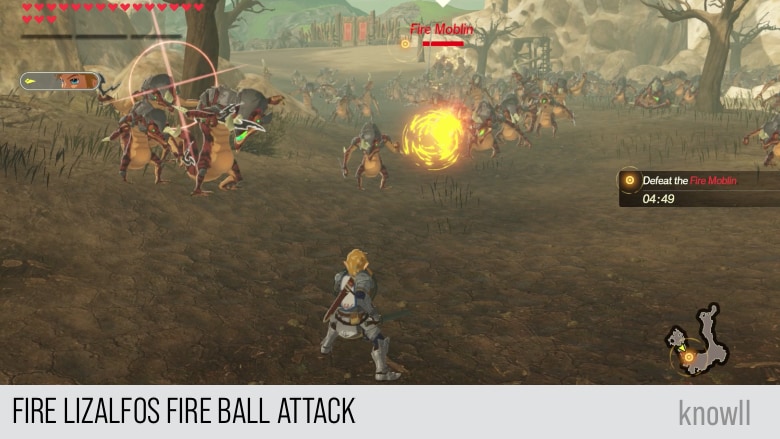
Fire Ball
Fire Balls don't cause much damage, but they have a burning effect that can affect your character.
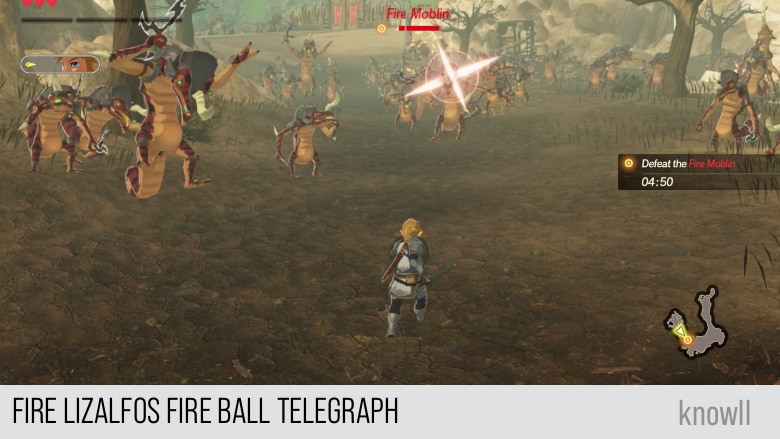
You can detect if a Fire Ball is coming using the telegraph shown below. All elemental Lizalfos do this telegraph before doing a projectile attack.
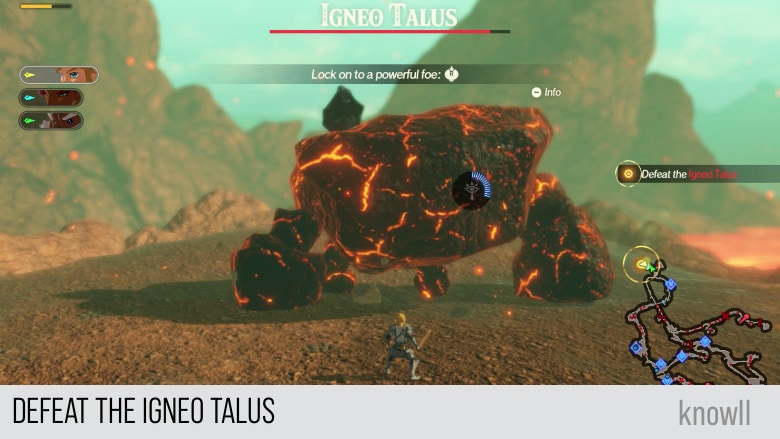
Objective: Defeat the Igneo Talus
Finally, you can fight the main enemy once you reach the target area. This is the first Chapter in the whole game that includes an Igneo Talus, so it's a good chance to learn its attack patterns.
Daruk: The big one's ready to play! Too bad for you that NO ONE runs wild on Goron City while I'm here.
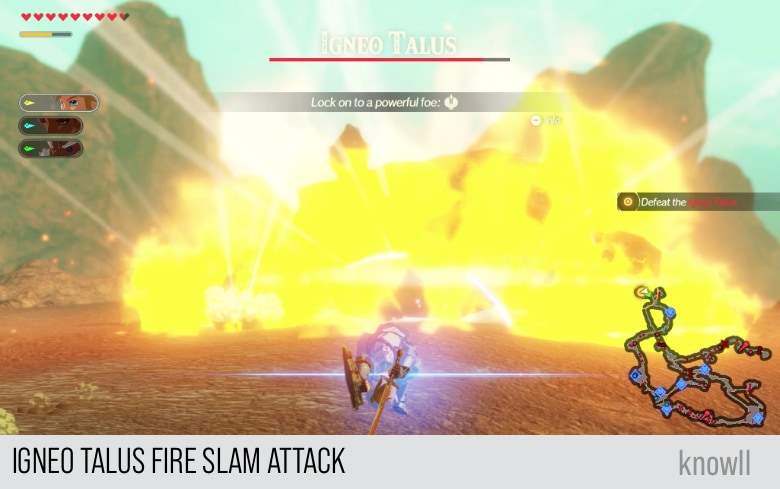
Fire Slam Attack
The Fire Slam is the strong attack of the Igneo Talus. It gives a telegraph before it does the attack. This is the best time to counter, as once the attack continues, you can only do avoidance moves.
Counter the Fire Slam using a Remote Bomb, as shown below.
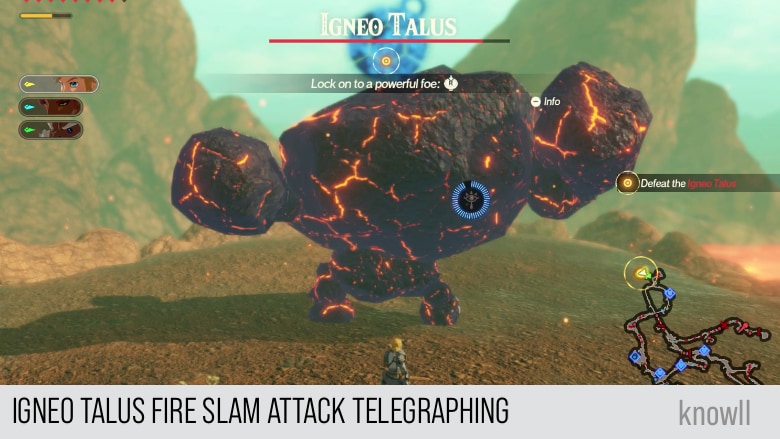
If you were not able to counter the attack, it would progress, and the Talus will give a large AOE fire attack.
Magma Bomb Attack
This attack is equally powerful as the Fire Slam. The Talus will summon Magma Bombs marks on the ground and then explode them all, causing a large AOE impact.
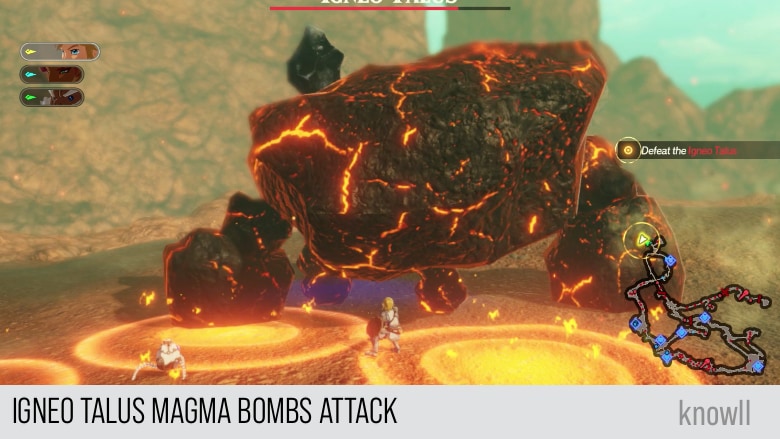
This attack has no rune telegraph for an easy counter. However, you can fish for a Flurry Rush by backflipping via the default dodge.
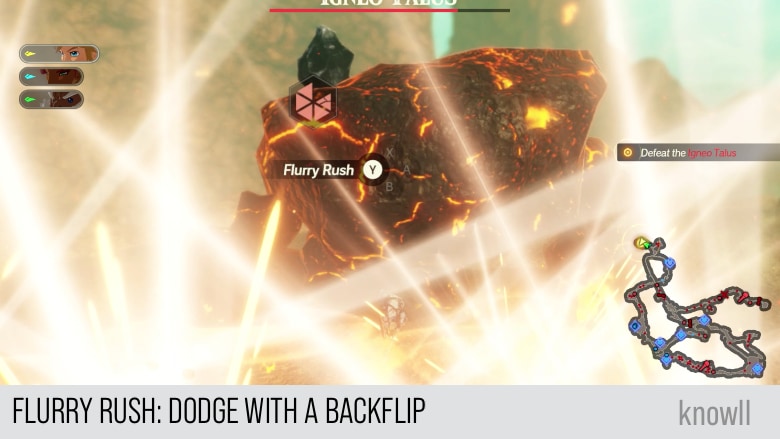
In the image above, instead of taking damage, Link was able to do a Flurry Rush on the Talus during the Magma Bomb attack.
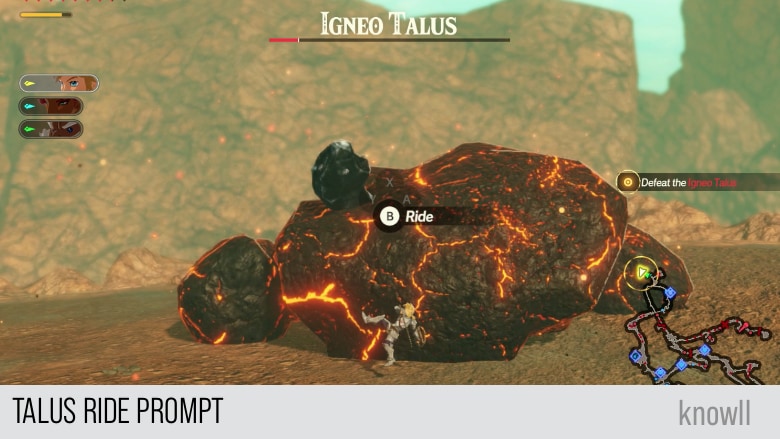
Occasionally, the Talus will become staggered and rest on the ground, either to recharge or to recreate its hands. Use this chance to Ride him and damage the vulnerable spot on its back.
Daruk: Heh, sorry for the trouble back there. Ready to climb this mountain already?
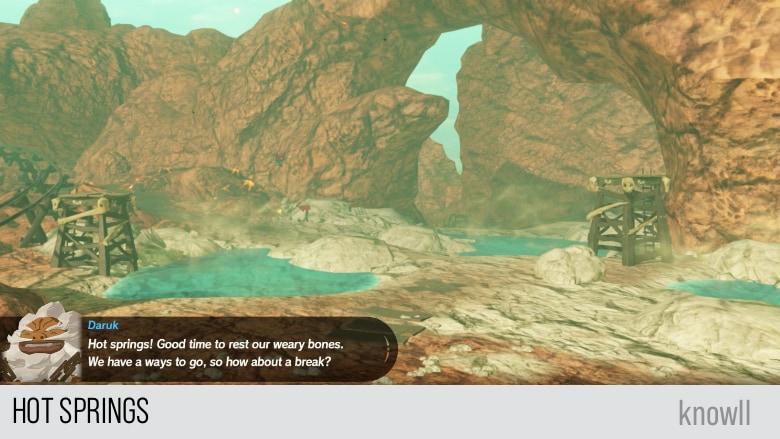
Objective: Head for Death Mountain
After defeating the monsters, it's time to head for Death Mountain. Daruk will invite you to replenish your health using the hot springs you will find on the way.
Daruk: Hot springs! Good time to rest our weary bones. We have a ways to go, so how about a break?
Daruk: We'll have to get rid of those monsters before we lower the bridges into the foothills.
Objective: Defeat the Fire Moblins
Before lowering the bridge, though, you still need to defeat two Fire Moblins.
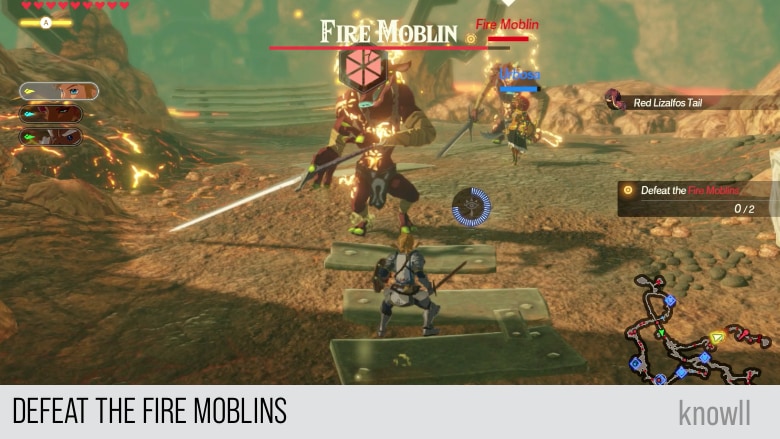
Daruk: Ha! Never thought a tiny Hylian would be strong enough to impress the Great Daruk!
Once the two Fire Moblins are defeated, Daruk will setup the bridge.
Daruk: Leave the bridge to me!
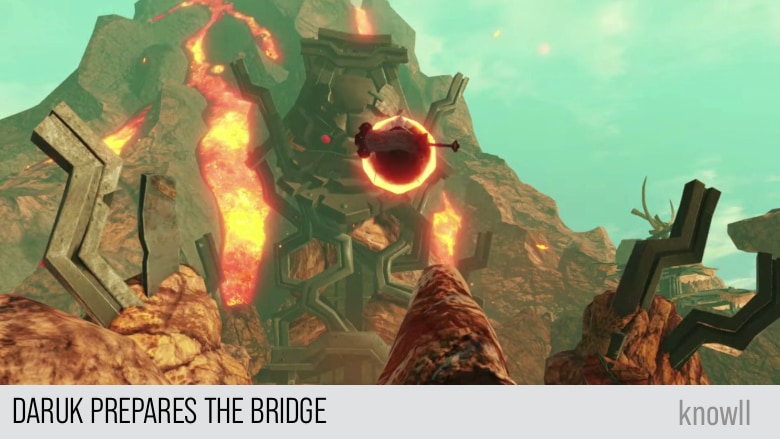
Daruk: Let's get to climbing Death Mountain already!
Objective: Climb Death Mountain
Goron Captain: We bit off more than we can chew...
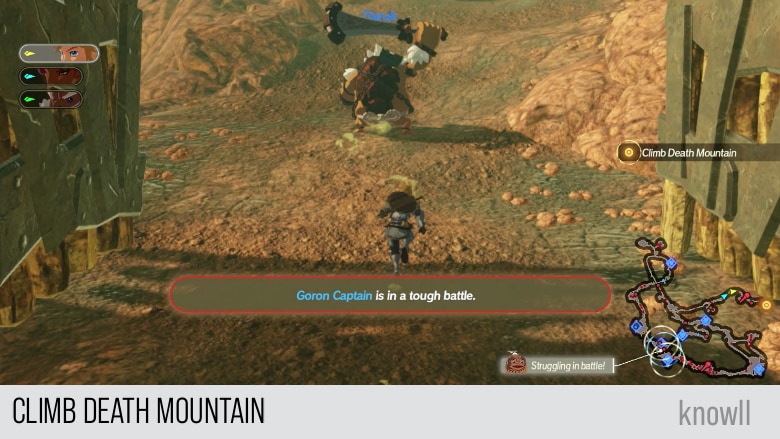
Daruk: Lookit that. That gang's all here! Let's combine our forces and punch our way through!
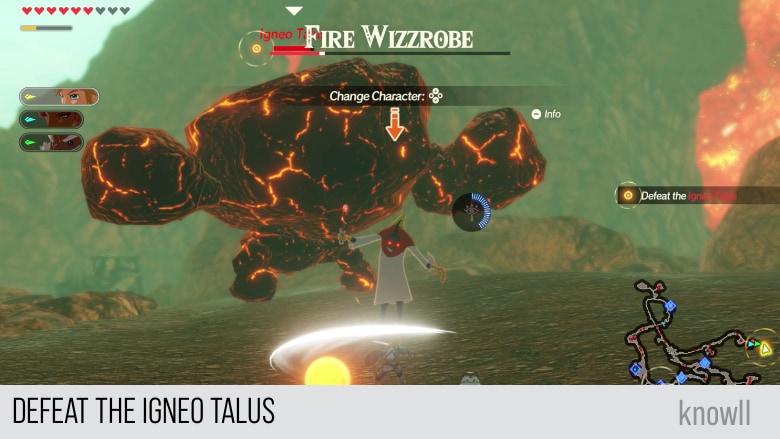
Objective: Defeat the Igneo Talus
Finally, it's time to reach Death Mountain. However, you still need to defeat another Igneo Talus. And this time, it has a Fire Wizzrobe with him.
If you have crystals for your Ice Rod, you can use it to freeze them both. This way, you can easily manage fighting two enemies at the same time. Otherwise, just focus first on the Fire Wizzrobe, as it is much weaker than the Igneo Talus.
After defeating the last enemies, Daruk will give you his thanks.
Daruk: You were a big help, Link! You're really starting to grow on me, haha!
Daruk: You're the kinda fella I can really count on. Bet your appetite is as might as your blade too!
Daruk: That tears it, Link. From today, you're my go-to little guy! I'm countin' on ya, is what I'm sayin'!
Divine Beast Vah Rudania
The party somehow makes it to the peak of the mountain. Daruk, led by the small Guardian, climbs into Vah Rudania and engages the monsters swarming over Death Mountain in pitched battle.
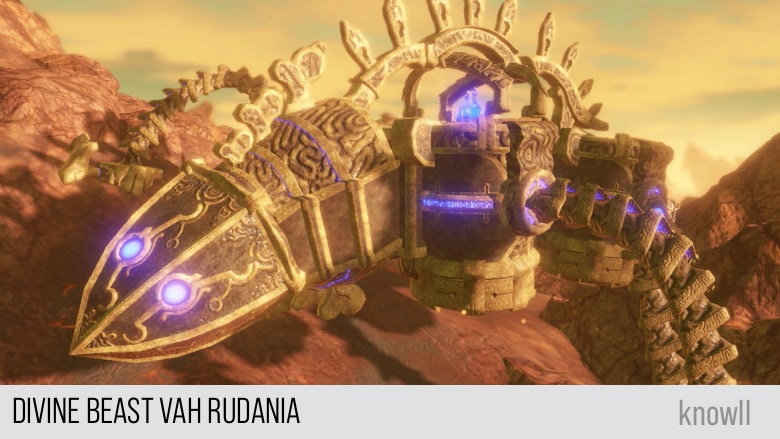
Daruk: Oooh. Seeing it again, it's even bigger than I remembered! Let's get right to it, then.
Daruk: Ooo, I can't wait!
Objective: Defeat the Monsters of Death Mountain
Unexpectedly, the game Age of Calamity allows you to experience the battles using Vah Rudania, as well as the other Divine Beasts later on.
Use this chance to learn the controls of the Divine Beast.
Motion-Control Aiming - Turn On or Off?
By default, the game turns on Motion-Control aiming. In other words, by using the Switch, you can target enemies and do battle.
However, we highly recommend that you turn-off Motion-Control aiming. The main reason is that it is much easier to play the game with Motion-Control aiming turned-off.
If you would like to experience it yourself, do the battle with it turned on. You can later repeat the Divine Beast battle with the Motion-Control turned off.
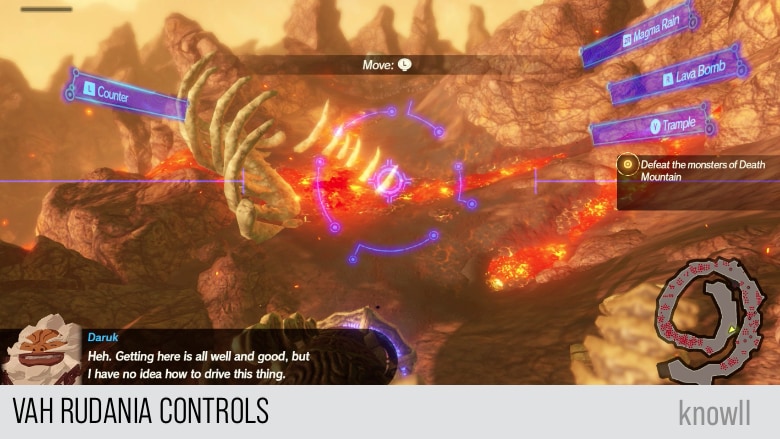
Daruk: Heh. Getting here is all well and good, but I have no idea how to drive this thing.
Daruk: Welp! The best way to learn is by doing. Let's see what this thing's capable of!
Daruk: Time to run wild, Vah Rudania! That is, erm... if I can figure out how you work...
Give the moves a try, and Daruk will respond.
Daruk: Oooh... You can do all that, eh? Let's give it a whirl!
After Daruk sees some Octoroks, he will give this comment:
Daruk: Some floaty guys too... Let's send 'em flyin' along with the rest!
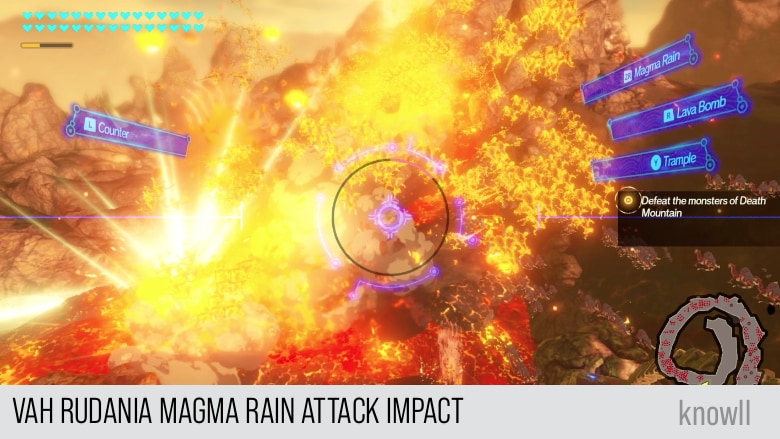
Magma Rain Attack
Excluding the Special Attack, Magma Rain is the strongest attack of Vah Rudania. This is also the reason why it has a cooldown. A timer will show when it becomes available again after doing the attack.
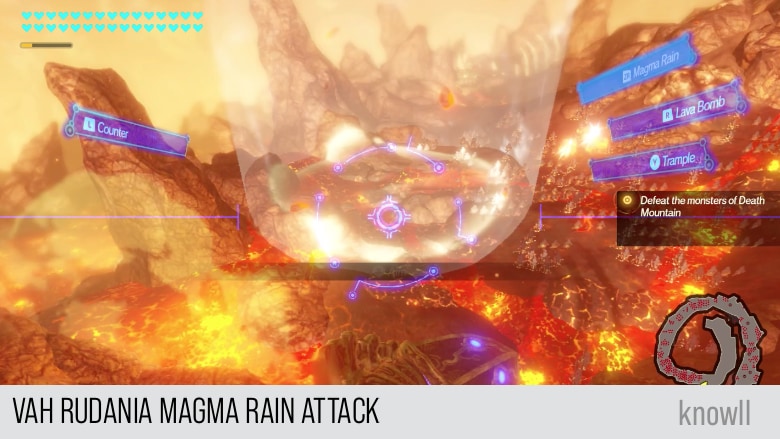
Magma Rain is a strong AOE attack that will fire and magma on the target area.
Lava Bomb Attack
Lava Bomb is the ranged attack of Vah Rudania. It does not have a large AOE radius, but it can easily reach far distances.
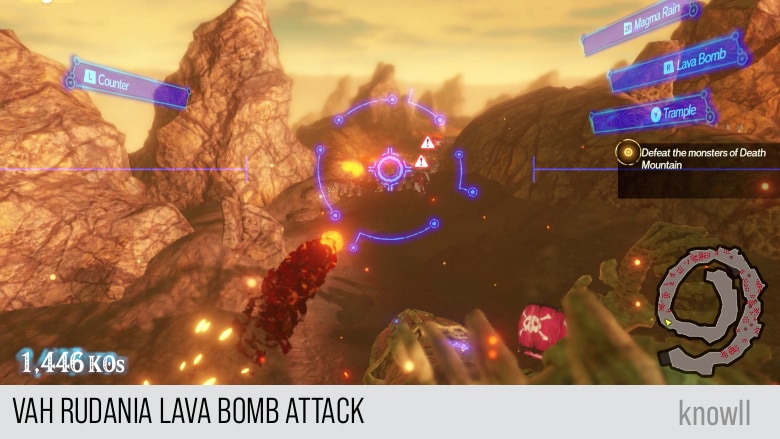
Use it for destroying enemies while your Magma Rain is on cooldown.

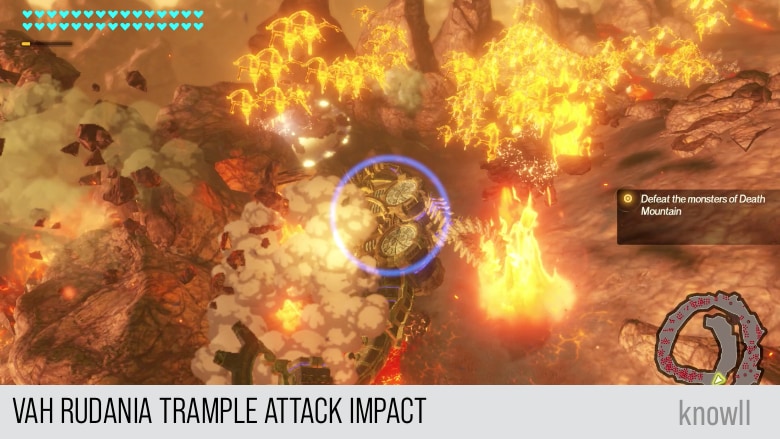
Trample Attack
Trample attack is a powerful melee range AOE attack. Use it if the Magma Rain is on cooldown and the enemies are surrounding you.
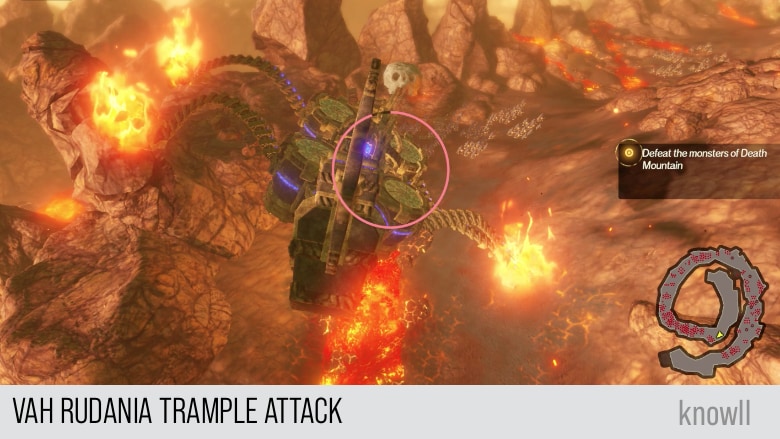
This attack totally destroys enemies that are near you, without minding any timer for cooldowns.
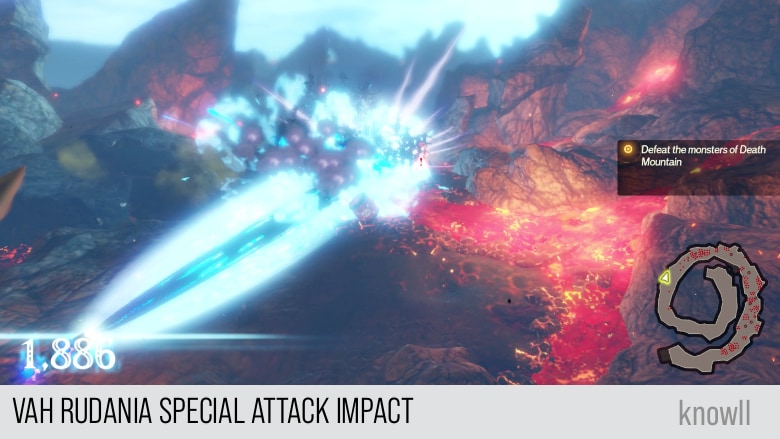
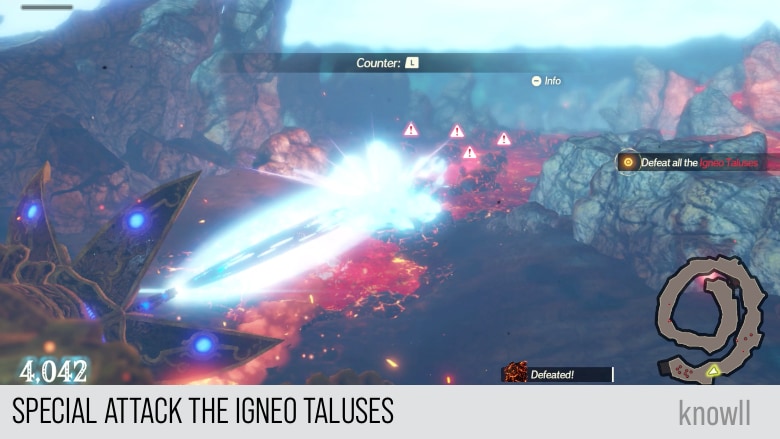
Vah Rudania Special Attack
Finally, the strongest attack of Vah Rudania, the Special Attack. This initiates a laser beam that will later transform into a ray of total destruction.
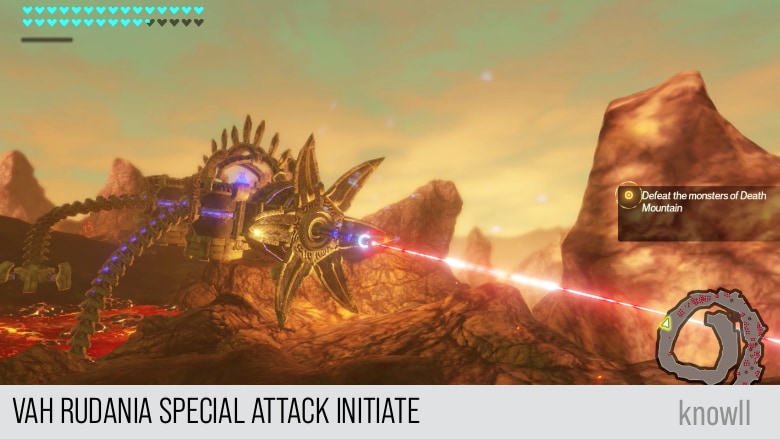
Use it to clear enemies in one swipe, but reserve it strategically. Wait for the right moment when to use it.
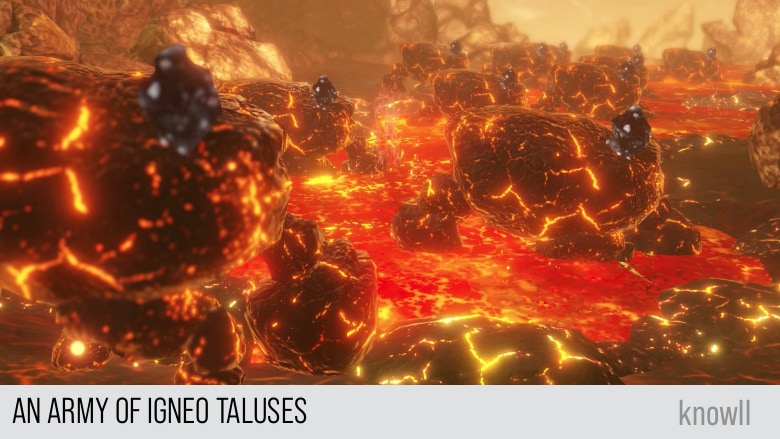
Objective: Defeat all the Igneo Taluses
When you have cleared most of the area, a large army of Igneo Taluses will show up.
Daruk: A big group of 'em showed up. Heh, good thing they're no match for ol' Rudania!
Hopefully, you have your special attack gauge full when you reach this stage. With your special attack, you can finish the objective with the total annihilation of the enemies.
Daruk: And that takes care of that! I'm really gettin' the hang of this!
Daruk's Wishes
Daruk mops up the monsters swarming over Death Mountain then reaffirms his intention to pilot the Divine Beast. With words of thanks to Link and the party, Daruk hands over a treasured gift.
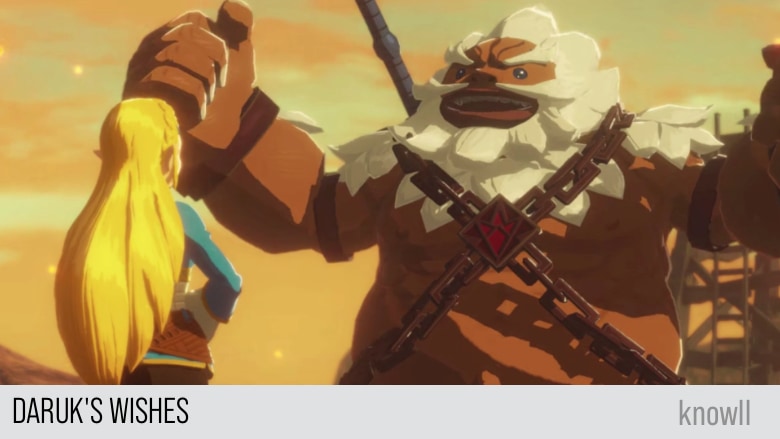
Daruk: That was unexpected, but we pulled through in the end. You really proved yourself, eh, little guy?
Daruk: Now, about me piloting Rudania... We'll go ahead and count the might Daruk in!
Zelda: Thank you, Daruk.
Daruk: Of course! We'll smash that Calamity Ganon jerk to smithereens.
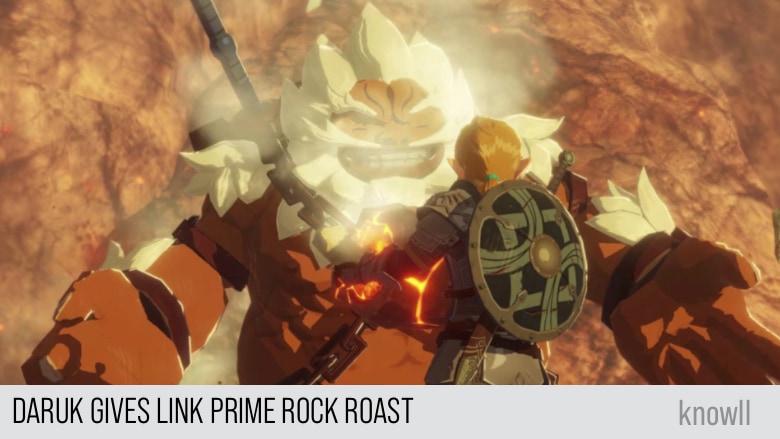
Daruk Gives Link Prime Rock Roast
Daruk: Ooh, wait a minute. You must be starving after all that fighting. I know just the cure for that. My favorite... Prime Rock Roast! Doesn't it look delicious? Why don'tcha dig in, little guy?
Zelda: Oh! Uh...
Daruk: Gah, sorry! How thoughtless of me - I should brought some for you, tiny princess! Next time, I promise to bring enough for everyone.
Zelda: Th-thank you very much!
Characters Unlocked
As you move through the Chapters and later on with the Challenges and Quests, you will be unlocking characters that you can use for your party. This Chapter entry that you just completed rewards you with Daruk.
If you would like to learn Daruk's moveset and combat guide, view our Daruk Guide.
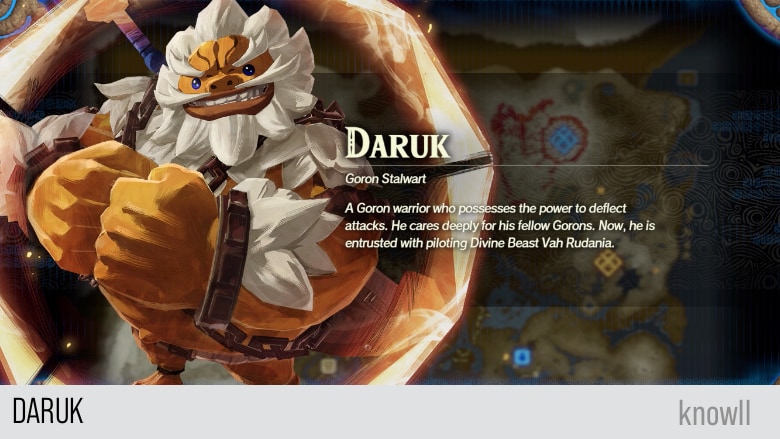
Goron Stalwart. A Goron warrior who possesses the power to deflect attacks. He cares deeply for his fellow Gorons. Now, he is entrusted with piloting Divine Beast Vah Rudania.
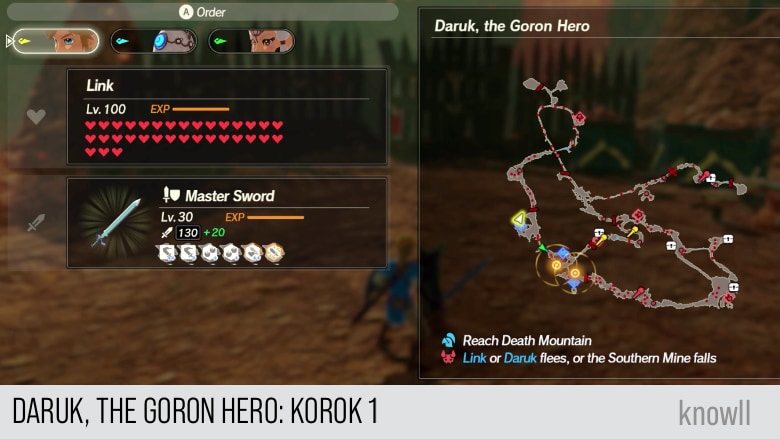
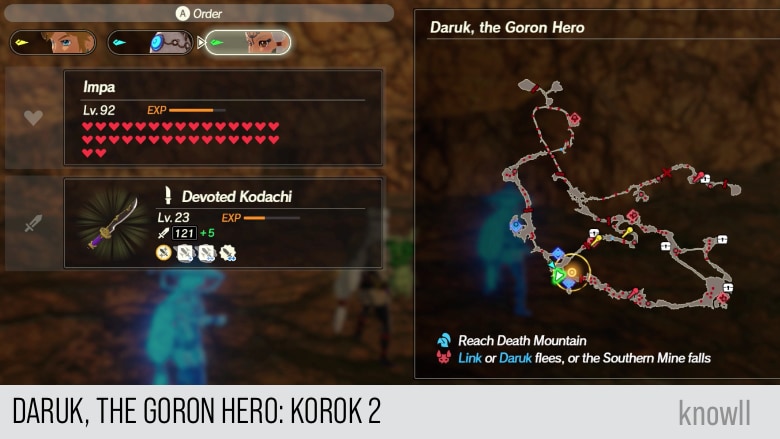
Korok Locations
Every Chapter in the game contains Koroks. The main challenge is that there is no feature in the game that will make them appear on the map.
Hence, we provide all their locations on the area as well as on the map.
Total Koroks: 8
Daruk, the Goron Hero Korok 1
Daruk, the Goron Hero Korok 2
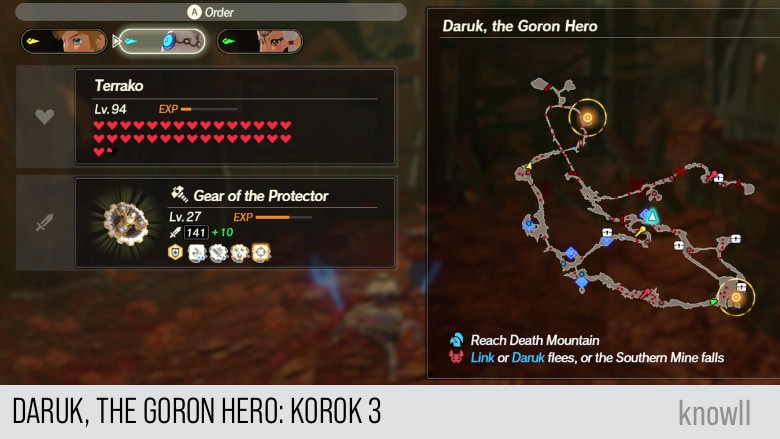
Daruk, the Goron Hero Korok 3
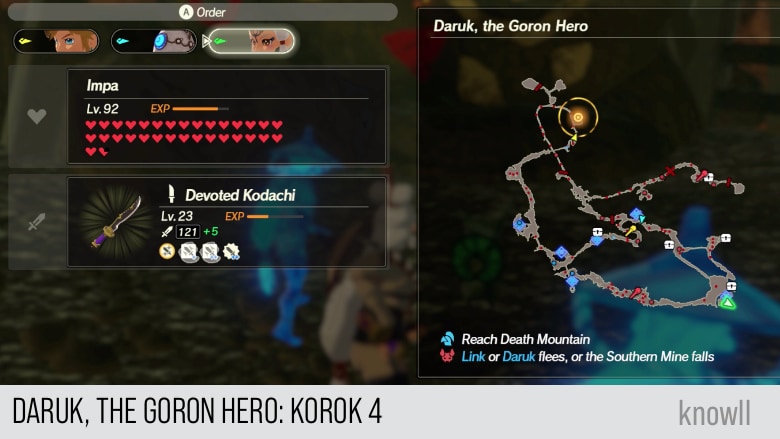
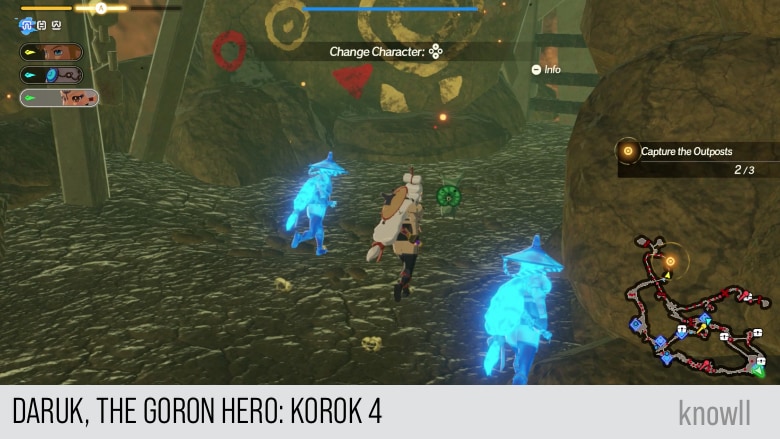
Daruk, the Goron Hero Korok 4
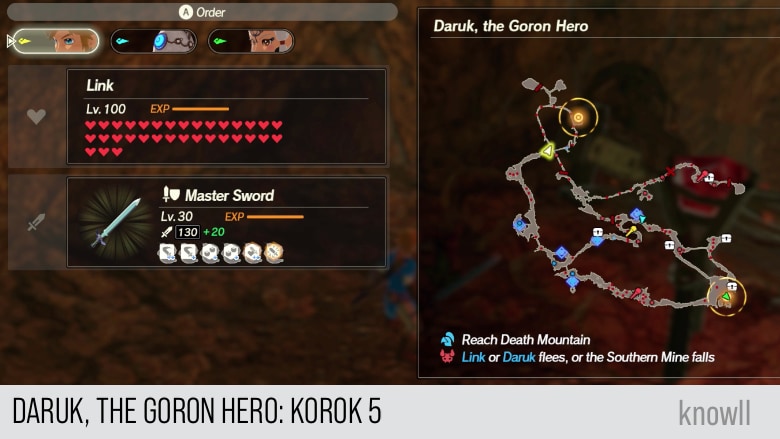
Daruk, the Goron Hero Korok 5

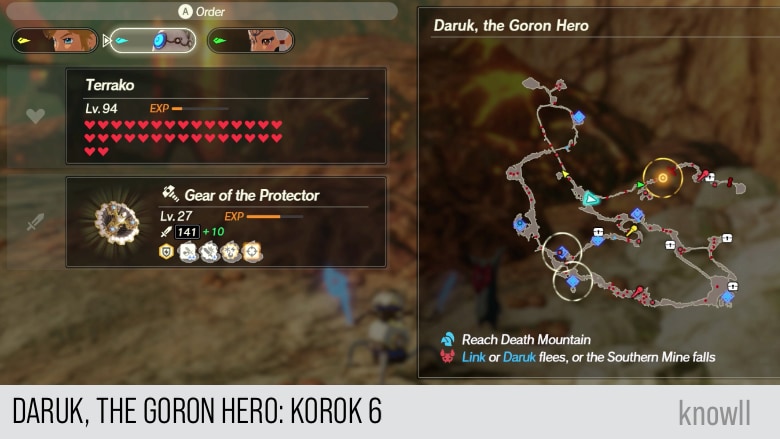
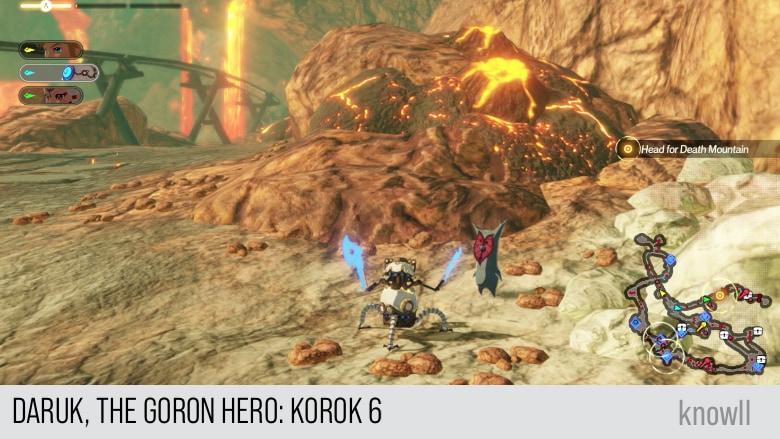
Daruk, the Goron Hero Korok 6
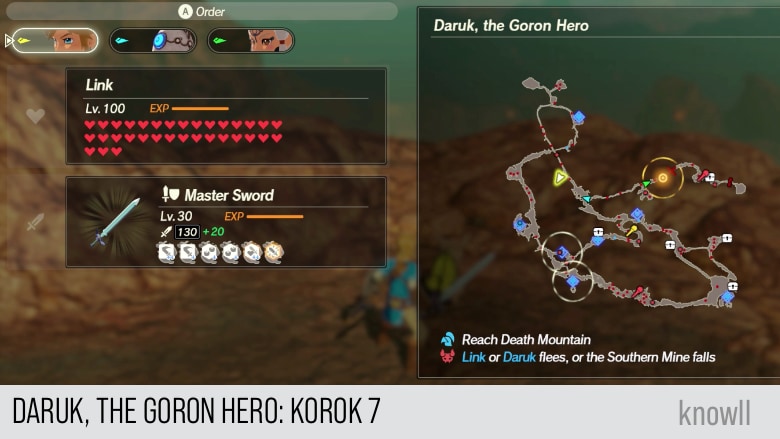
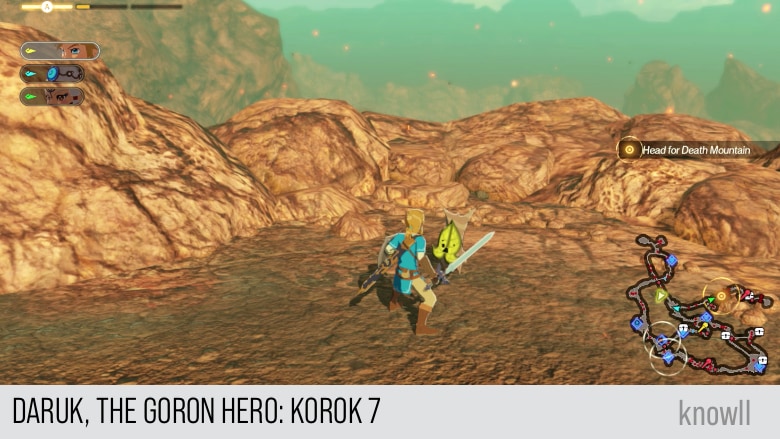
Daruk, the Goron Hero Korok 7
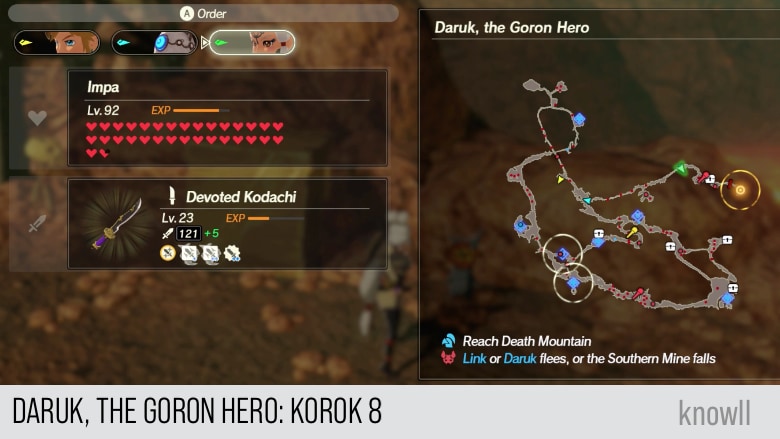
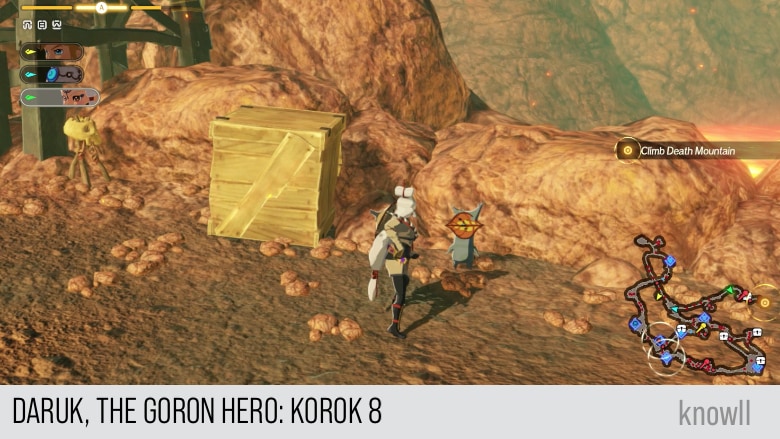
Daruk, the Goron Hero Korok 8
Continue the adventure with our next Chapter entry Revali, the Rito Warrior.